(This is a long, verbose post about me and my medium format “backstory.” Feel free to jump on down to the bottom for the camera/photos that are the main focus of this blog, if ya please. I won’t be mad atcha!)
Over the past handful of years, I’ve had my share of flings with medium format SLR cameras. First, there was my affair with the Hassy. It was a brief relationship , but it was a robust one. Our time together was beautiful.


Once I was ready to love again, someone set me up with a Contax 645. I thought this was “the one.” Turns out the Contax was too posh for me – I’m just a humble freelance photographer; I couldn’t afford to keep up with the Contax lifestyle. It was like luxury cars and champagne; I’m more like mini vans and Coke Zero. We did splendid work together though. There was no denying that.

Last year, another Hasselblad came into my life. I knew it wouldn’t be a forever relationship, but I also knew this Hassy and I would have more time together than I’d had with my previous Hasselblad fling. It accompanied me on a few photo shoots. It was even my date to a big wedding I shot! But our days were numbered. And I ended up coming out of my time with Hassy #2 feeling as if, for now at least, Hasselblads are not really my “type.”* It served its purpose in my life, so I felt at peace when we parted ways.


I can’t go long without feeling as if I need to be involved with a medium format SLR though. A few months ago, I decided I really needed such a camera in my life again. I wanted it to be the real deal this time though. I didn’t want it just to be one more short-term love affair.
Several things came into consideration when I was deciding which type of medium format camera I wanted to have in my life. Cost was a major factor. If I were a rich girl, I’d still be with that posh Contax I toyed with a couple of years back. Another was which medium format format I’d mesh with. That’s because medium format film can be shot in any number of image dimensions:
- 6x6cm (my most beloved of all shooting formats) – The Hasselblad is a 6×6 camera, as are TLRs, Holga, and Diana. Square format is my absolute fave!
- 6×4.5cm – The Contax 645 is one such camera. I love square so much that I had never given the possibility of a 645 camera a second thought. I but I kinda dug it once I tried the Contax. Plus, you get more photos from a roll of film shot in 6×4.5 than you do a 6×6!
- 6×7, 6×8, 6x9cm – The thing with medium format SLRs is: the bigger the negative size, the more giant the camera (though some rangefinder and “folder cameras” aren’t quite so cumbersome.) I mean, these SLRs are monstrous things to carry around. Probably best suited for work in the studio (aka – you can set it up on a tripod.) Also, as mentioned above, the larger the negative a camera produces, the fewer frames you get from a roll of medium format film.
- 6x12cm – Whoa whoa whoa. This is pretty major. It takes medium format panoramics. So that’s darn awesome. HUGE negative. Thankfully, there are some toy-ish 6×12 cameras out there, so I might actually have the ability to afford to play with such a camera one day.
Now. I really REALLY wanted a 6×6 SLR. I started looking around at those, and Hasselblad seemed to be financially out of the question. But there is a less “popular” (I think “less trendy” would be more accurate) brand called Bronica that seemed to be a little more reasonably priced. And I’m no camera snob: Sure, the Zeiss glass on Hasselblad…c’est magnifique! But if Bronica lenses and bodies are good but underrated (therefore cheap as chips) then I’ll laugh all the way to the bank. I found a Bronica 645 for an appallingly good deal. It’s obscene how cheap these cameras are now, if you ask me.
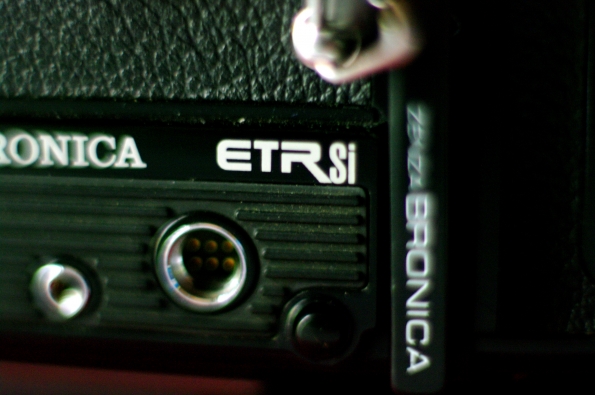
My Bronica ETRSi came with a non-metered eye-level prism finder, 75mm/2.8 lens, a 150mm/3.5 lens, a “speed grip,” two 120 film backs, and one 220 film back. The good thing about these “modular” camera systems is that you can change film types any time you please if you have more than one film back. So I really got to shoot more than one test roll simultaneously. I had one back loaded with Ilford XP-2 (C-41) black and white film and another loaded with Kodak Portra 160 color film. I swapped between the two film backs/film types at my own discretion. I love modular cameras!
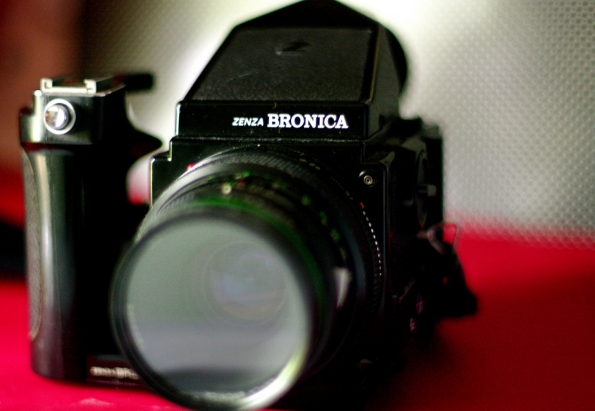 Meet my Bronica – we’re in a committed relationship
I HIGHLY recommend getting a speed grip if you ever find yourself in possession of a Bronica MF SLR. It greatly improves the handling of the camera, gives you a second shutter release button that is better-placed than the one on the front of the camera body itself, makes film advance quicker (a two-stroke advance lever rather than the winding advance arm that comes standard with the camera,) and a hot shoe for your flash. I got especially ecstatic when I realized that the flash shoe on the grip is “hot,” since it means that I can use a flash with my ETRSi without needing a sync cord. I’m so pumped about that!
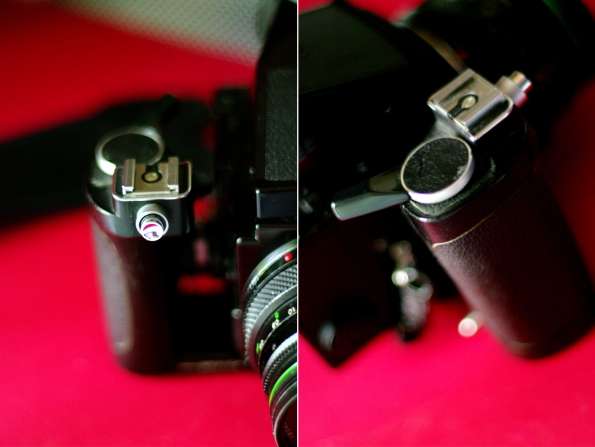 Speed grip!!!
My ETRSi came with an “all matte” focusing screen. I was worried about my ability to accurately focus, because I’m used to split-image focusing screens. However, all the photos below were taken with the standard, all matte screen, and basically all the photos from my three test rolls were focused beautifully. Before I got my film back from the lab, I was still worried about my ability to accurately focus my photos. So I picked up a split-image screen for a pittance from KEH. Just in case!
It took me several weeks to get my Bronica test rolls up to the photo lab for development. It was soooooo worth the wait though!


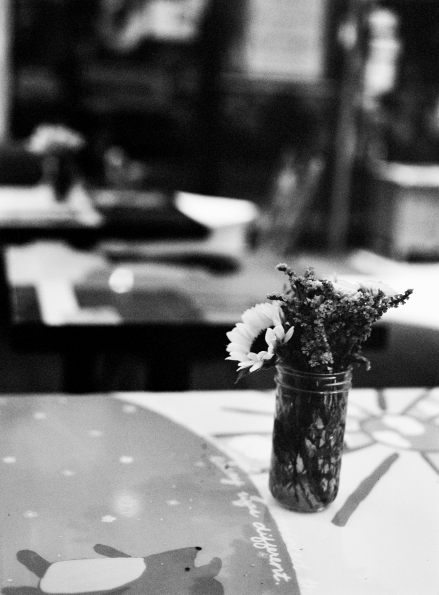


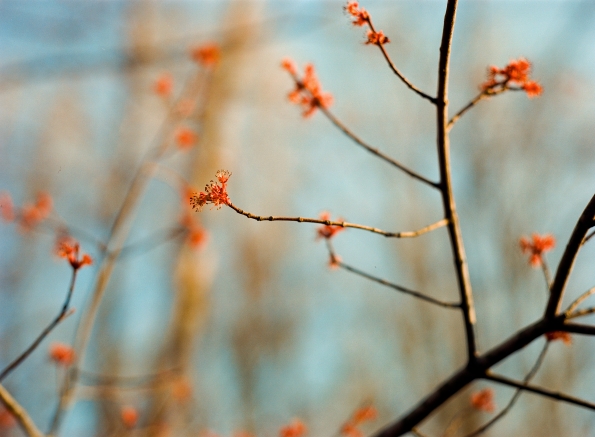


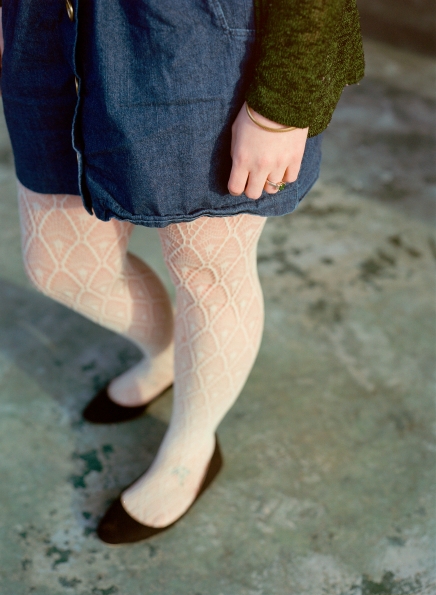
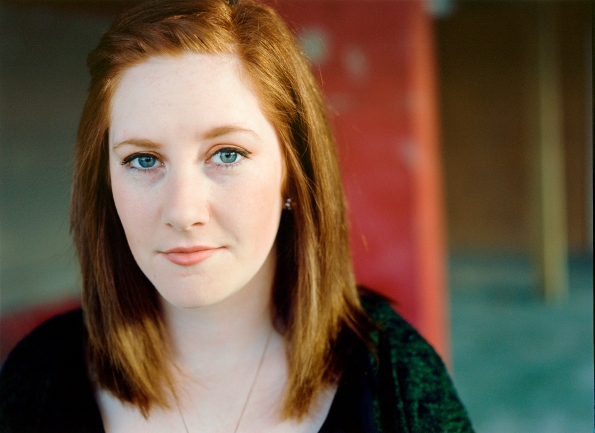

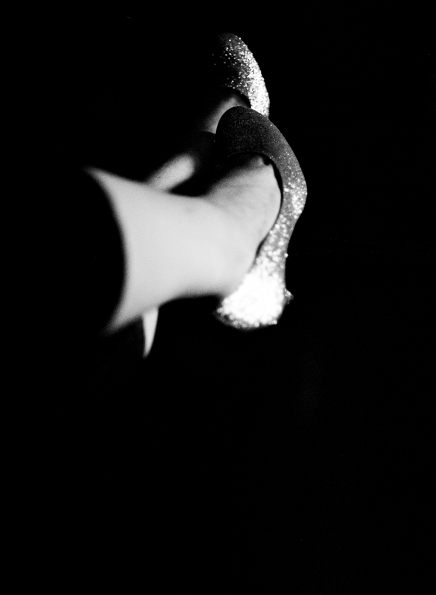
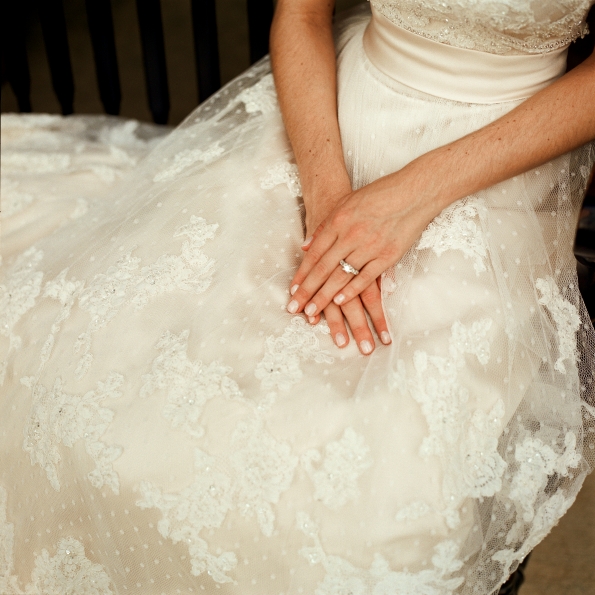
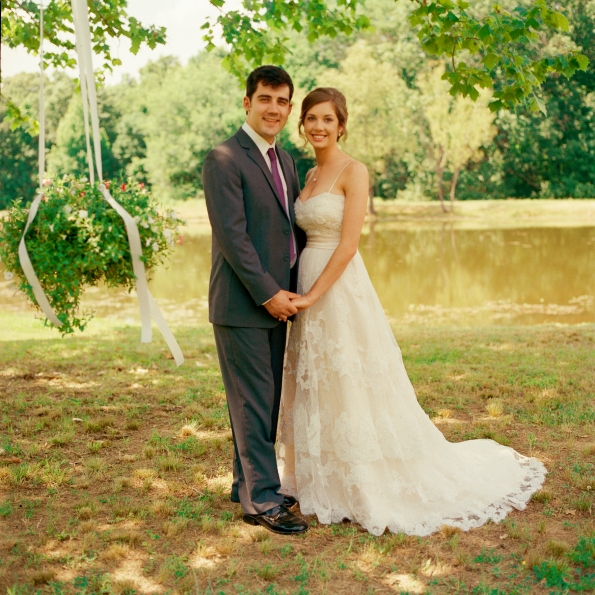
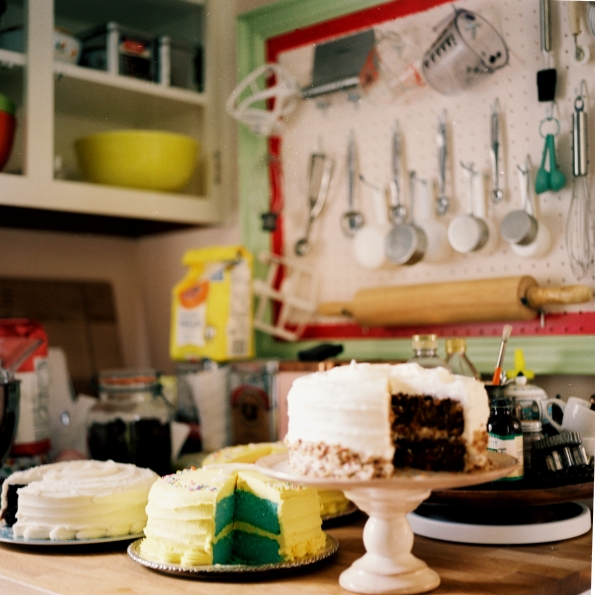
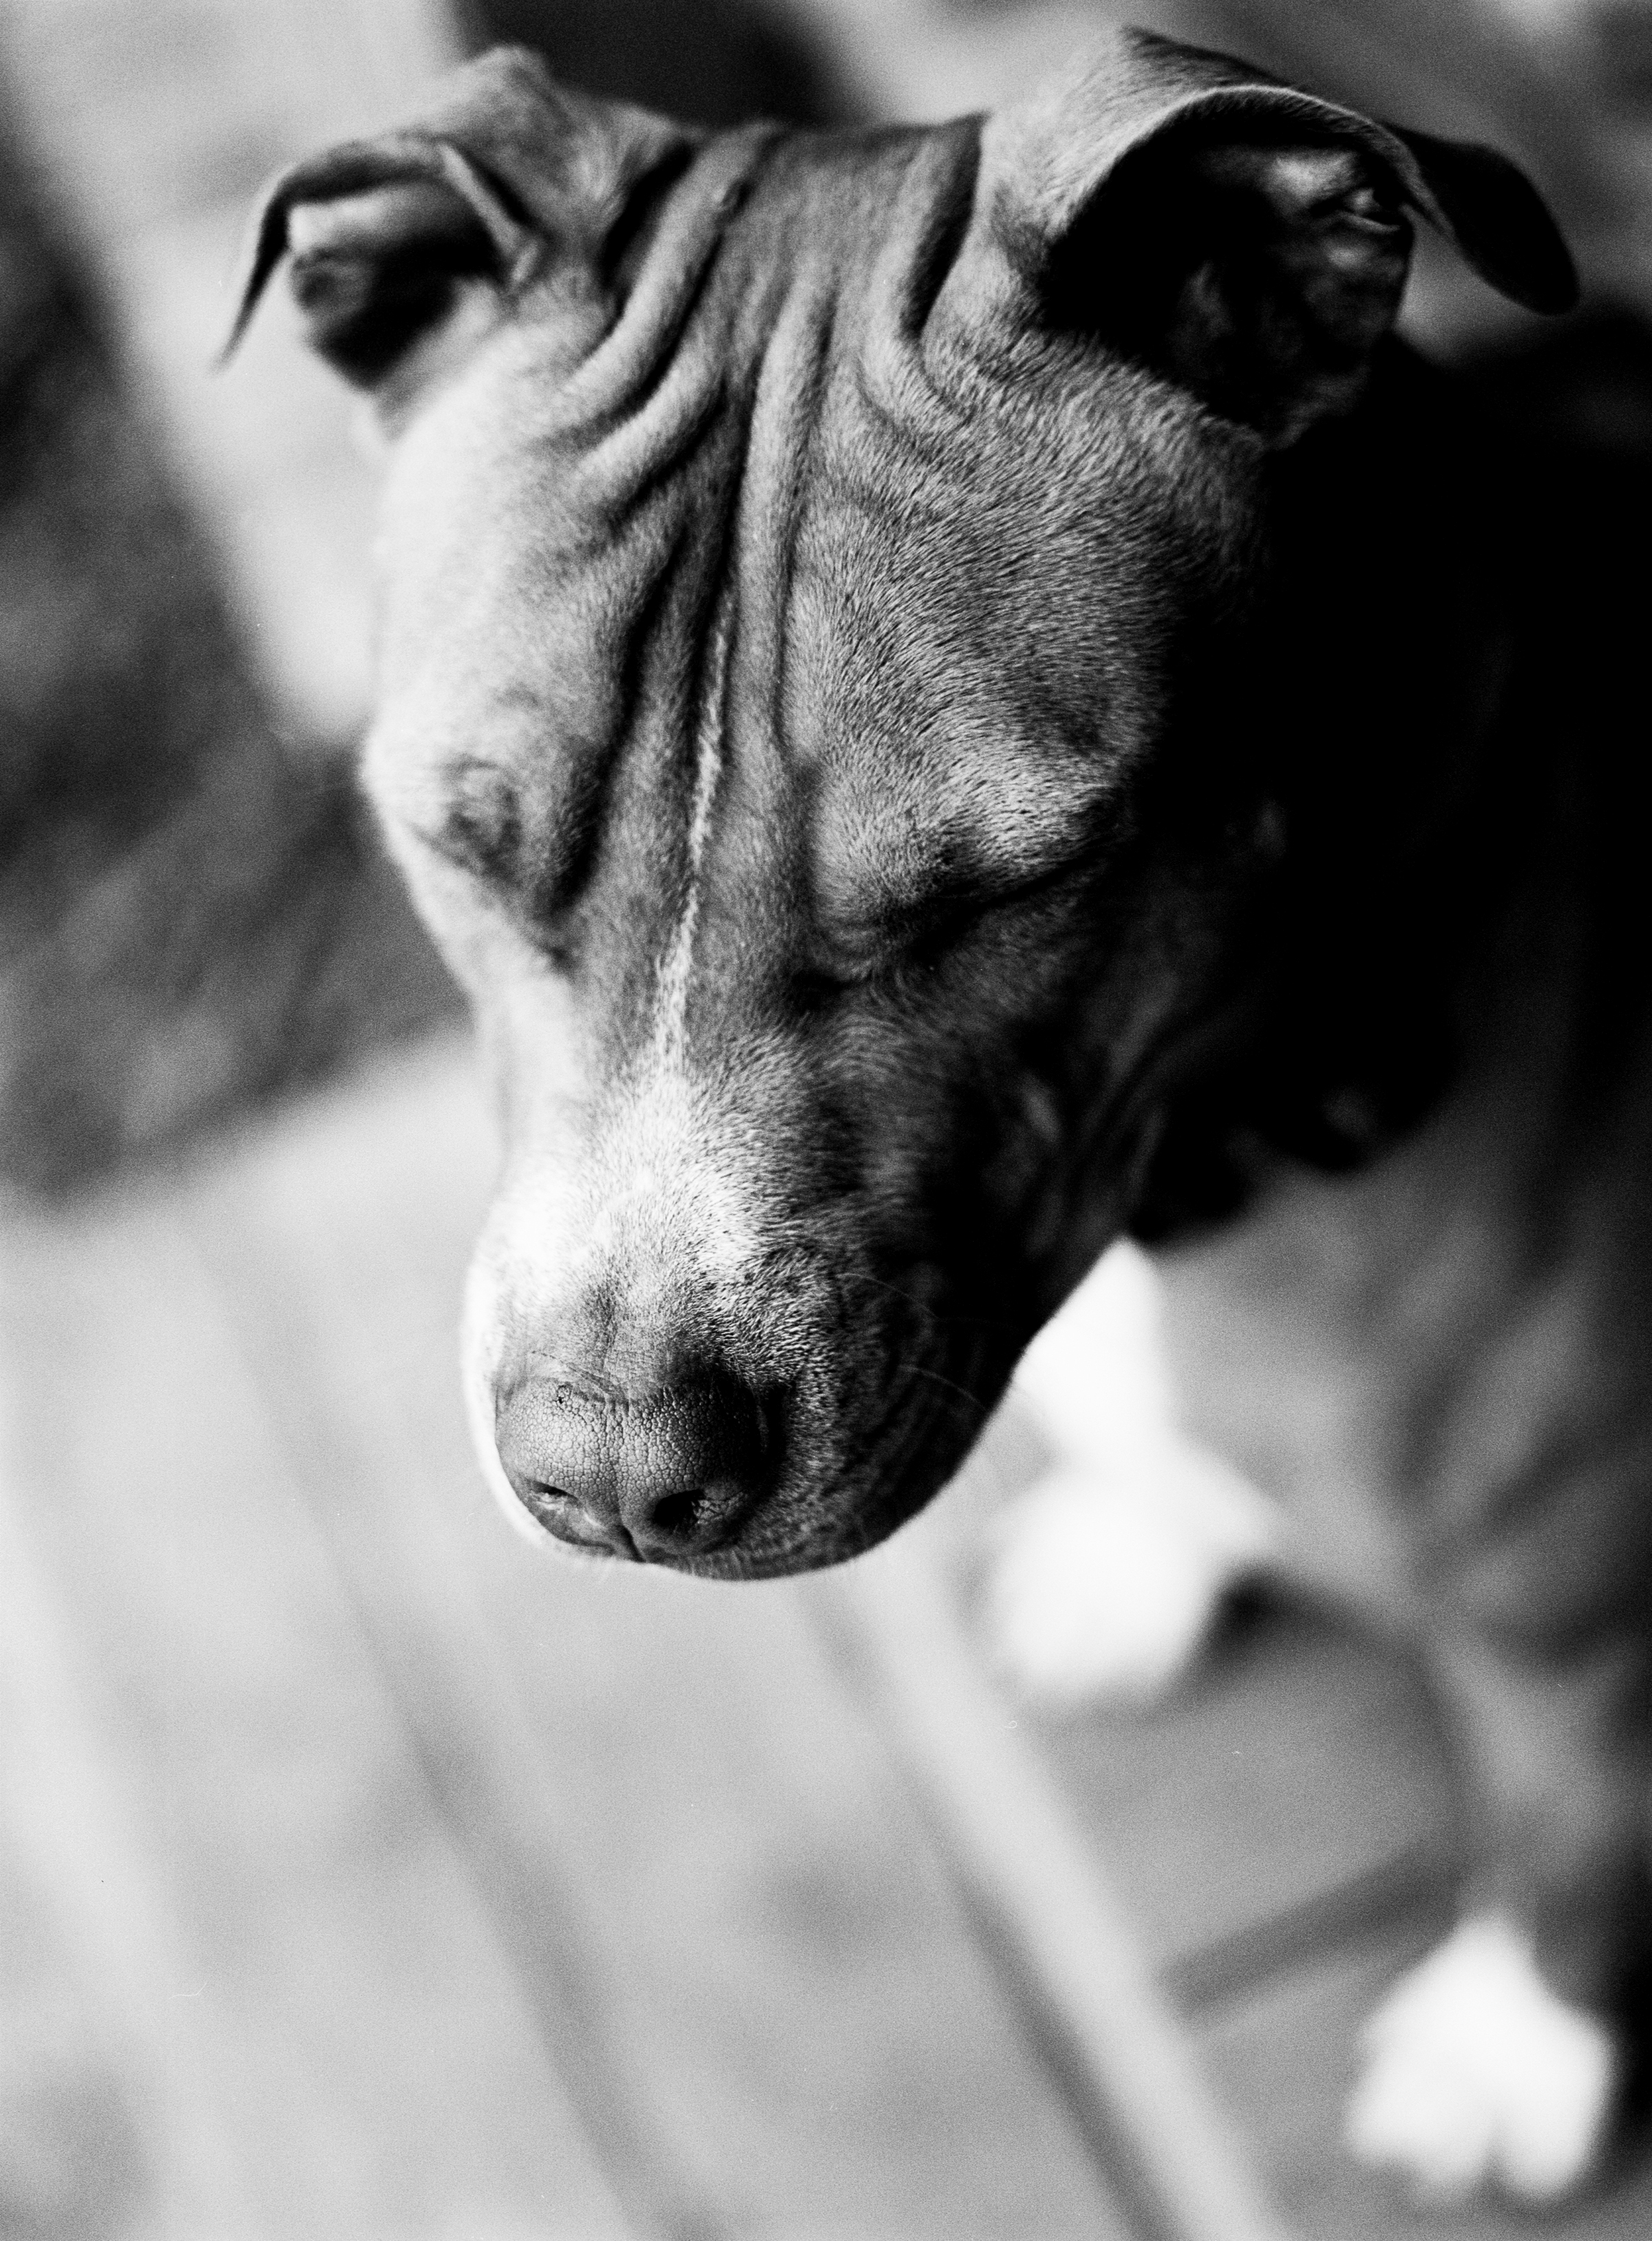
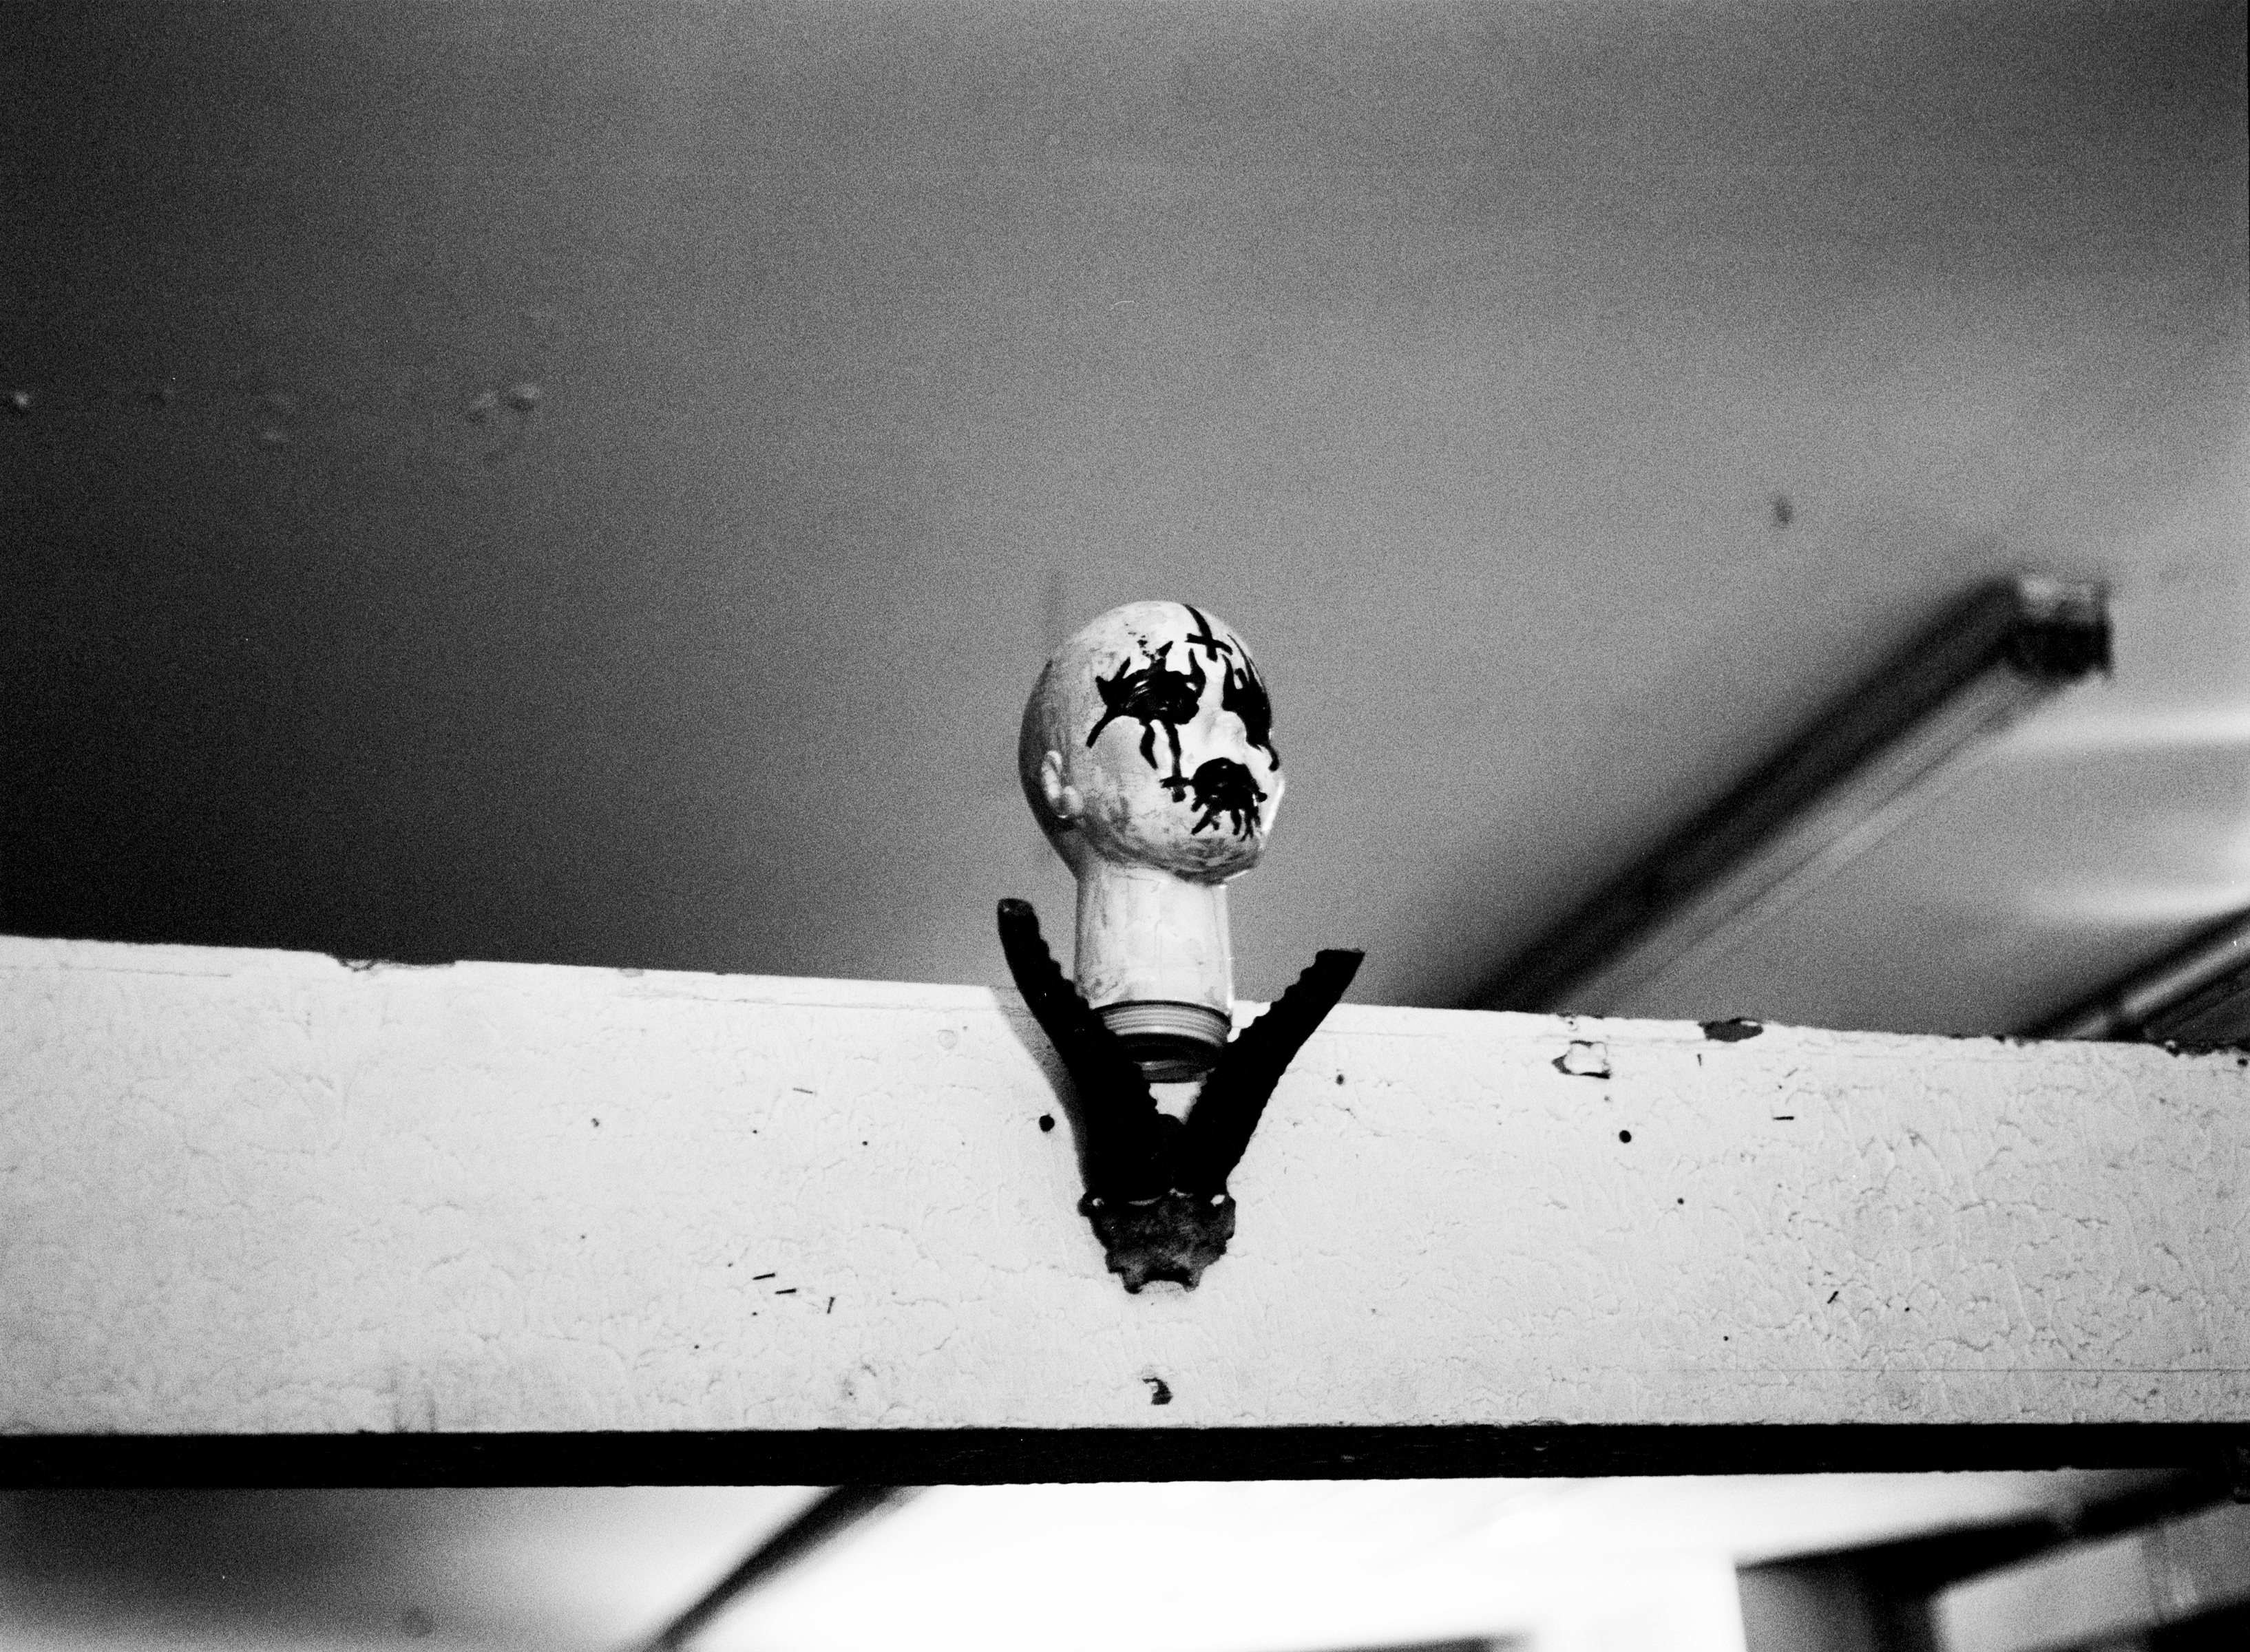
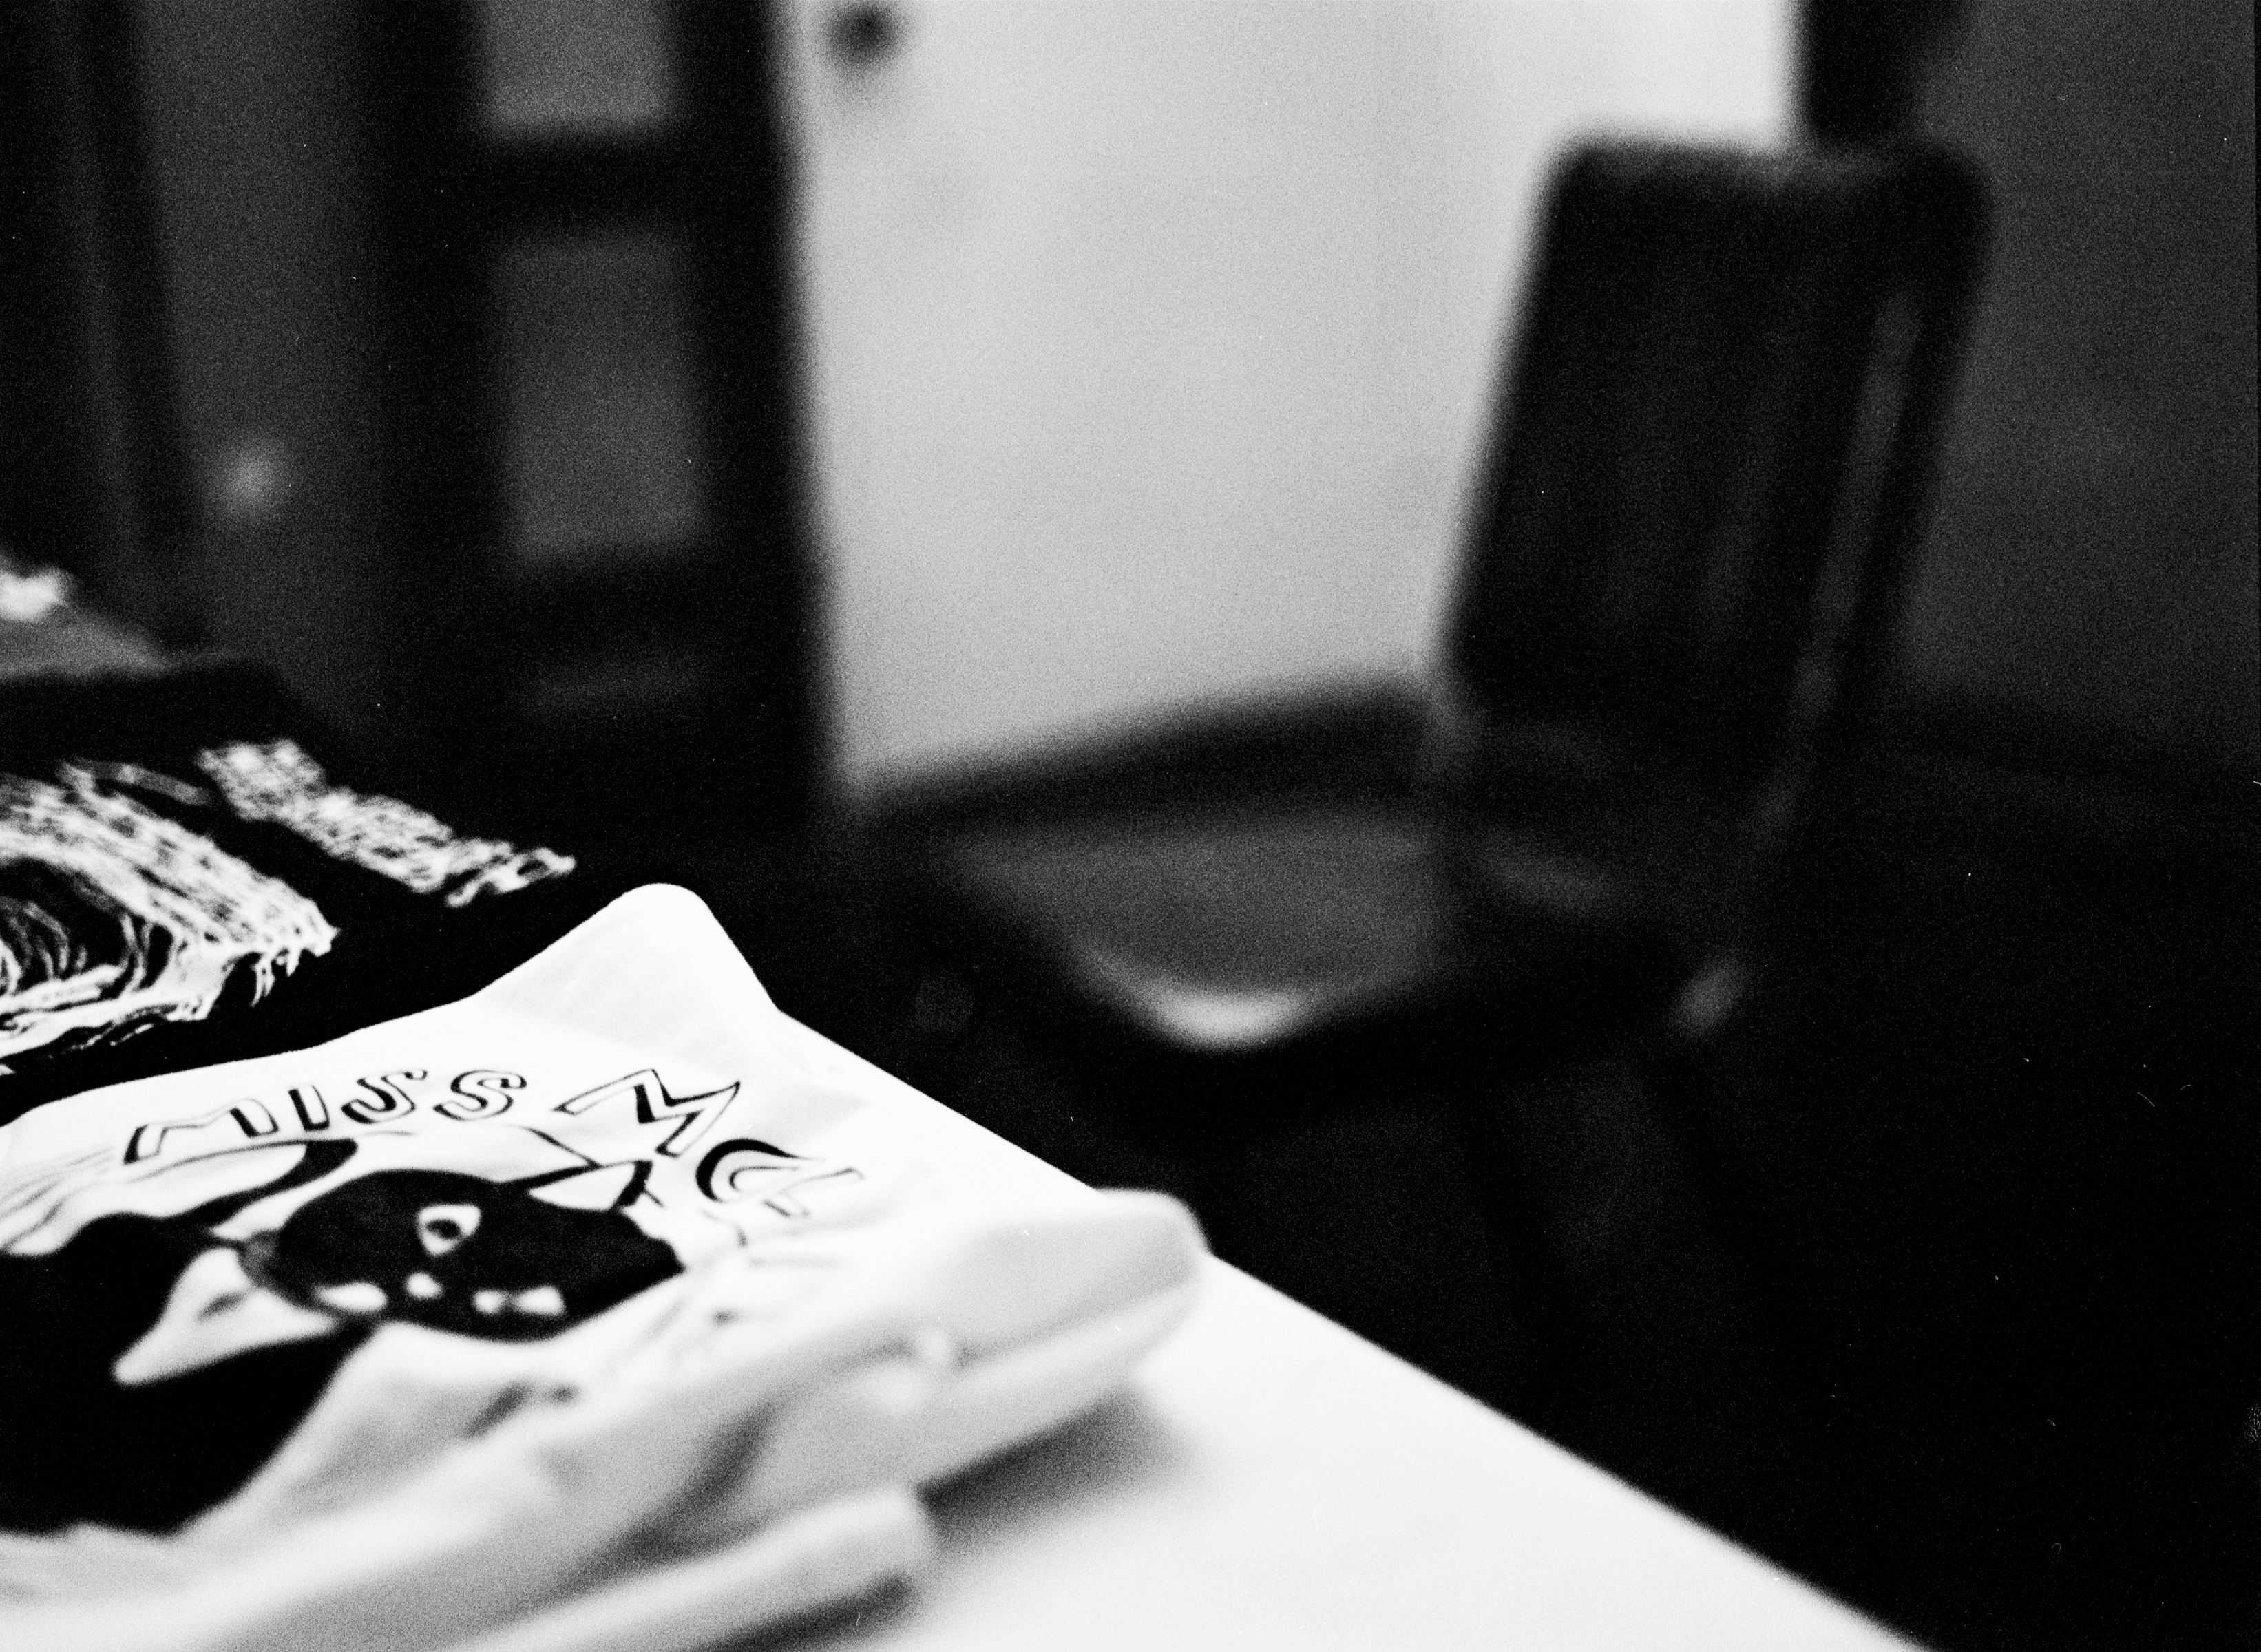
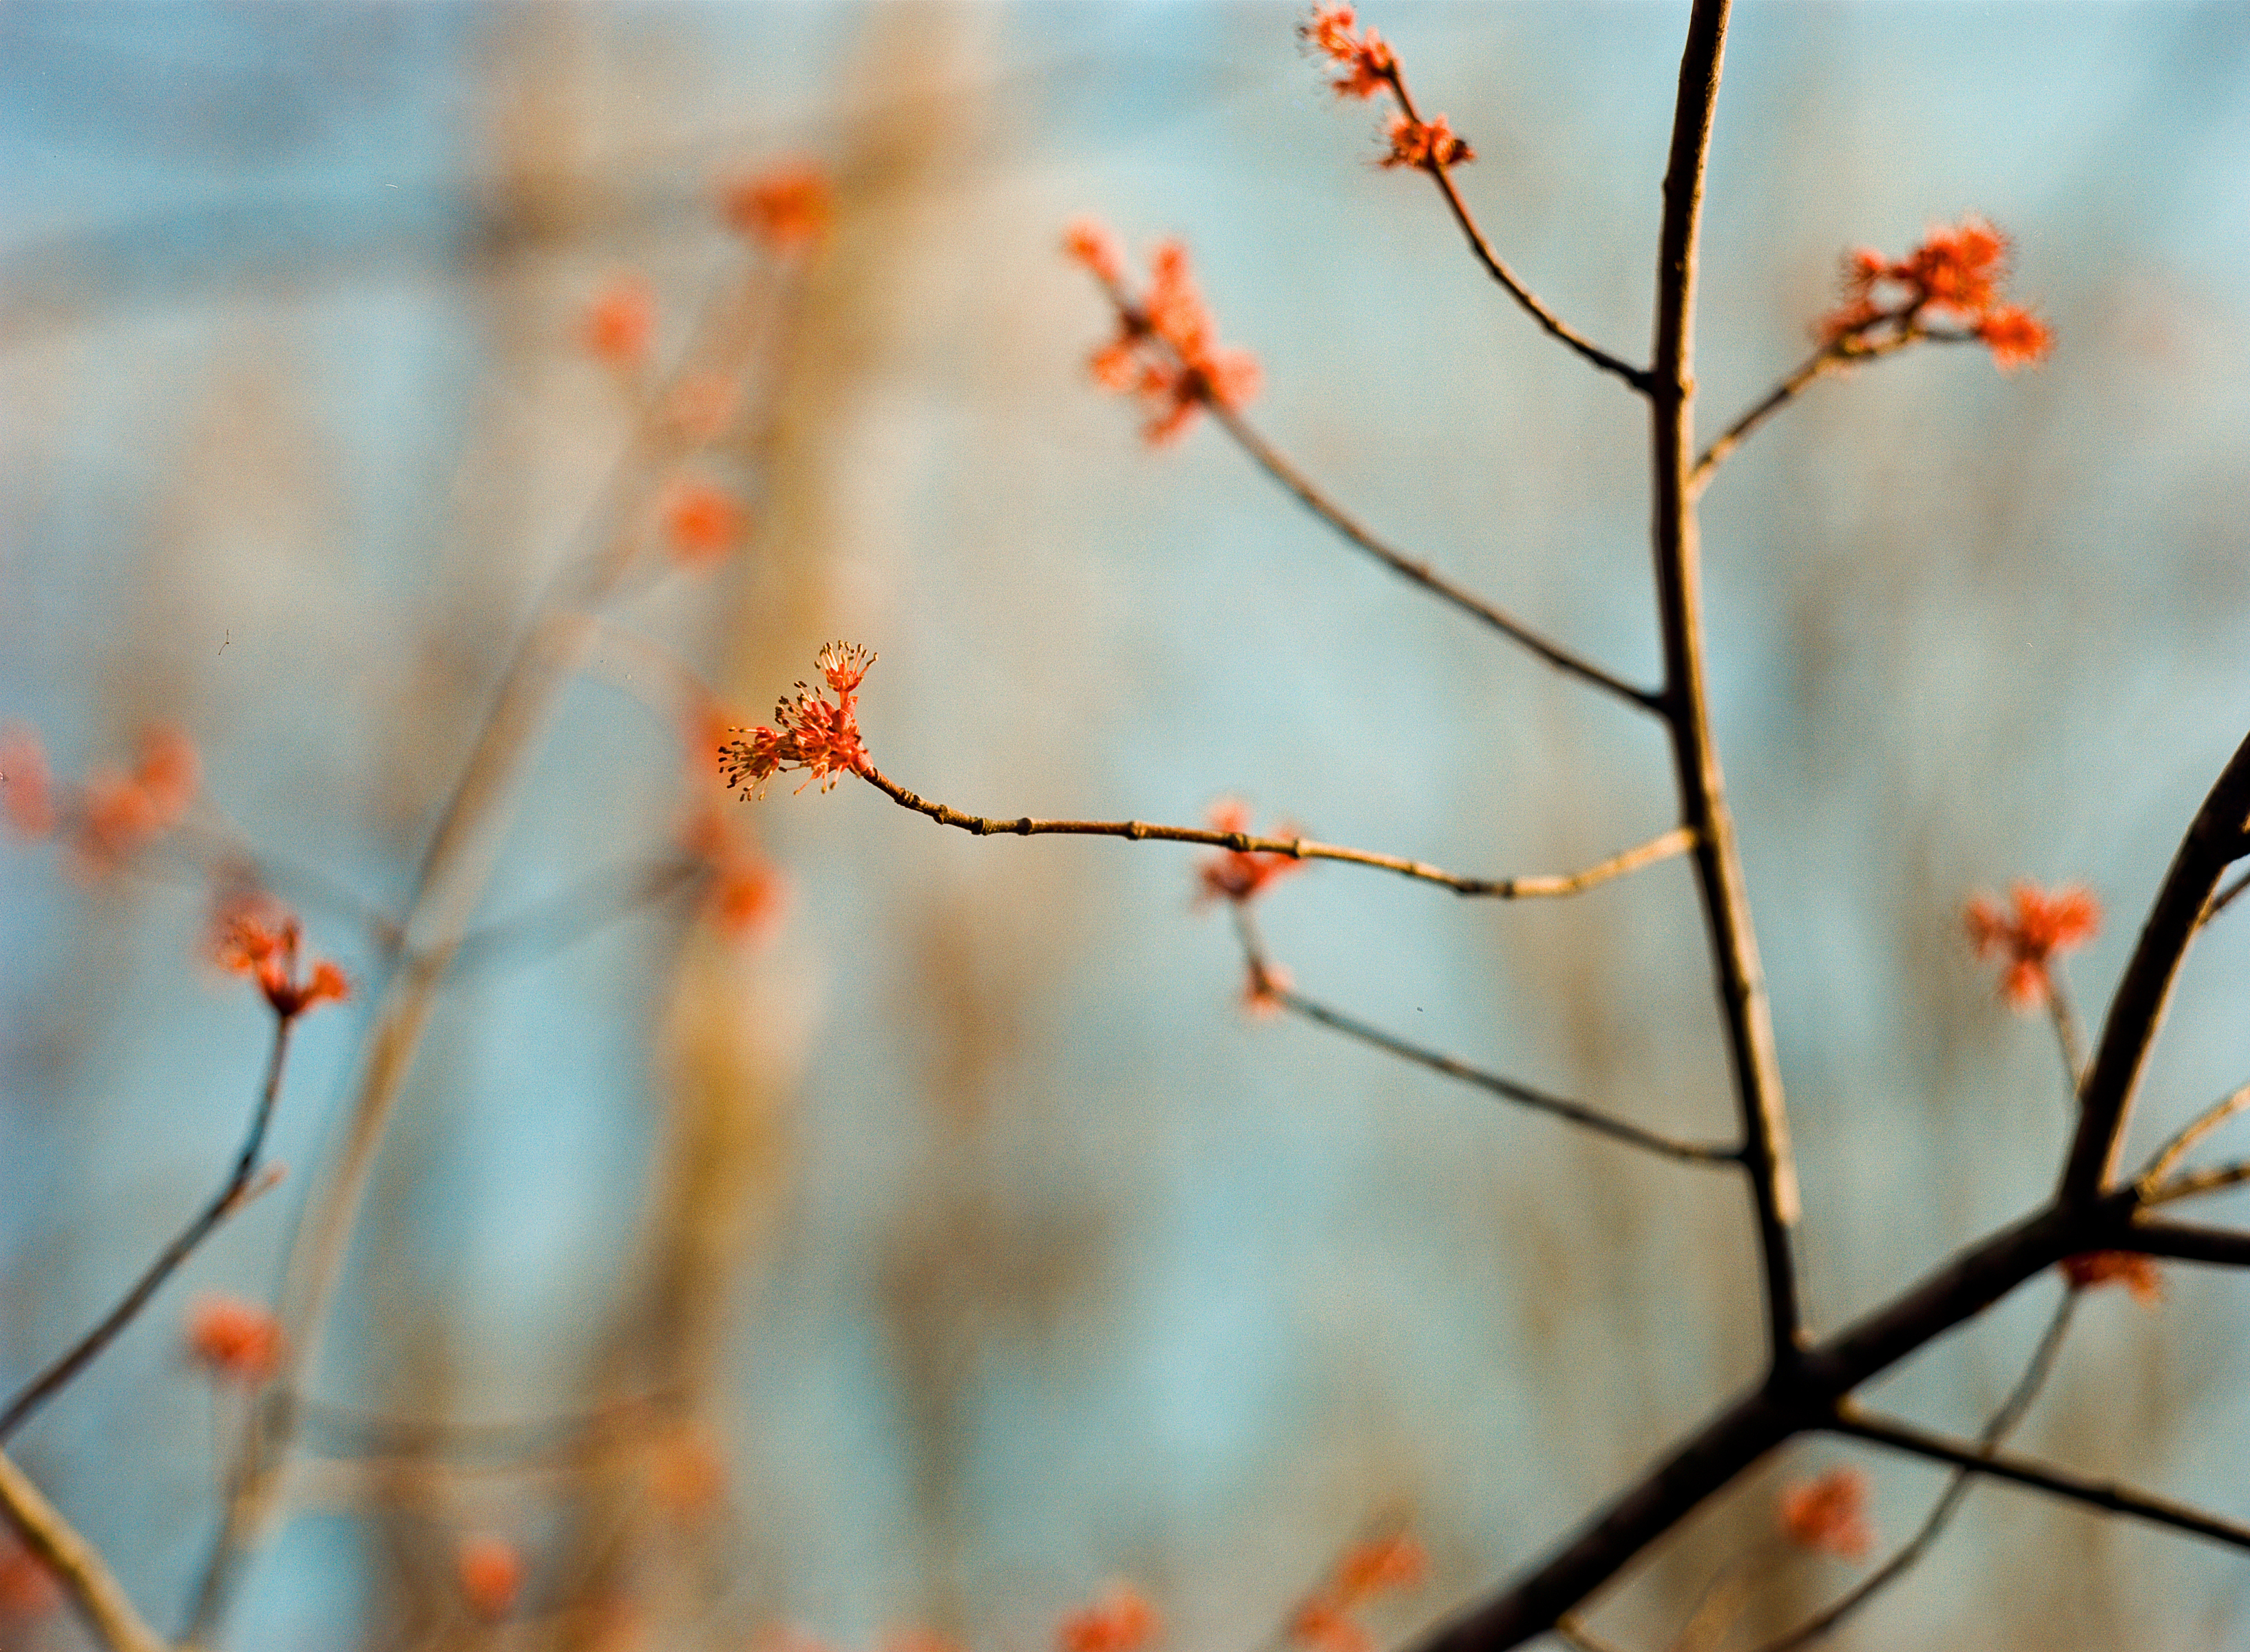
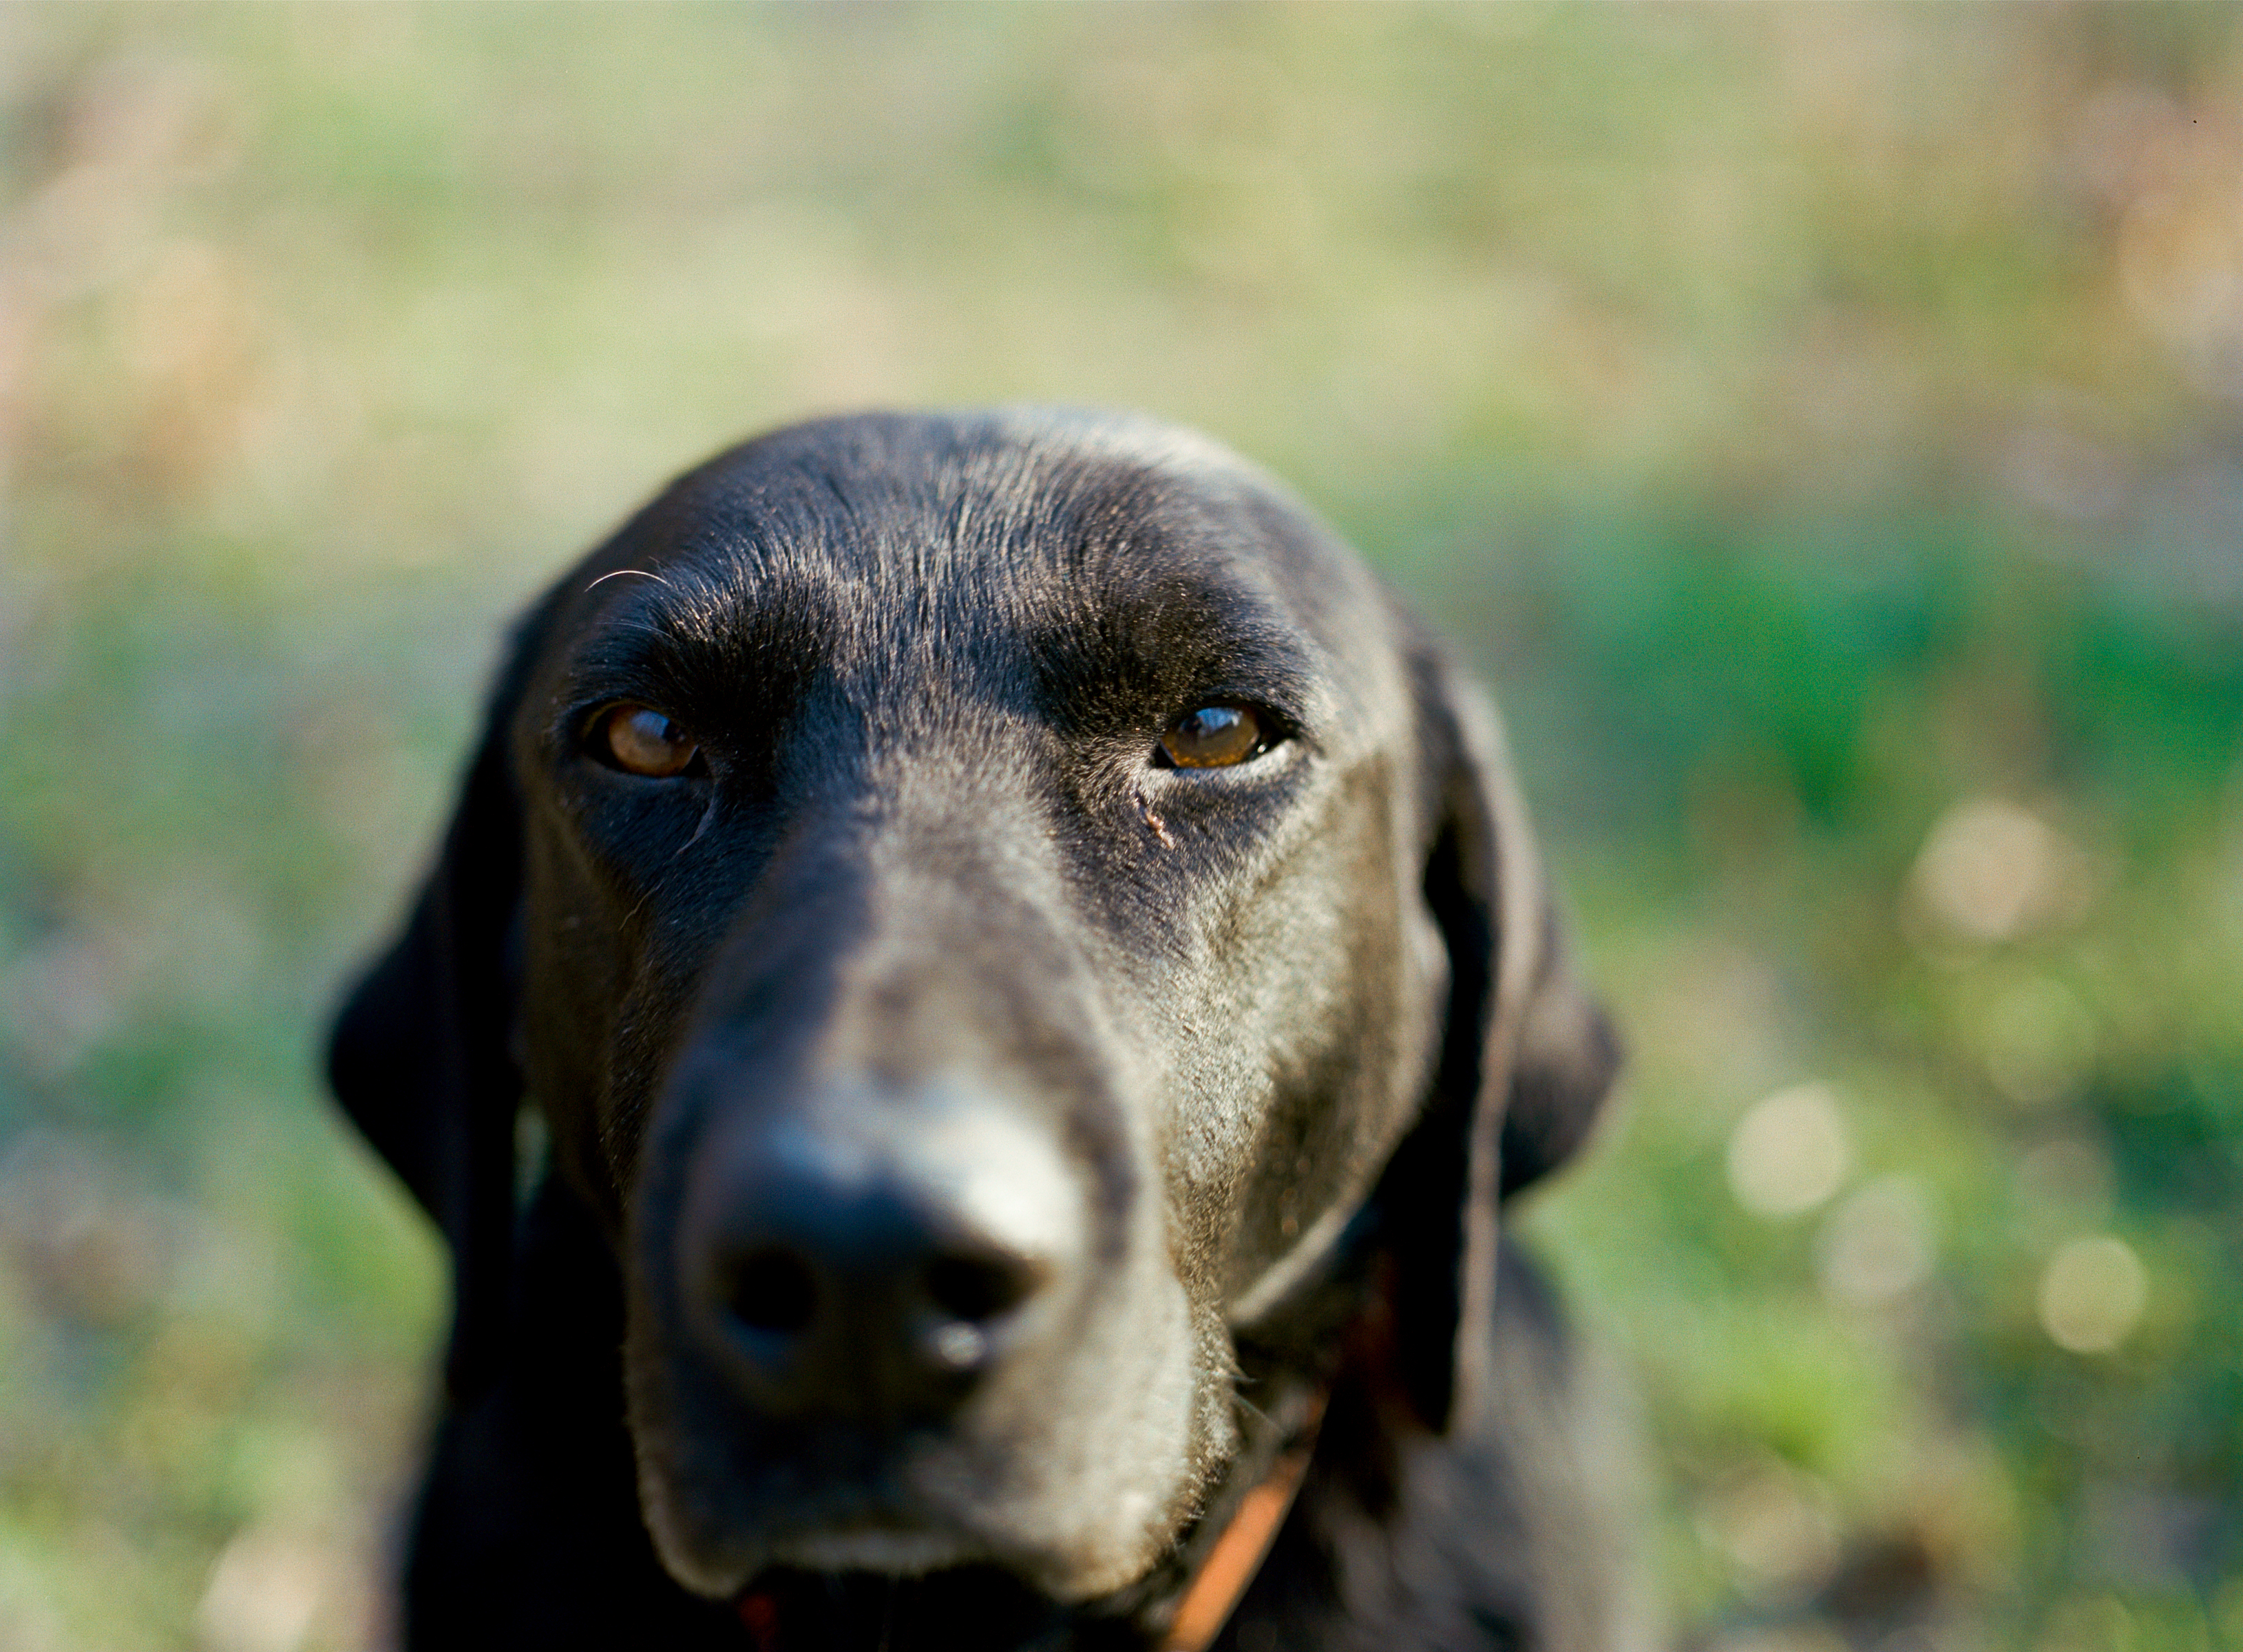
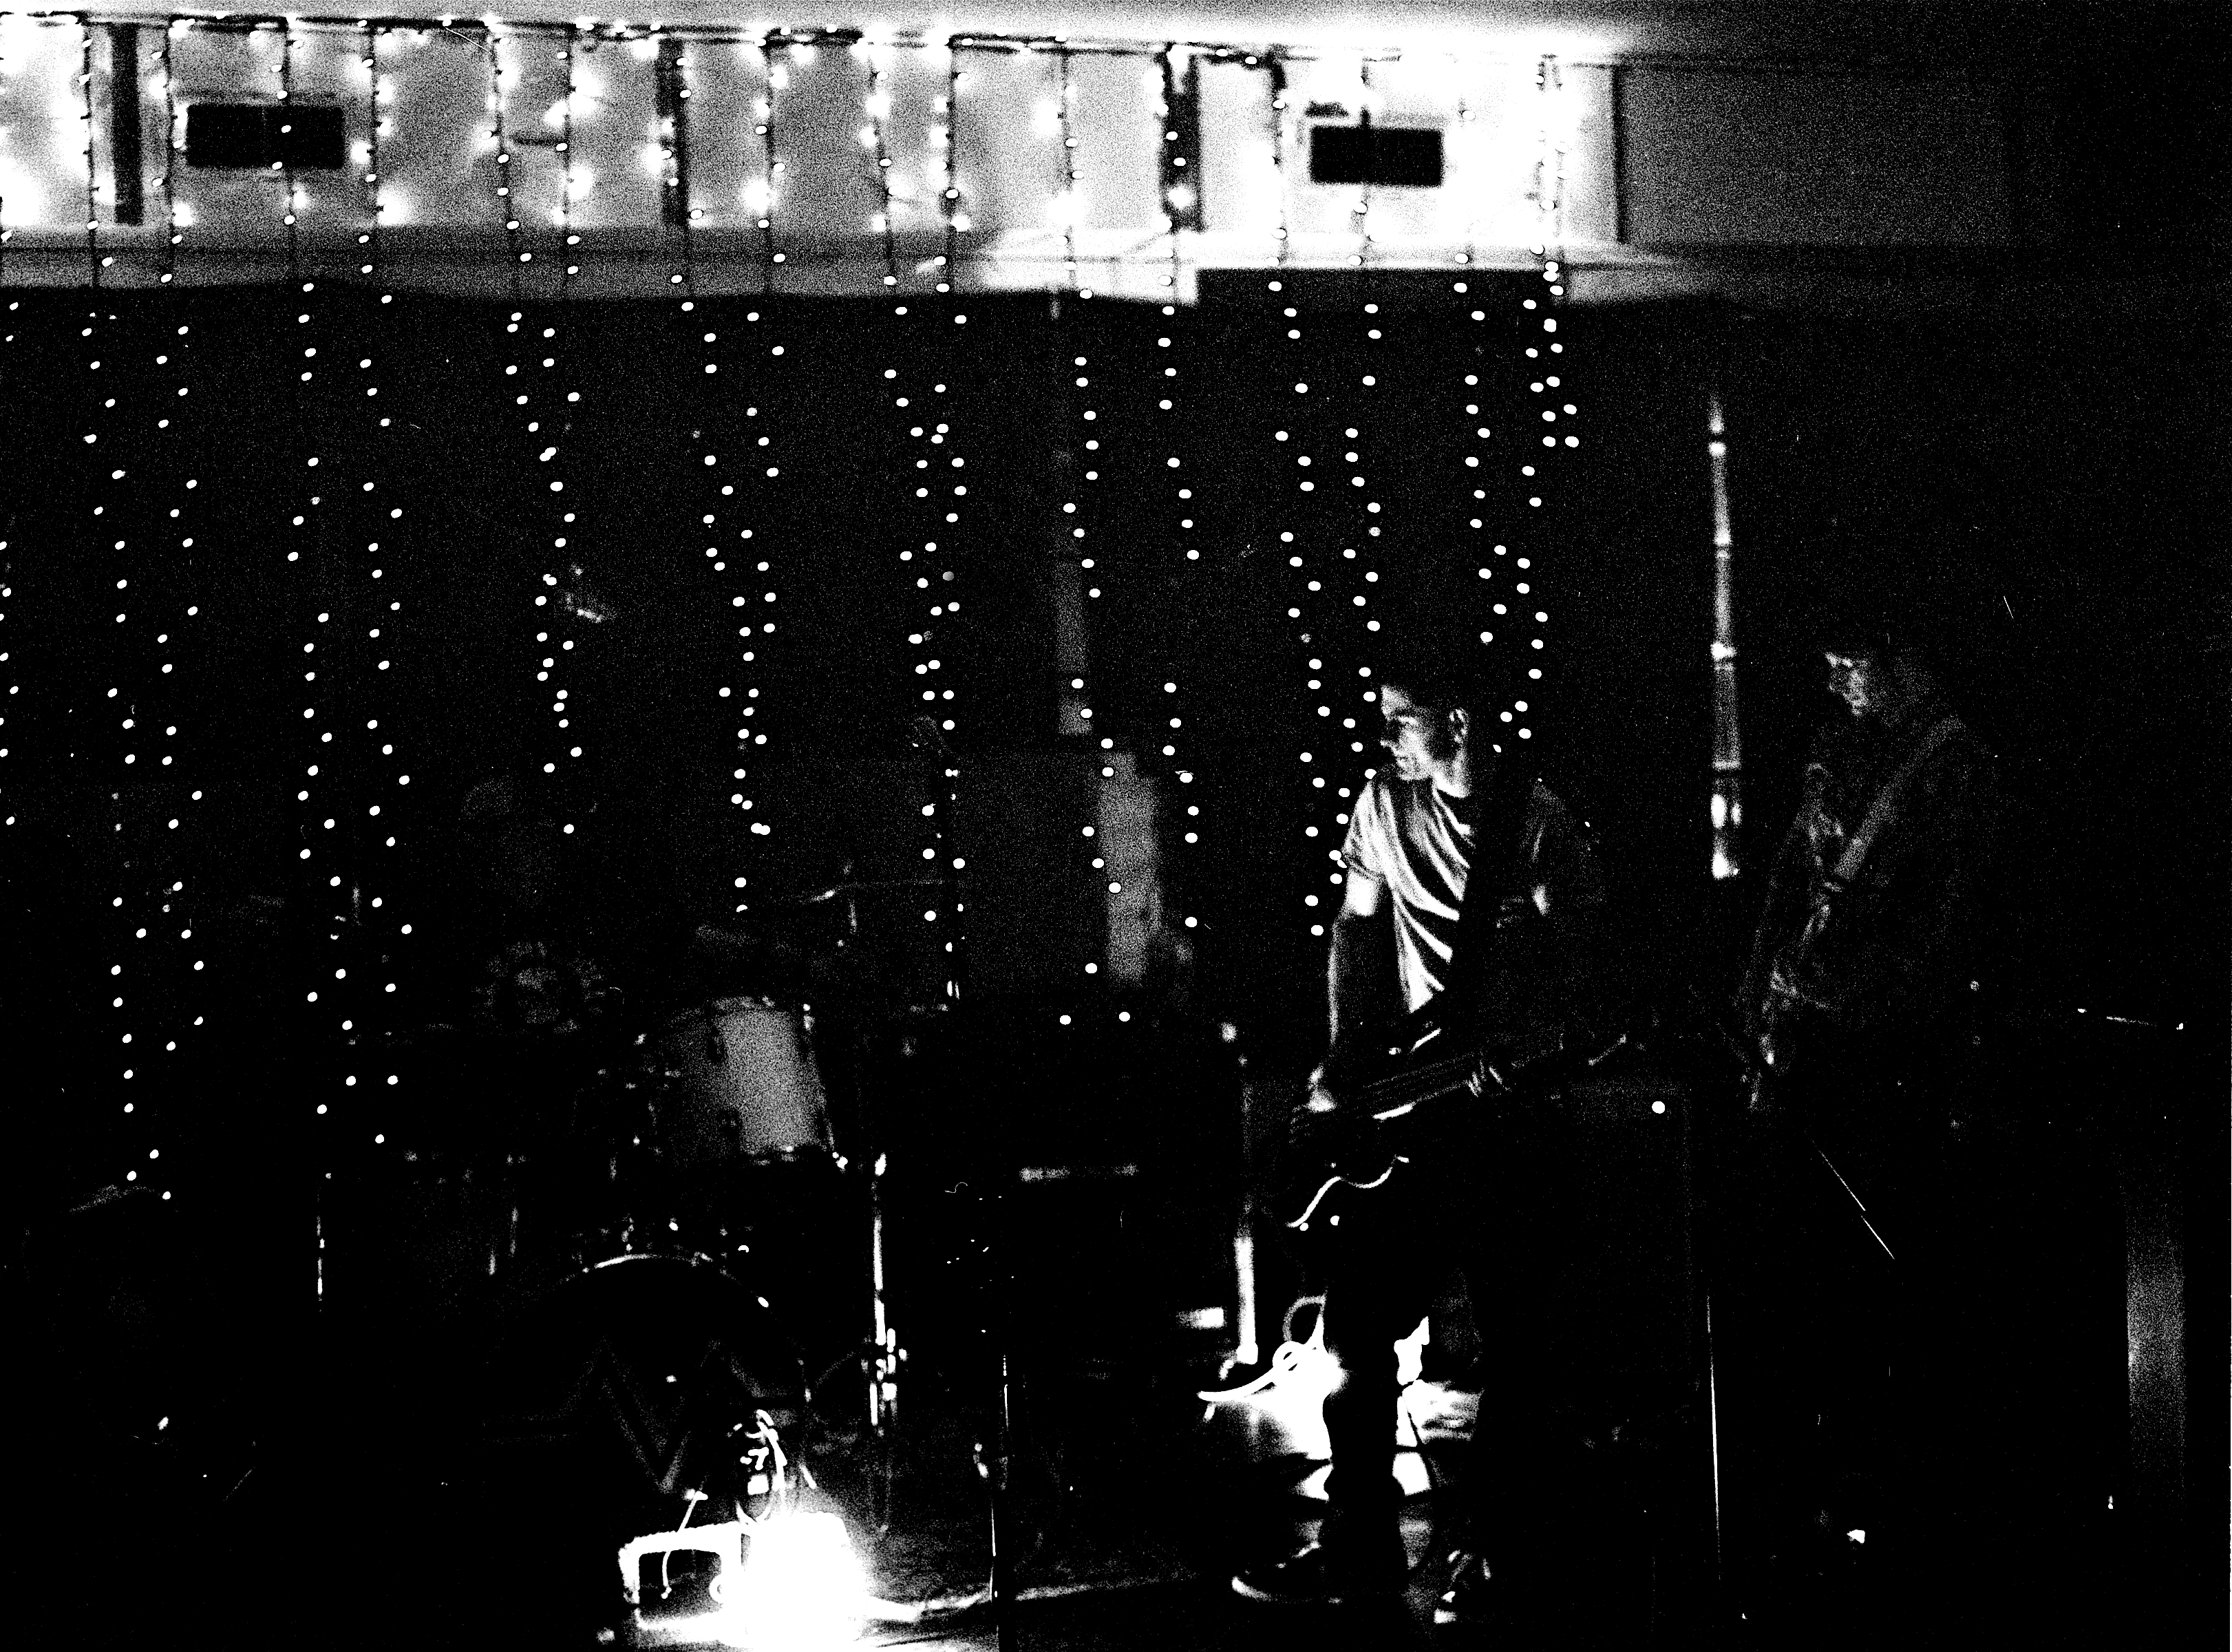
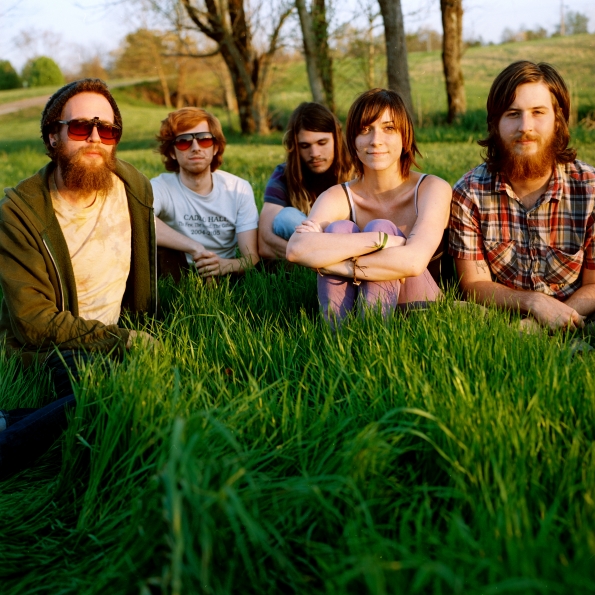
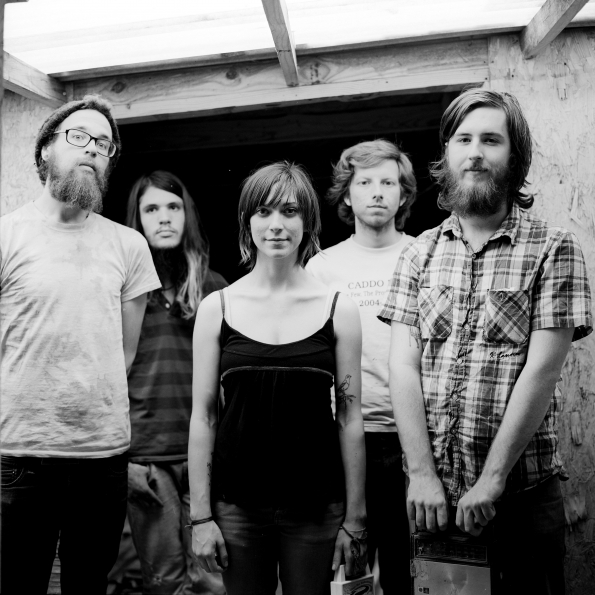
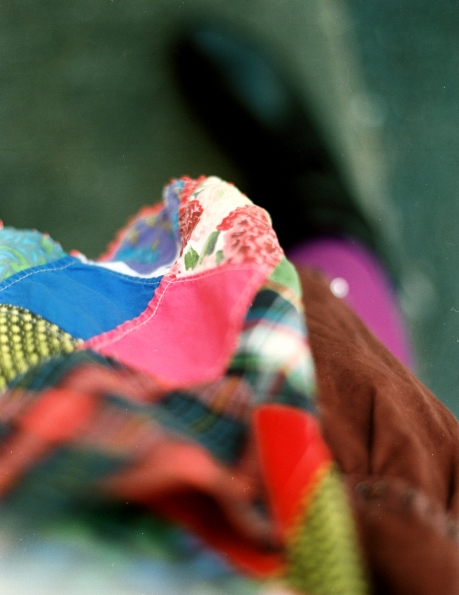
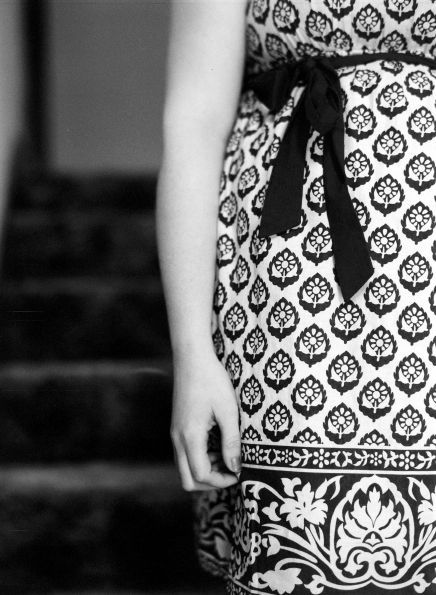
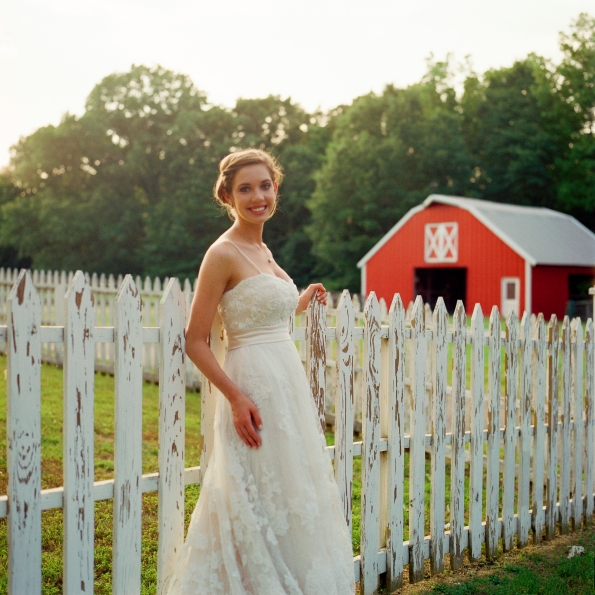
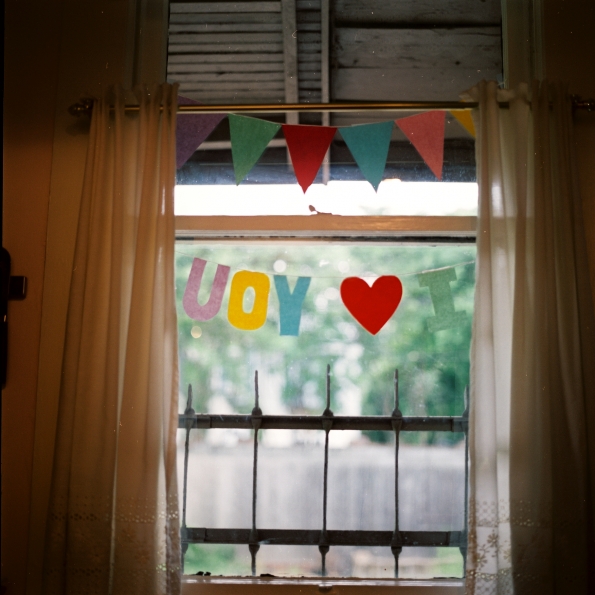
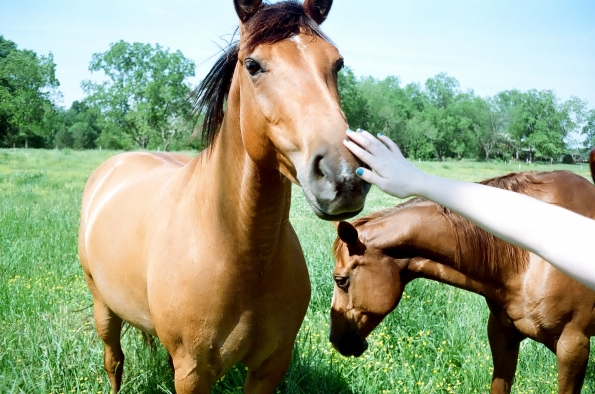
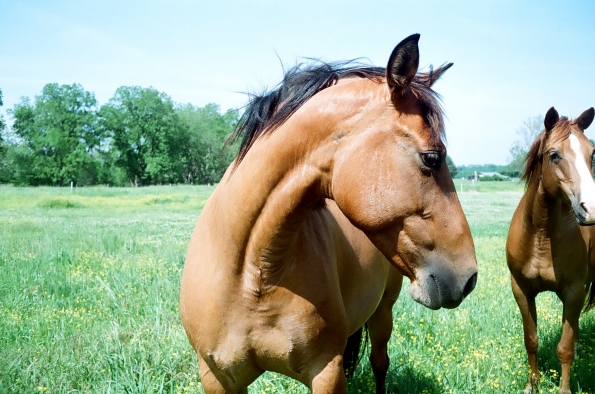
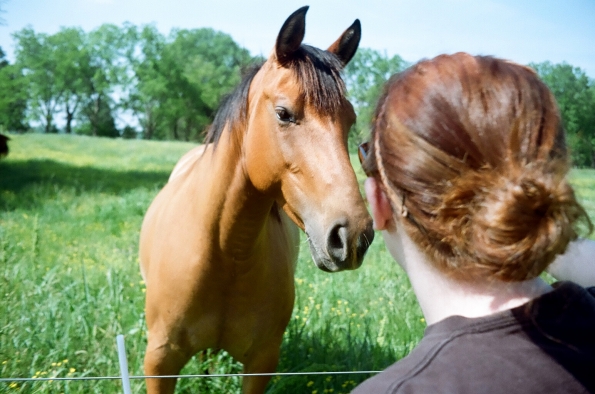
Bronica ETRSi • Zenzanon 75mm/2.8 EII • Ilford XP2/Kodak Portra 160/Ilford XP2 shot @ 1600 ASA
I hope to have a very fruitful relationship with my Bronica – it will be my steady date on both professional and personal occasions. Don’t be surprised if I ask my Bronica to run away to England me one of these days ♥♥♥
*I would not kick a Hasselblad out of bed though, if I’m honest.
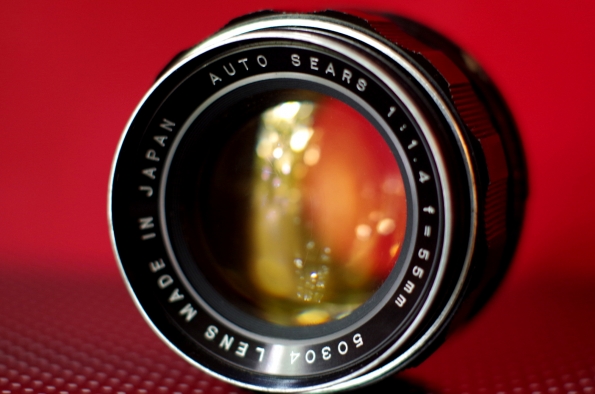
 Nikon D50 + Sears 55mm/1.4
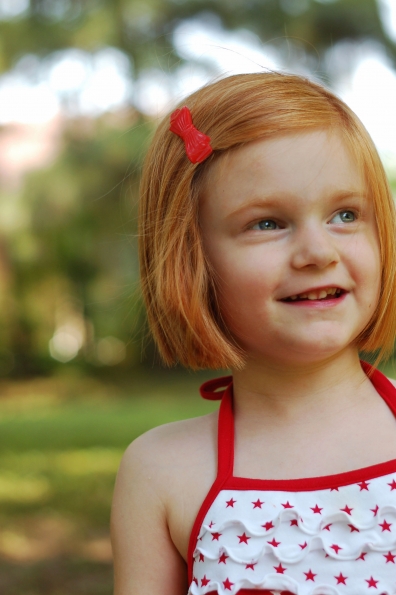
 Praktica VLC3 + Sears 55mm/1.4
 Praktica VLC3 + Sears 55mm/1.4
 Praktica VLC3 + 55mm/1.4
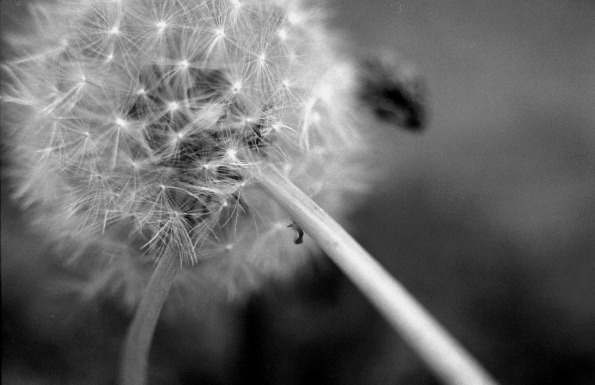 Praktica VLC3 + Sears 55mm/1.4 + macro extension tubes
 Praktica VLC3 + Sears 55mm/1.4
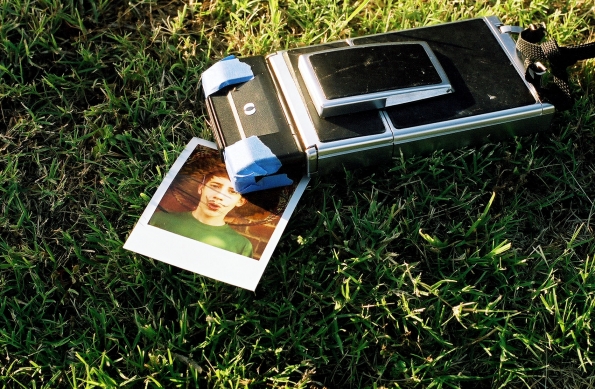 Praktica VLC3 + Sears 55mm/1.4
 Yashica TL Electro-X + Sears 55mm/1.4
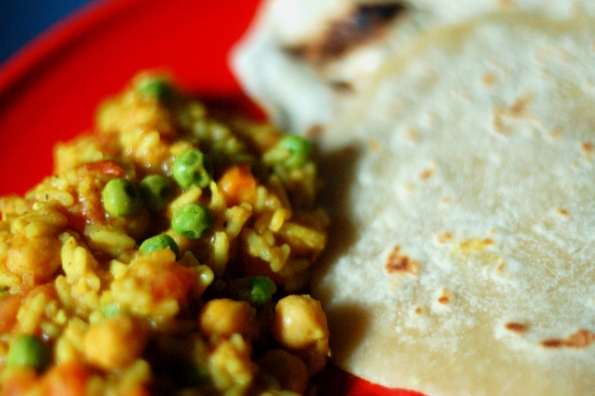 Nikon N50 + Sears 55mm/1.4
 Nikon D50 + Sears 55mm/1.4 + macro extension tubes
 Nikon D50 + Sears 55mm/1.4
 Nikon D50 + Sears 55mm/1.4
 Nikon N8008 + Sears 55mm/1.4 + macro extension tubes
 Nikon FE + Sears 55mm/1.4 + macro extension tubes
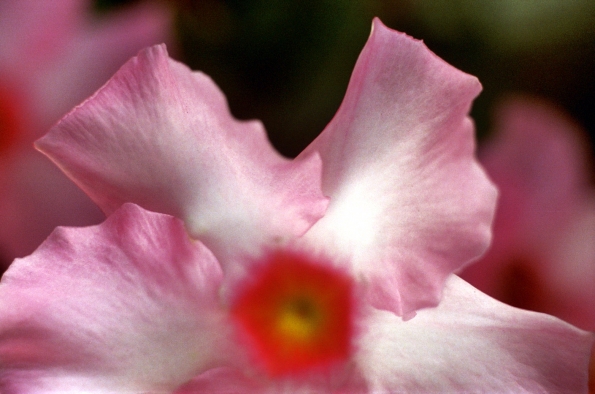 Nikon FE + Sears 55mm/1.4 + macro extension tubes
 Nikon FE + Sears 55mm/1.4
 Nikon FE + Sears 55mm/1.4 + macro extension tubes
 Nikon FE +Sears 55mm/1.4 + macro extension tubes
 Nikon FE + Sears 55mm/1.4 + macro extension tubes
 Nikon FE + Sears 55mm/1.4 + macro extension tubes
 Nikon FE + Sears 55mm/1.4 + macro extension tubes
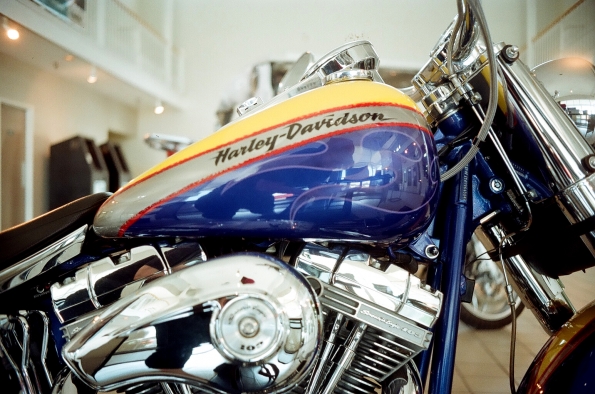
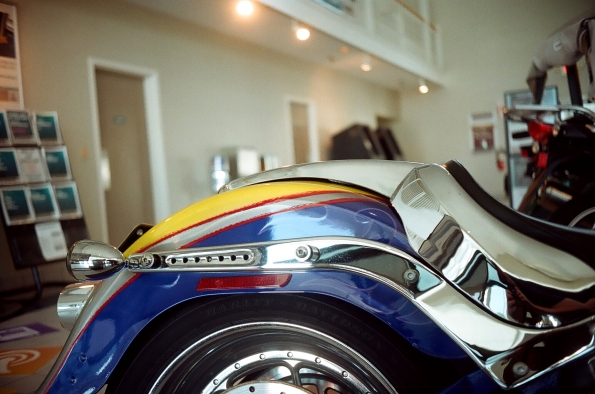
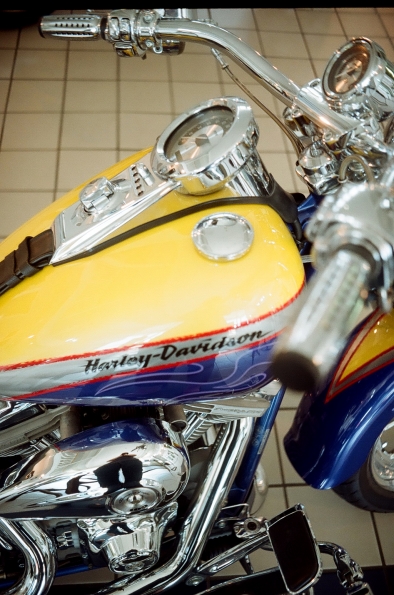 One of the custom motorcycles on display at an auto auction where my family caters meals
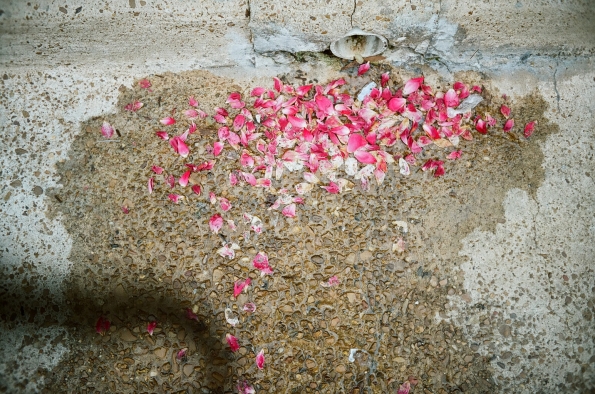 Fallen petals
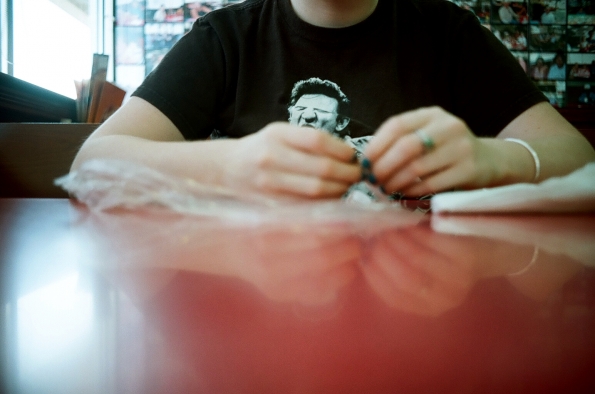 The day Mallory came to visit me down in the great state of Mississippi
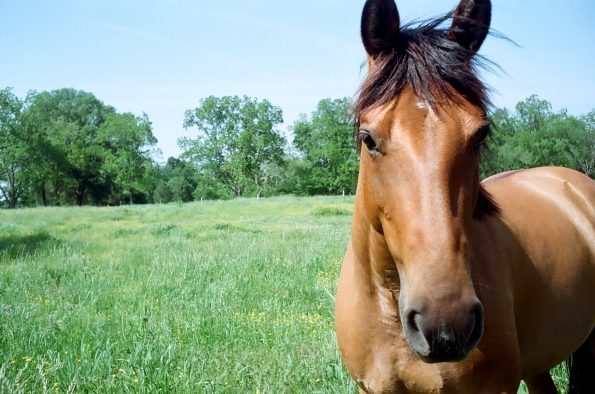
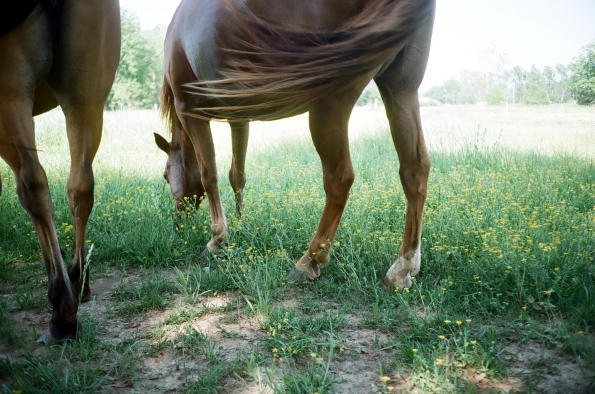
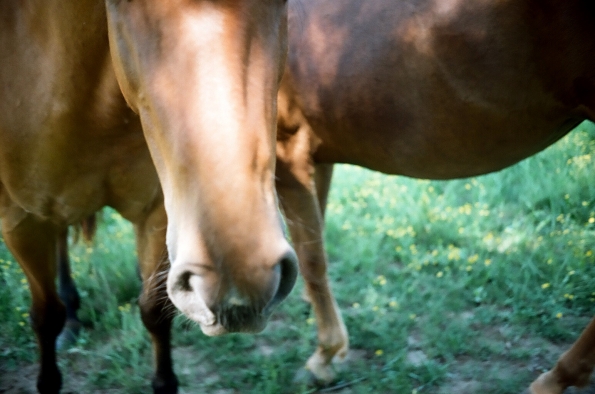
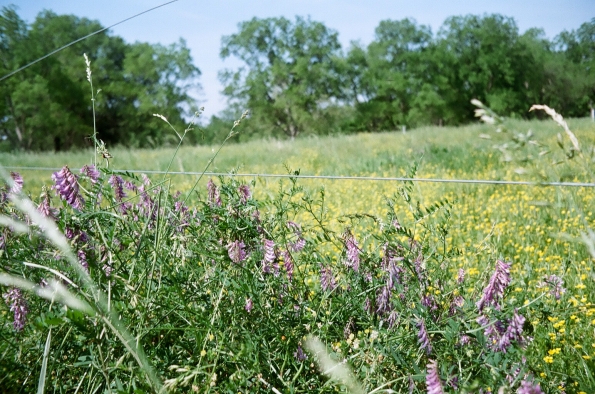 Wildflowers and weeds while we were sitting under a tree in front of the horse pasture
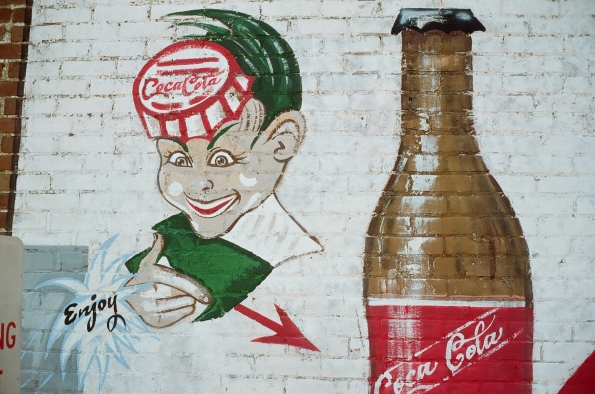
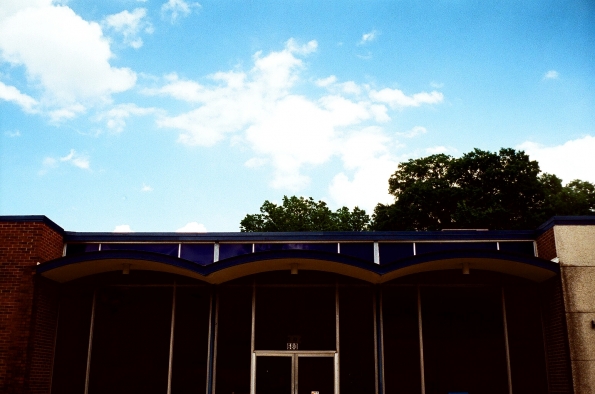
 A beauty shop in my town, that I love to photograph
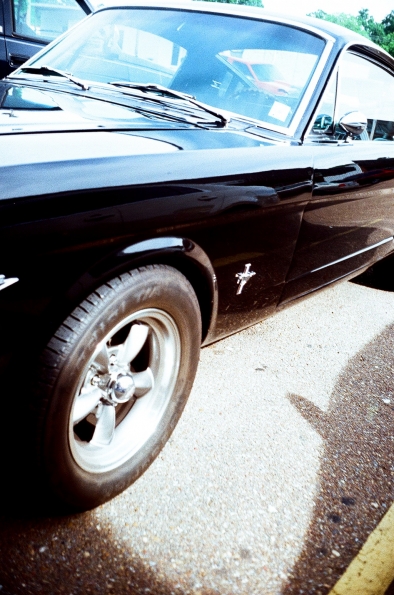 Mustang
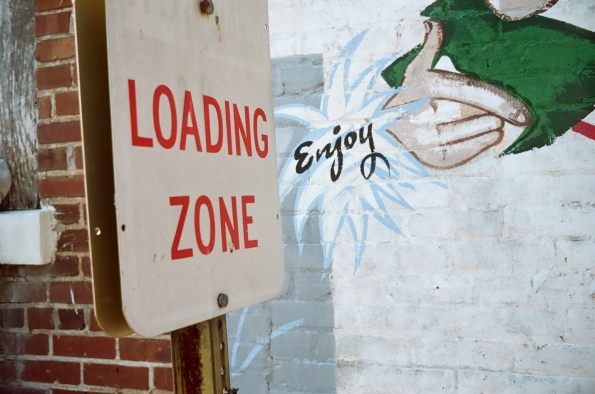
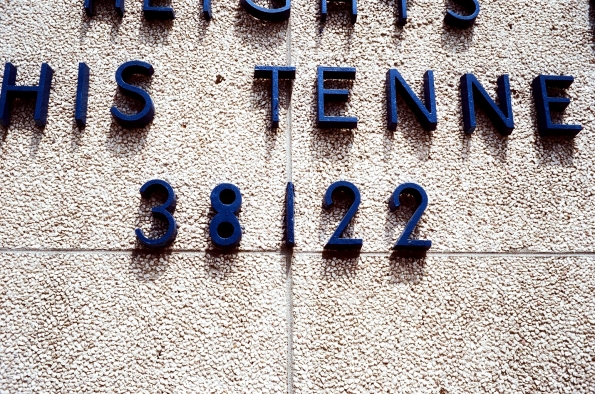
 Discarded shop sign
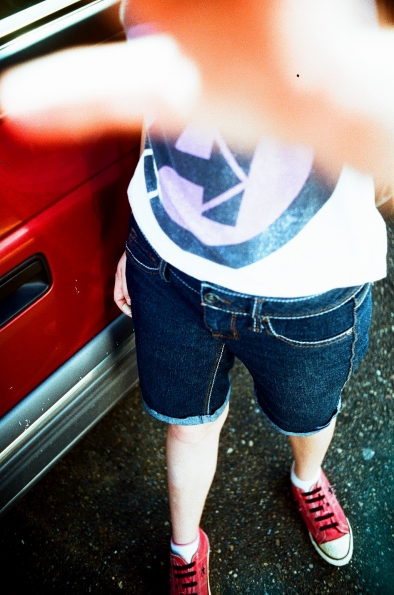 “Please, no pictures”
 Ghostly niece and dogs
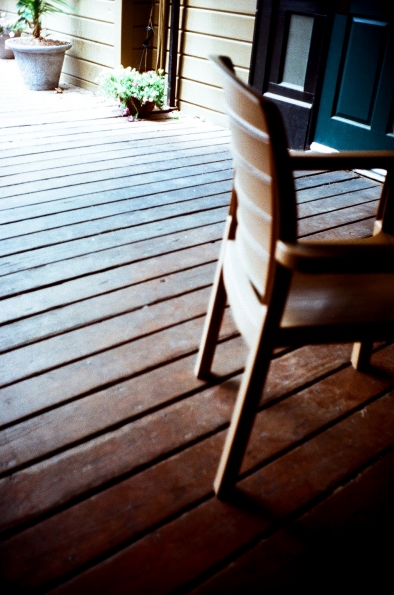 Lunch on the Memphis Pizza Cafe patio
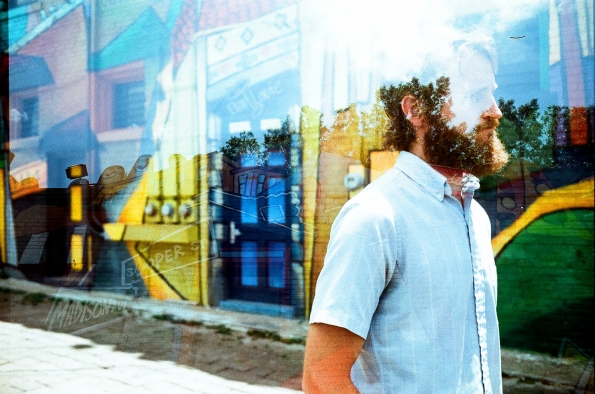 Inexplicable double exposure of my friend during a Midtown photo shoot
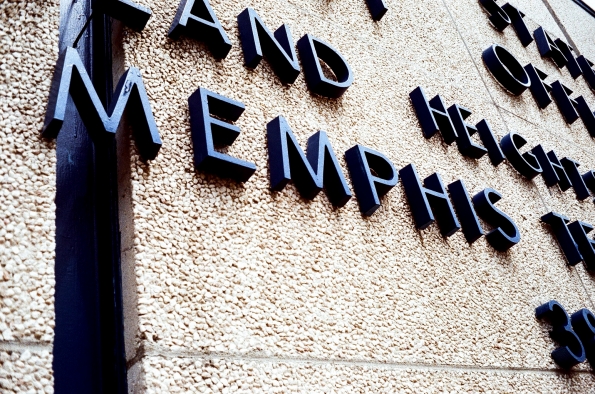
 One of my favorite post offices
 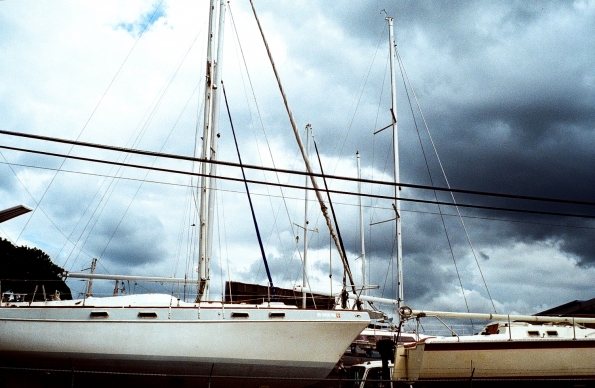 Boat shop drive-by
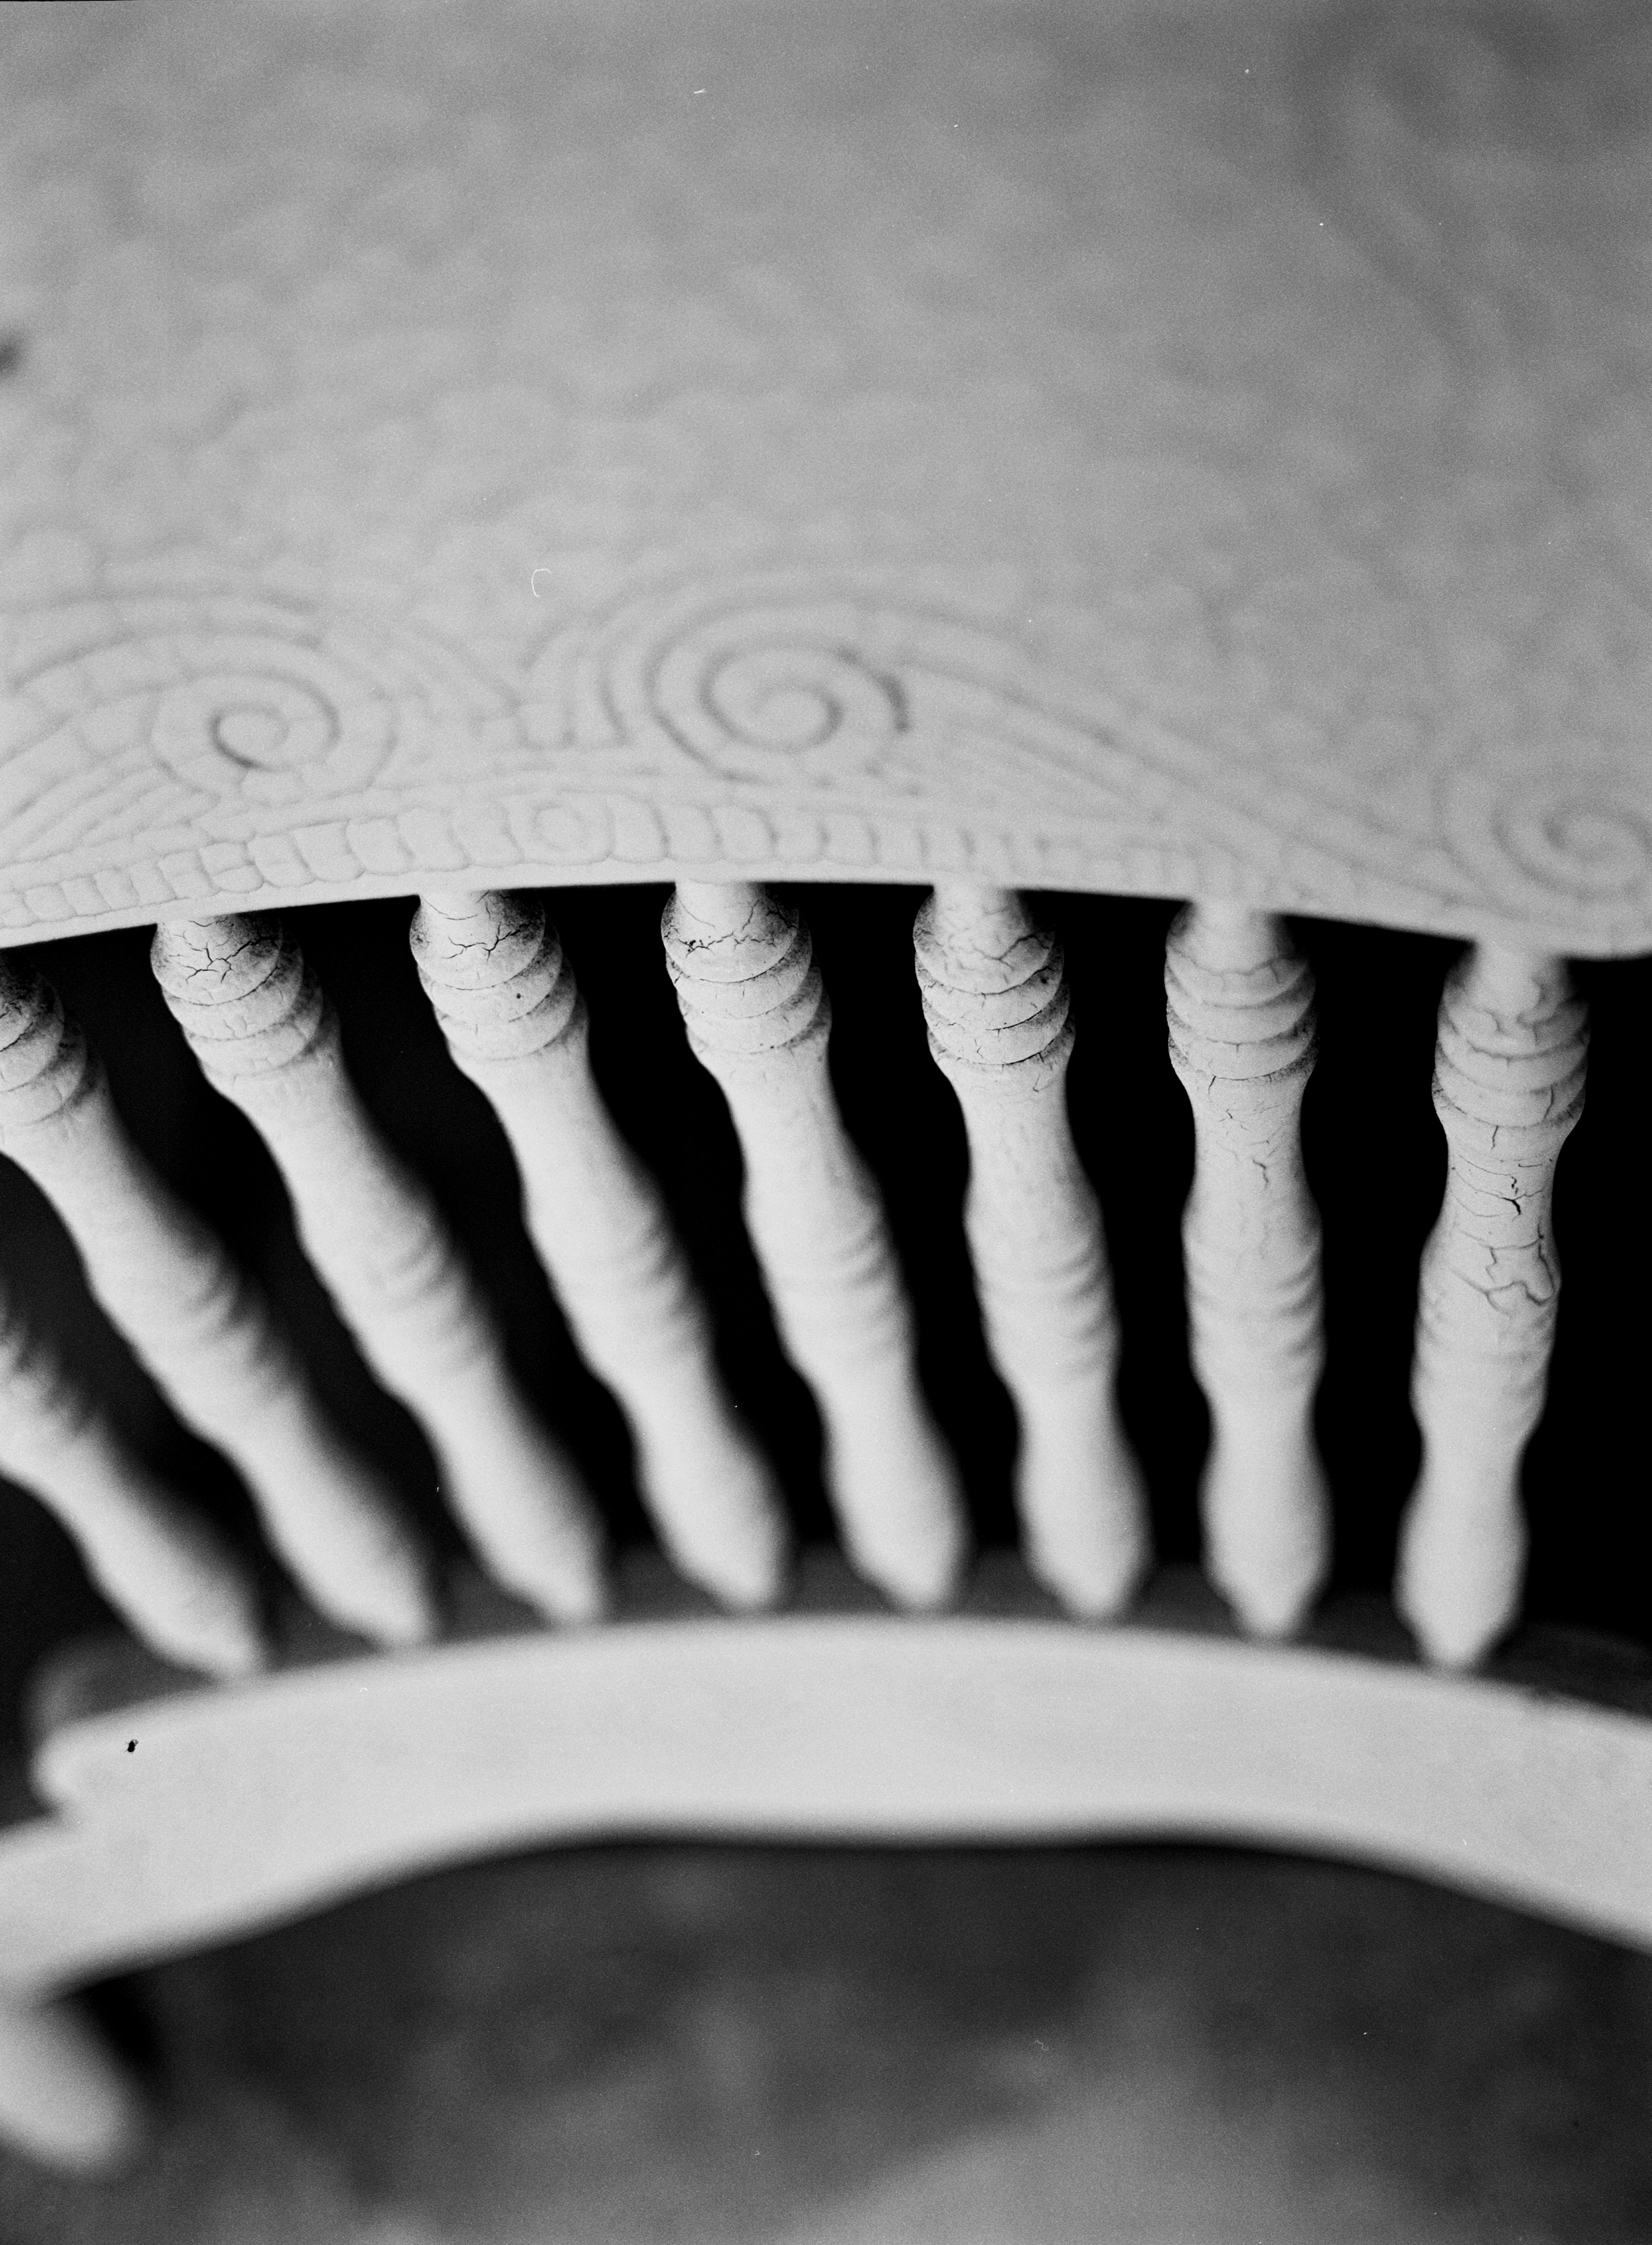
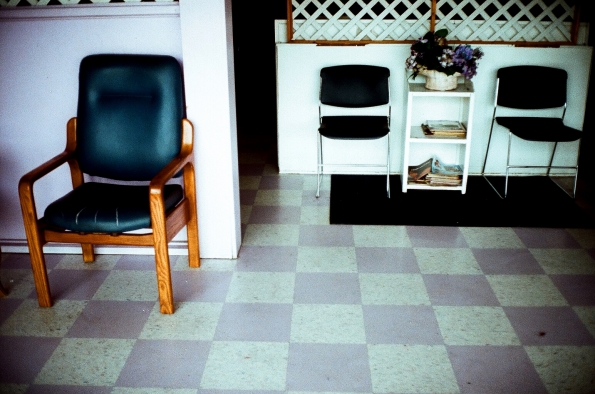
 Cracker Barrel rockers
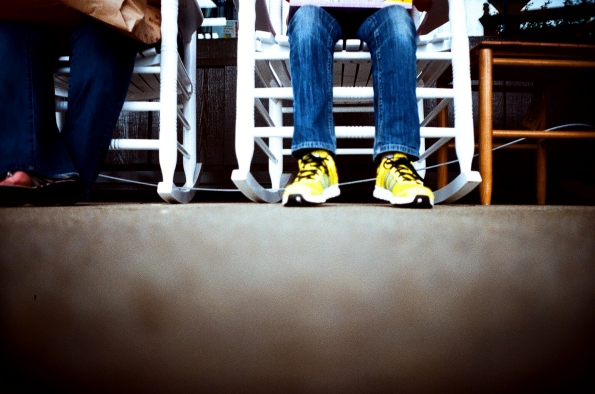 Niece’s new neon kicks
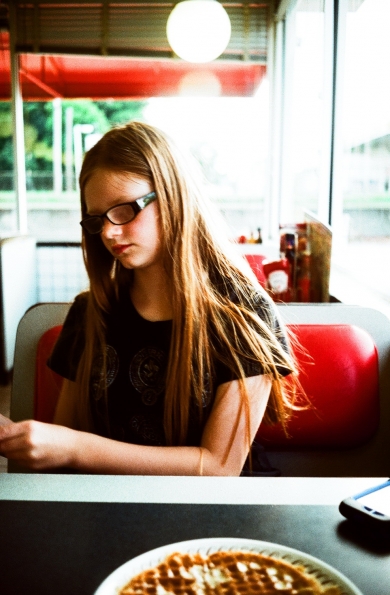
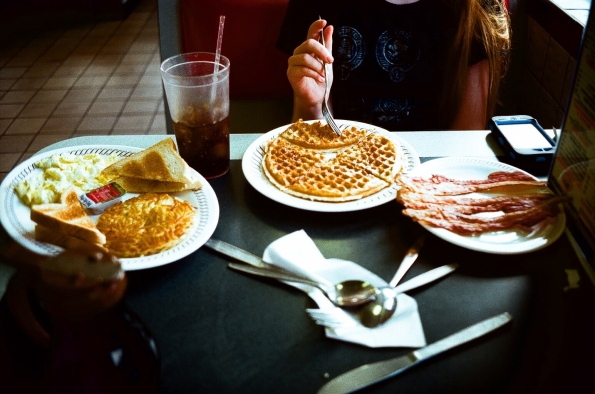
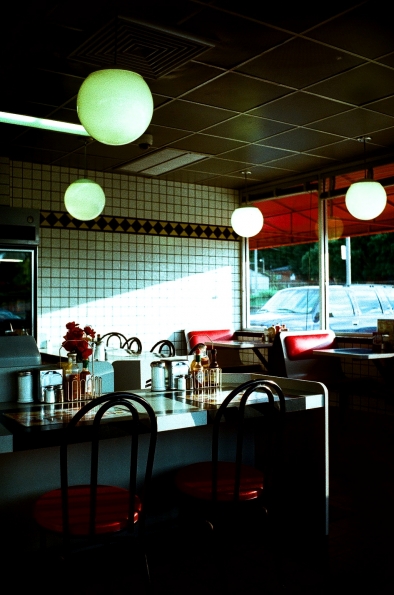
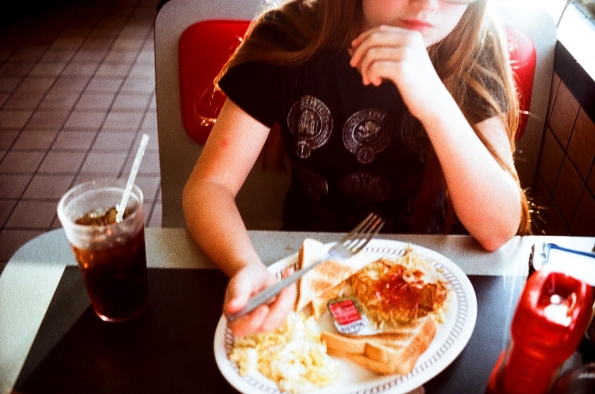 Waffle House dinner after a photo shoot with my niece