Originally, this was meant to be a post celebrating the fact that I’d gotten a new Diana F+ camera. It replaced one that had been chewed up by a dog when the package arrived (as chronicled here.) That camera worked and all, but having to use it with all the broken and caved in bits didn’t spark joy 😂

This Diana is the first one I’d gotten that was in the classic turquoise and black colorway
Would you believe it’s my fourth Diana camera! (More about the first two here.) I did not realize that it was going to be a span of years before I’d get all the film for this post developed (*facepalm*) So instead, this post is more like “Hey, here’s some photos I took with a Diana F+ at some point in history!”


Unfortunately, I accidentally had the wrong setting for this photo, but I’m including it because it’s my lovely mom ❤️


We were at Memphis Botanic Gardens for Japan Festival. There was also an exhibit of large metal origami sculptures that was really cool.


Muscle car

Not my best pinhole photo, but these were flowers my mom brought back from her younger sister’s memorial service

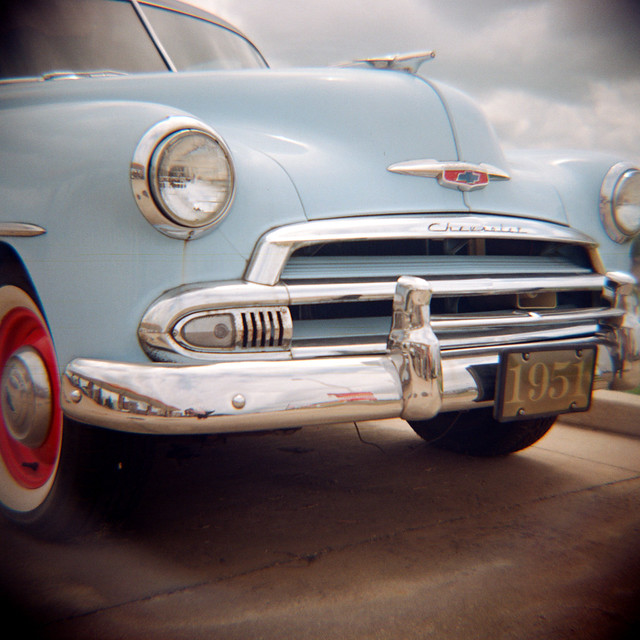
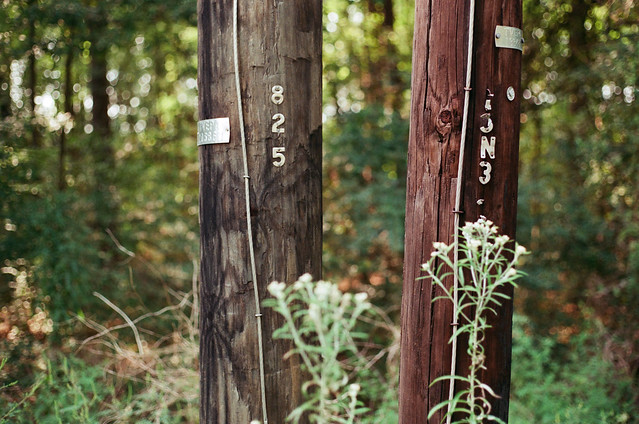
Spotted in Oxford, MS


Donuts for my niece’s 18th birthday

My niece’s birthday coffee. I did a long pinhole exposure for this. I like how the coffee cup changed places throughout the long exposure, so you can see the movement reflected in the photo.


Happy 18th birthday, child (this was so long ago haha)

Another long pinhole exposure at a coffee shop. The photo itself isn’t as notable as the fact that we saw the singer/songwriter Ben Folds getting coffee that day. We didn’t bother him, but my sister and I were massively geeking out over it!