“Conquering Diana in a few several easy long and drawn-out steps”
(This project may only involve few rolls of film, but the rolls themselves were taken over the course of more than a year.)
I’ve been hung up on a camera named Diana for some time now.
Diana+ and Diana F+ are Lomography versions/recreations of a classic toy camera called a Diana that originated in the 1960s. I thought using a Diana F+ would be no step for a stepper, since I have used its sister from another mister, Holga, with great success (IMHO.) The two cameras couldn’t be that different, right?
Wrong.
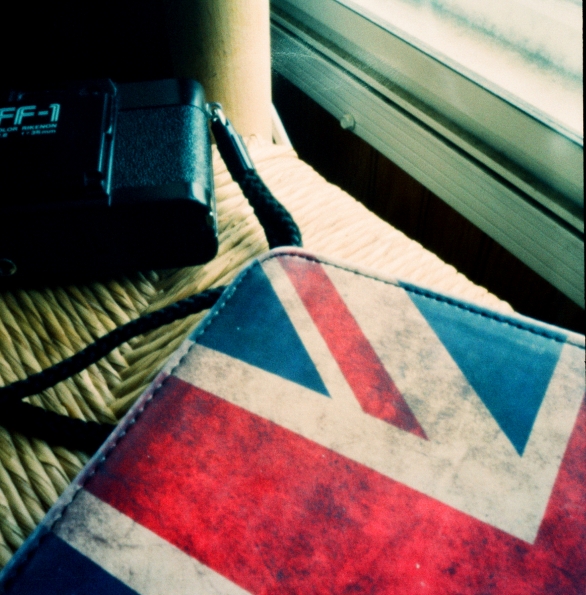
I assumed the Diana had similar specs to my Holga. But I failed to notice some key differences before I set out to conquer Diana. I bought a Diana F+ from Urban Outfitters in the autumn of 2012, just before I went to England for a couple of weeks. I didn’t need the camera nor did I need to take a camera I’d never used before on an international photo expedition, but I did it anyway. The results from my first rolls were mixed at best.
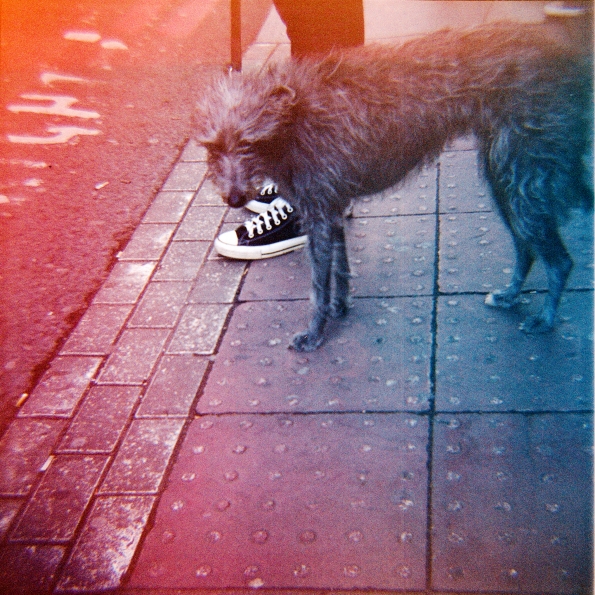
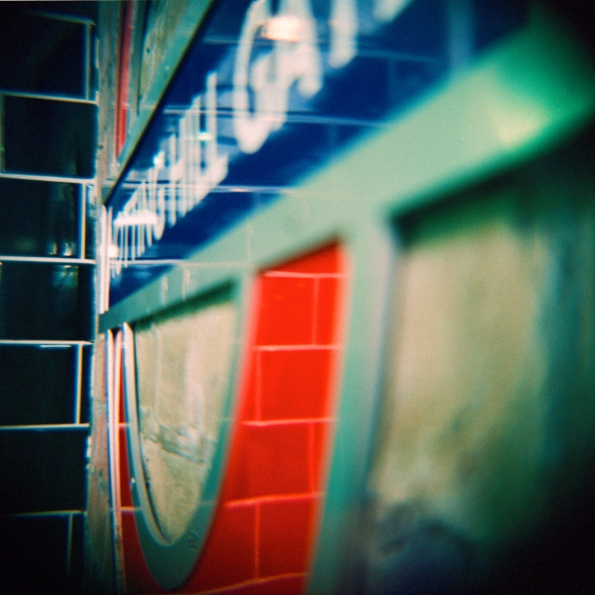
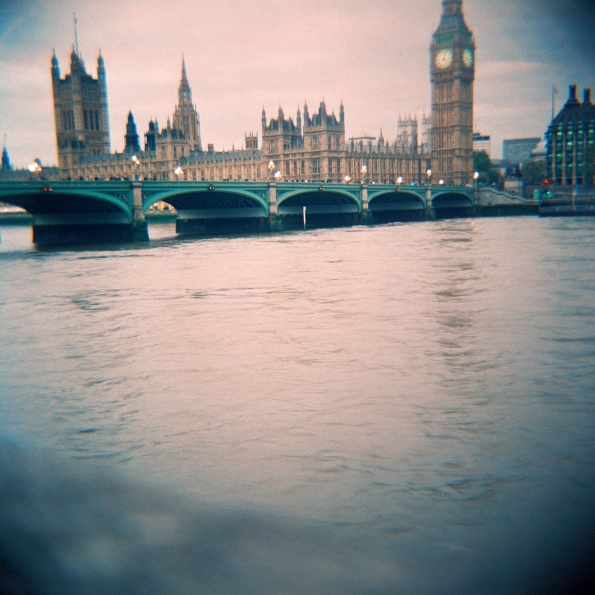

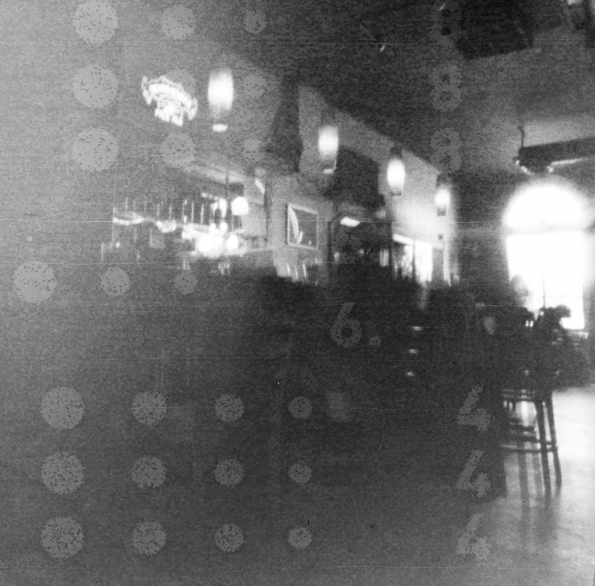
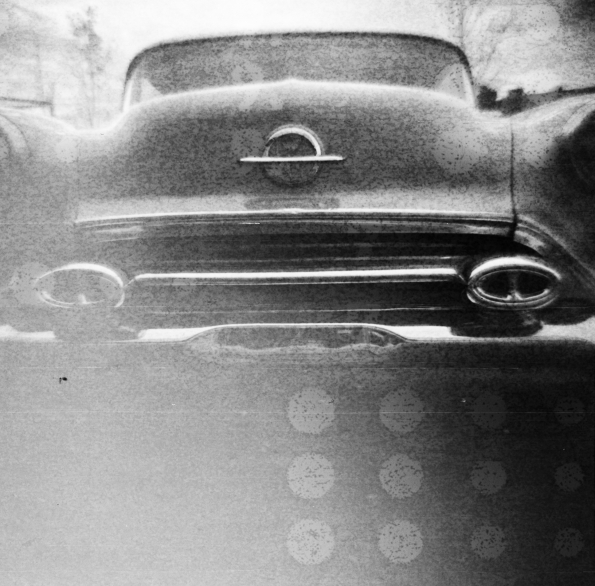
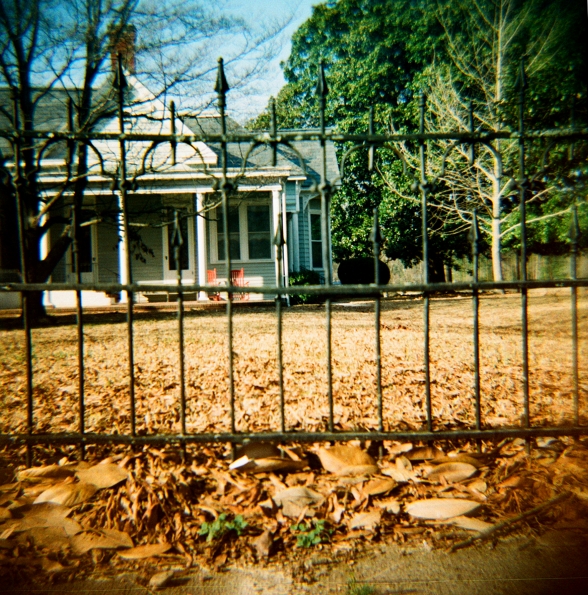
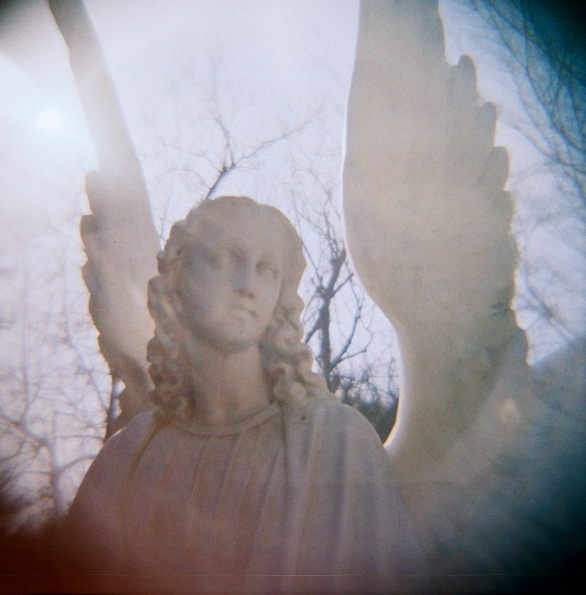
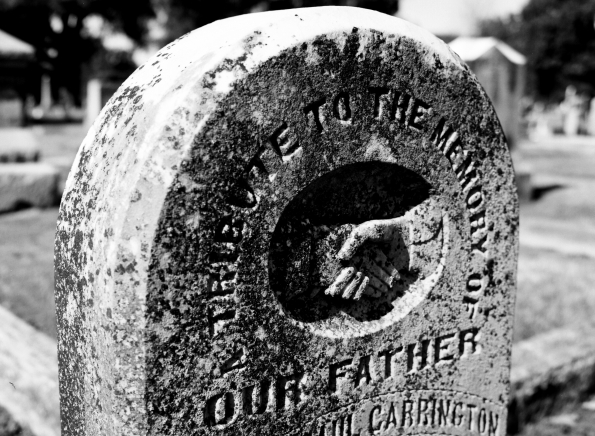
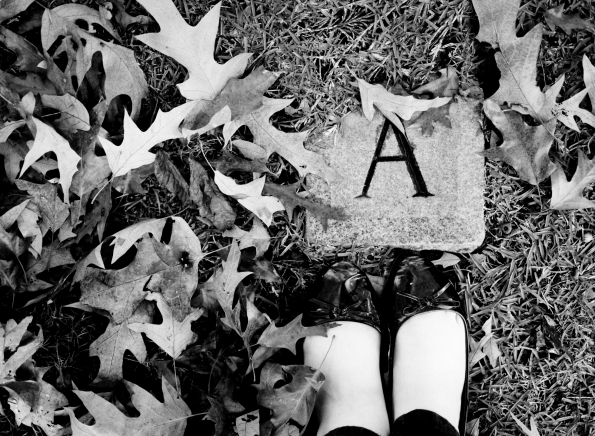
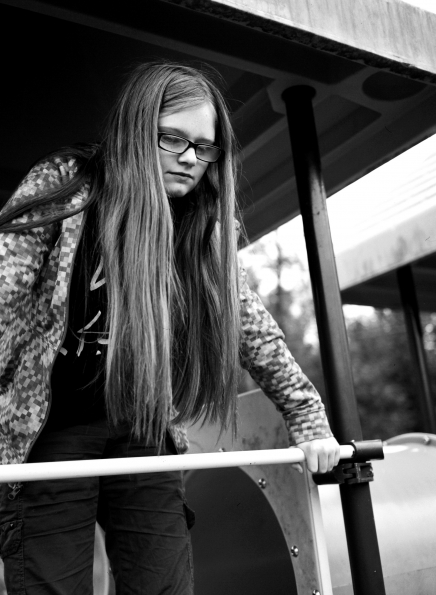
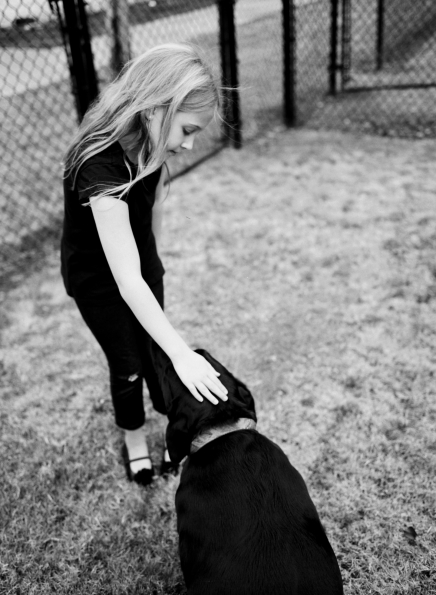
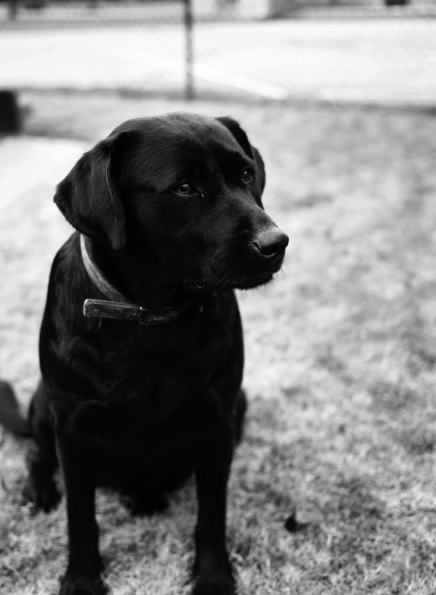
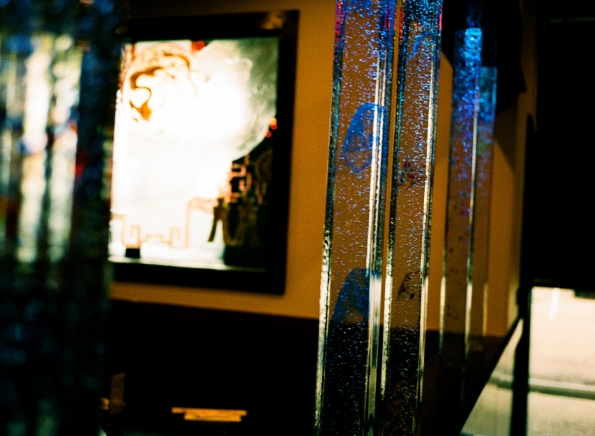
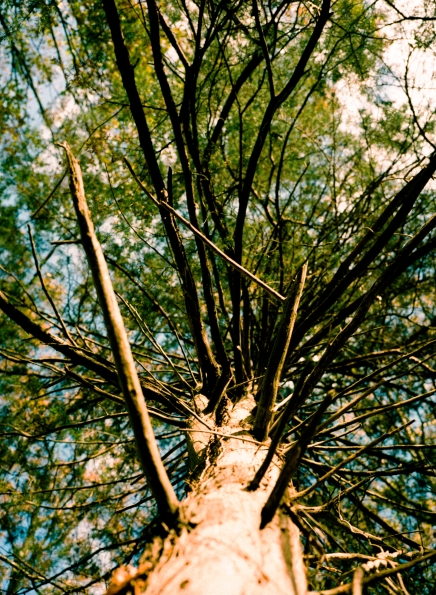
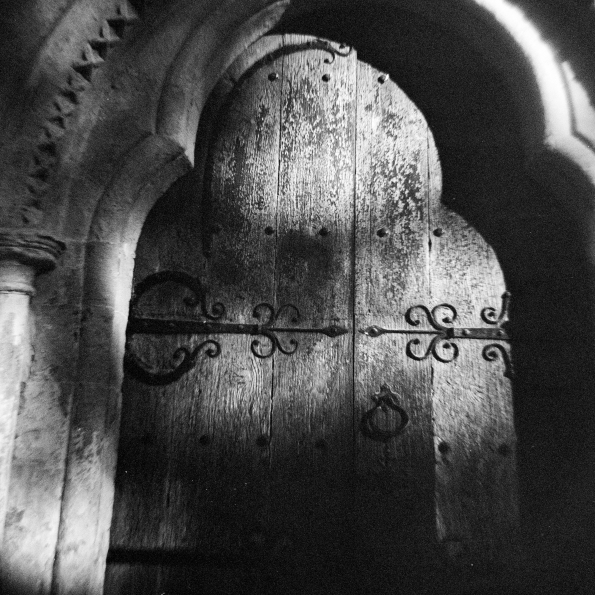 Examples of photos executed with varied levels of success from England 2012. To be fair, I’d never used the camera before and didn’t really know what I was doing. And they don’t look half bad, compared to what was to come with the Diana+…
When I say that there are some “differences I failed to notice” between the Diana F+ and my Holga, I’m mainly speaking of the apertures available on each camera. On both of these cameras, the apertures are chosen by using icons on the lens. The Holga has “sunny” and “cloudy.” The Lomography Diana cameras have “cloudy,” “partly cloudy,” “sunny,” and a pinhole aperture. On the Holga, the cloudy exposure setting is f/8 and sunny is (supposedly) f/11. I only ever use the cloudy setting though . On the F+, cloudy is f/11, and partly cloudy and dunny are f/16 and f/22 respectively (plus the pinhole that’s f/150.) In layman’s terms, the Diana F+ is more light hungry than the Holga. It needs more light to get a good exposure than the Holga does. If only I had realized this when I had the F+ in England! Since I had a Holga that I loved and understood, I ultimately sold my Diana F+. I just didn’t feel like I was any good at using it!
 Bye bye, Novella Diana F+. I kinda of want you back now.
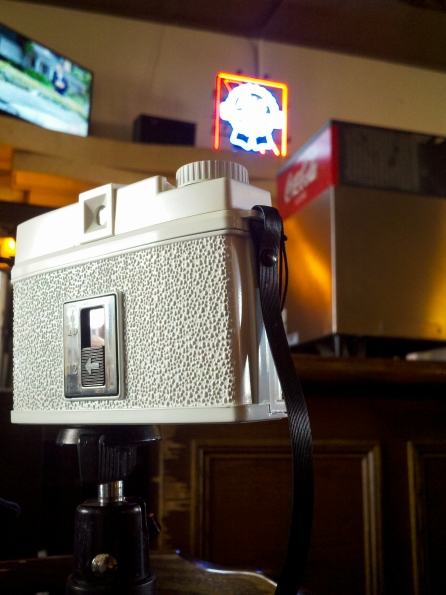
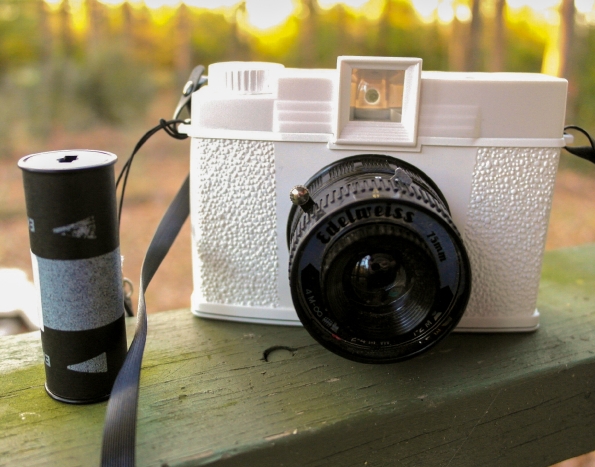
But several months later, I got a bee in my bonnet about getting another Diana so I could feel as if the camera hadn’t defeated me. I ran across an auction for a used Diana+ in my favourite special edition, the Edelweiss, for about $10. I bought it. It arrived and, gee, it was pretty.

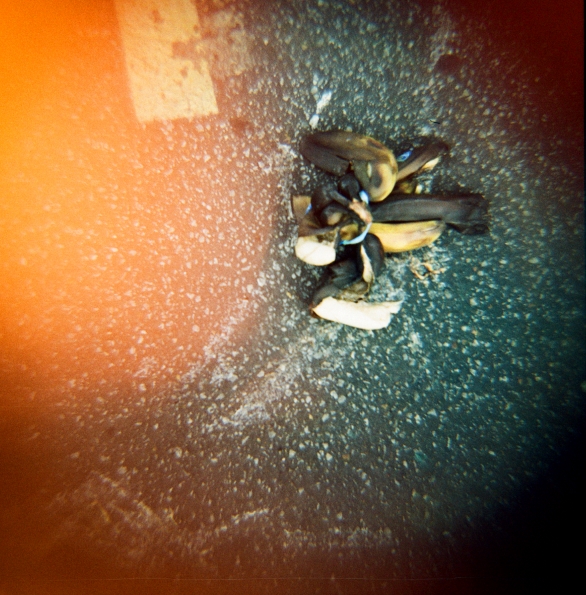
I made a poor choice in film my test roll: some Lomography Lady Grey black and white film. As with all Lomography branded films, the Lady Grey is another manufacturer’s film but with Lomography’s name put on it. In this case, I had Lady Grey film that was made in China and is brand called Shanghai. Diana+ and Lady Grey film did not mix well. I even made notes of which settings I’d used for each frame of film, so I thought maybe I could learn from my mistakes. I couldn’t really learn from my mistakes this time, because the film itself was so terrible.
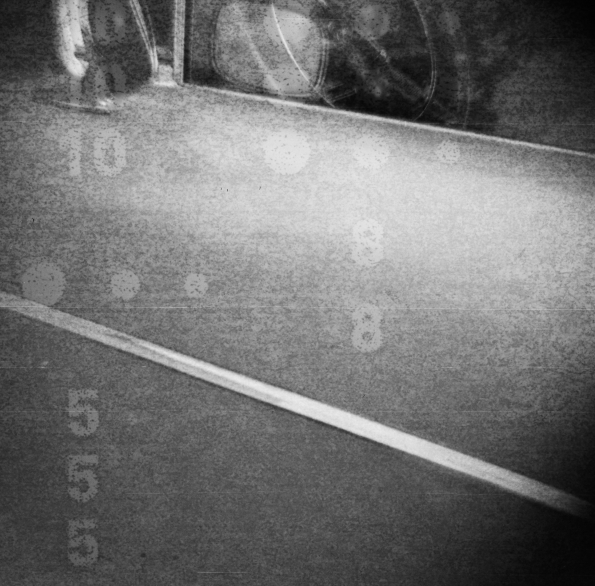
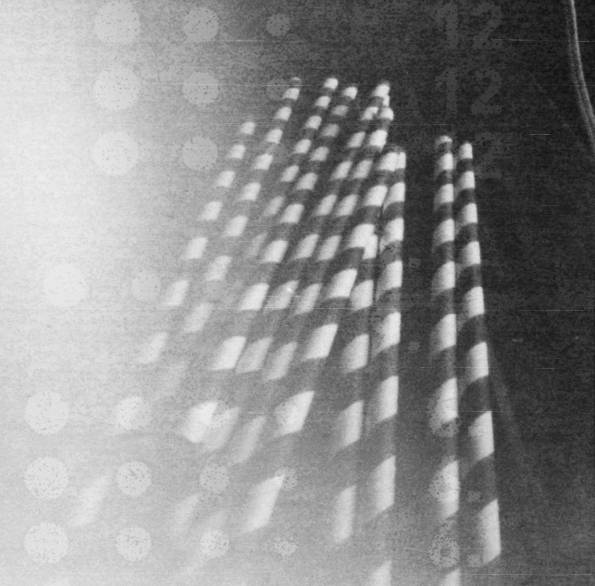
 Roll #1 in progress – an attempted (unsuccessful) pinhole photo. The resulting photo is the fifth one below here:
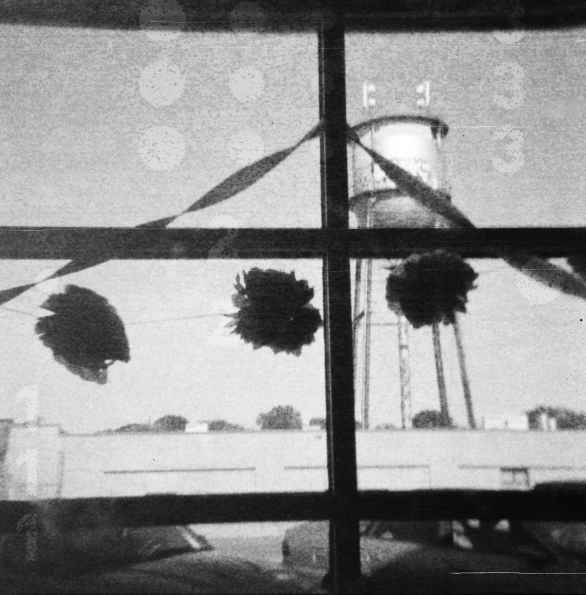

(Accidental double exposure)
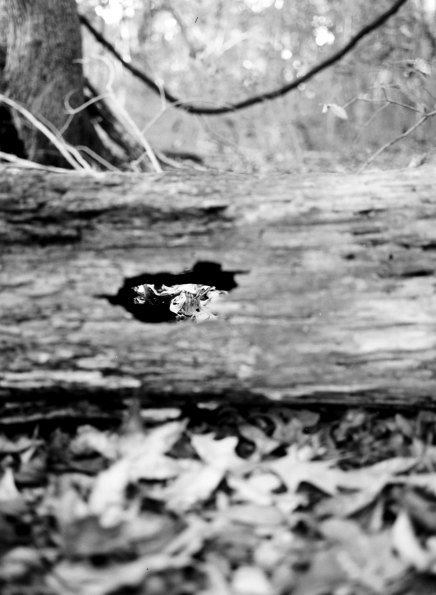
(Aforementioned pinhole exposure)
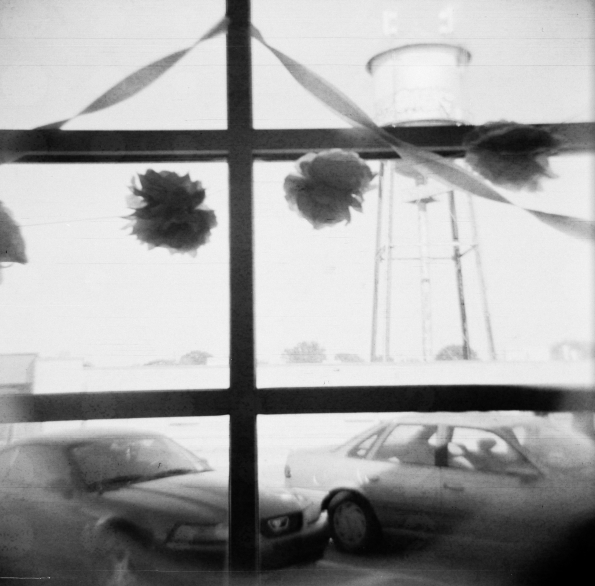
 (Pinhole exposure)
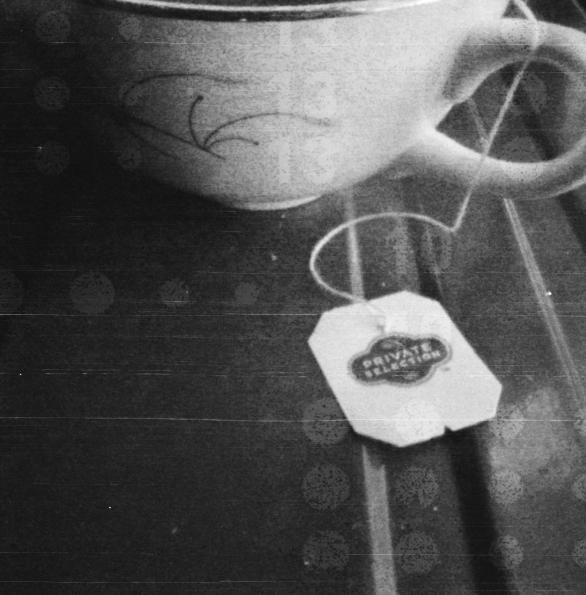 (Pinhole exposure)
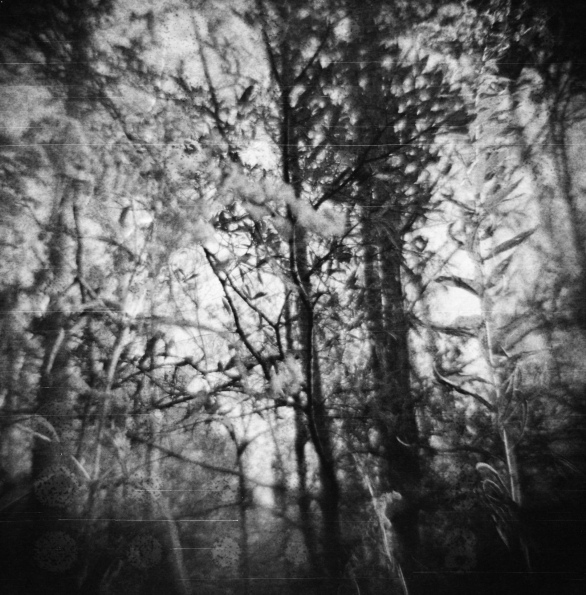
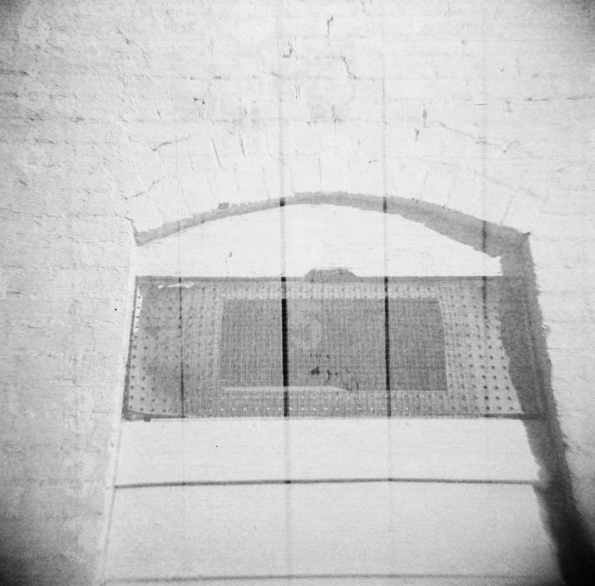
 Lady Grey looks like a “fat roll” (common problem in rolls shot with Dianas.) It was just husky to begin with. Fat rolls usually have light leaks because the film isn’t tightly wound around the film spool.
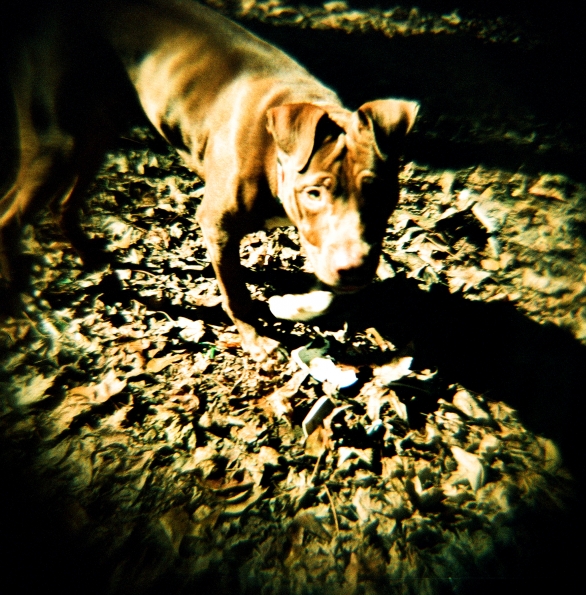
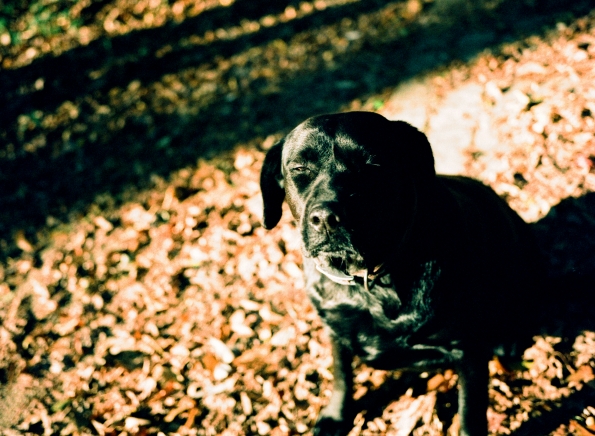
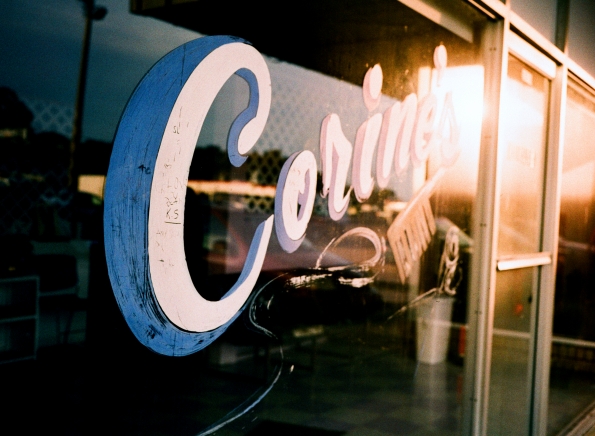
Not wanting to give up on the Diana+, I ran another roll through it. I used film from my stash of expired Fuji Provia 400 (slide film) and had it cross-processed. Results were an improvement over Roll 1, but not great. Roll 2 also revealed that light leaks were going to be a problem. Womp womp.
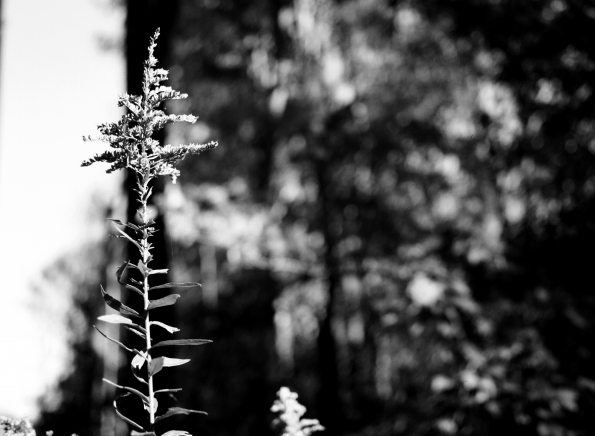
 (Pinhole exposure)
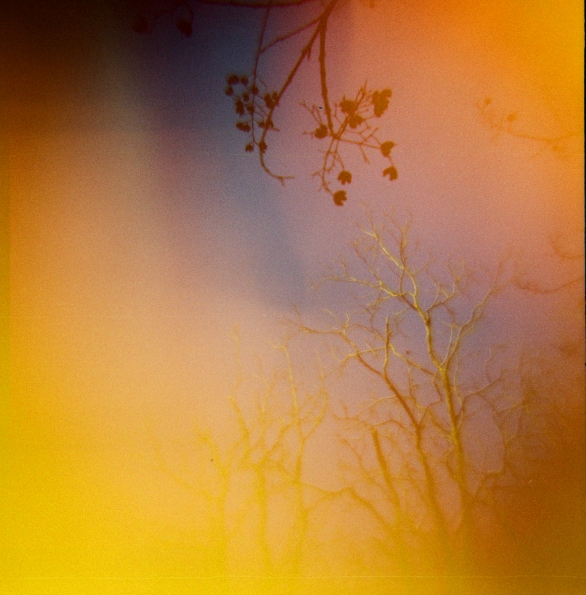


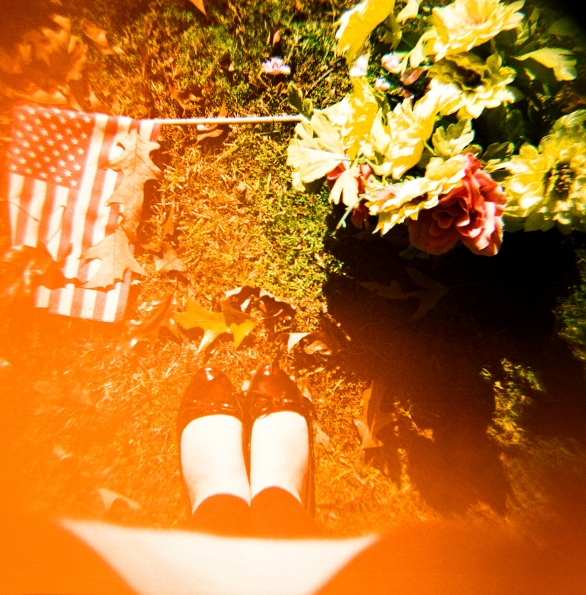
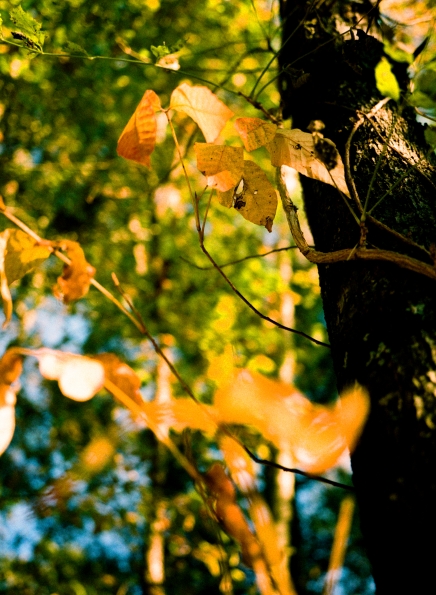
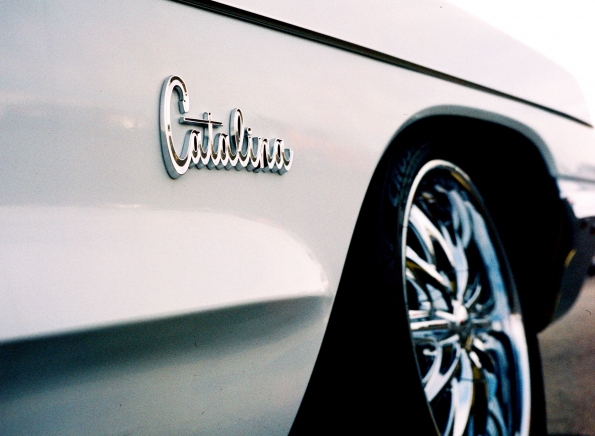
Roll 3 was another roll of expired Provia 400 to be cross-processed. Maybe I should have tried some fresh film in the Diana+ for once…but every time I thought of putting a better grade of film in it, I couldn’t bring myself to do it. I try prefer to use the good stuff in better cameras!
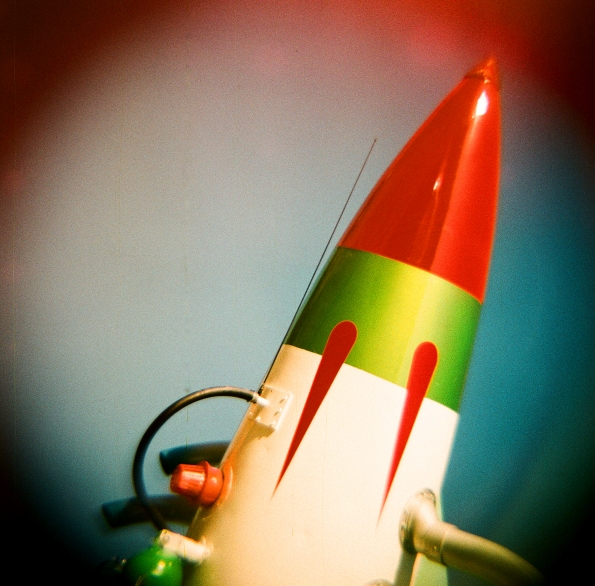
(And just look at those light leaks!)

 (Pinhole exposure)
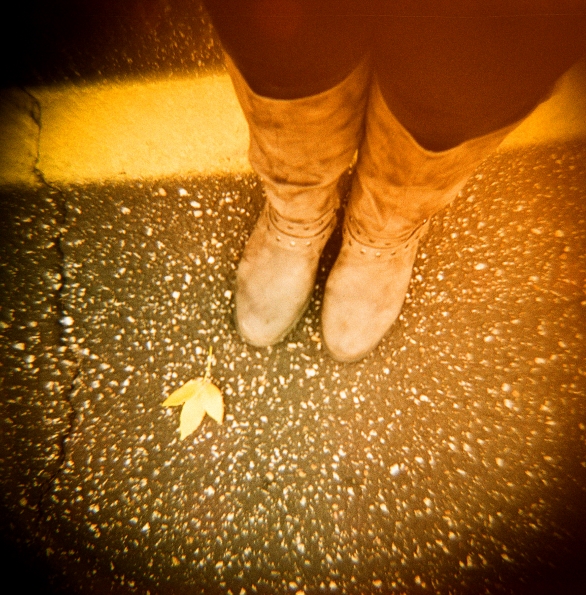


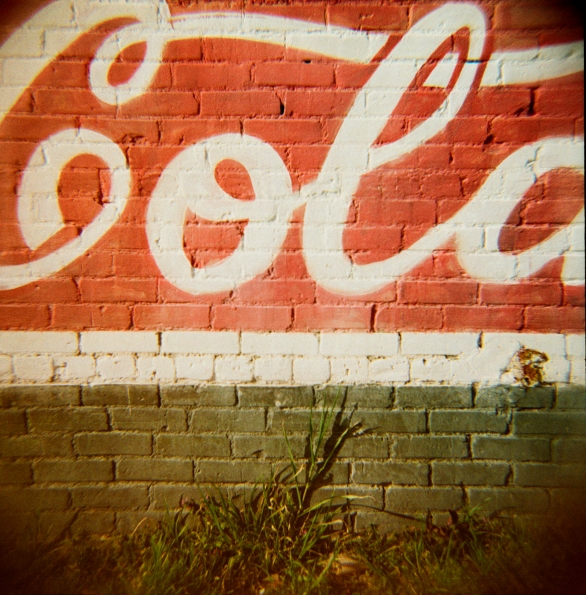
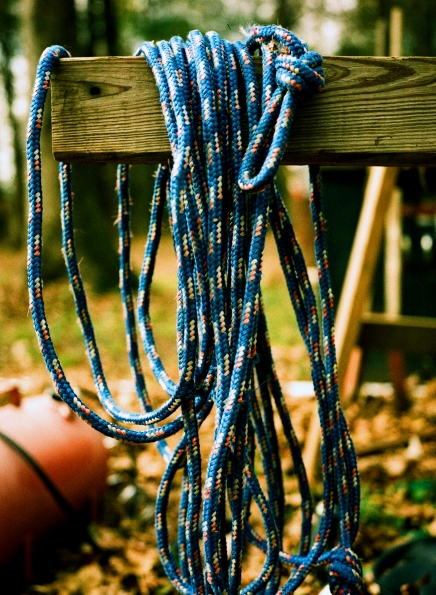
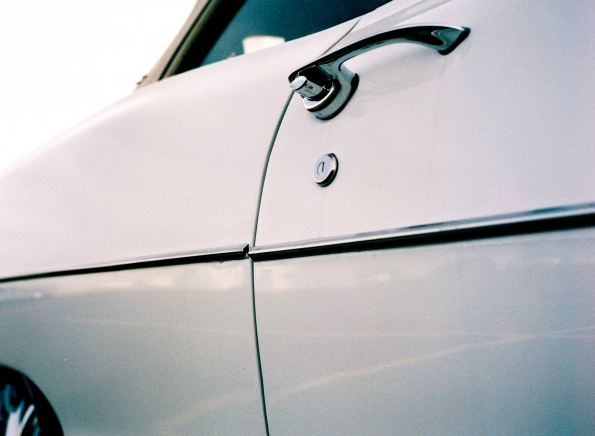
I did put tape on a couple of the seams for Roll 3 to try to keep out stray light, but I can admit that I didn’t do a thorough job of it. The camera is so pretty that I didn’t want to ugly it up with black electrical tape! After the third roll, I decided I had to try one more time but would tape the camera more thoroughly this go round.
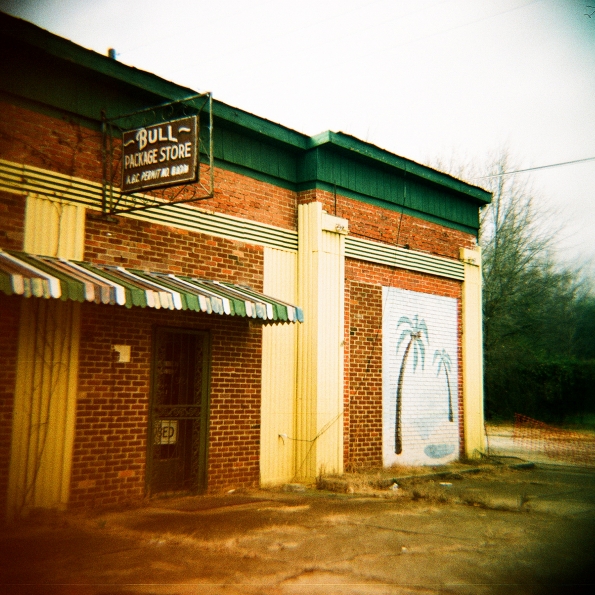
For Roll 4, I used Provia 400 again. I figured, at that point, the film was the “control” factor in my Diana experiments. Trust me: I taped the camera up BIG TIME for my fourth roll.

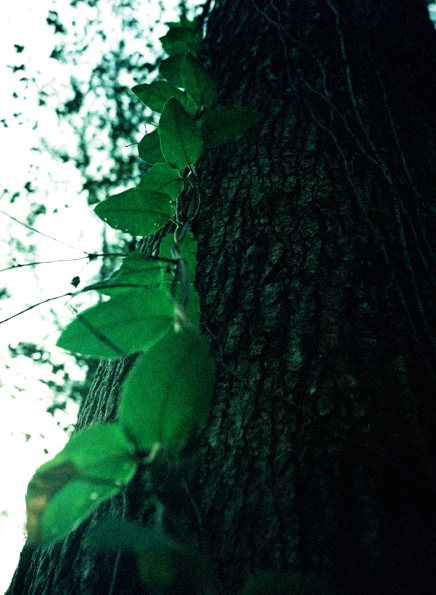
 This is actually a double exposure, but the first of the two exposure looks very faint

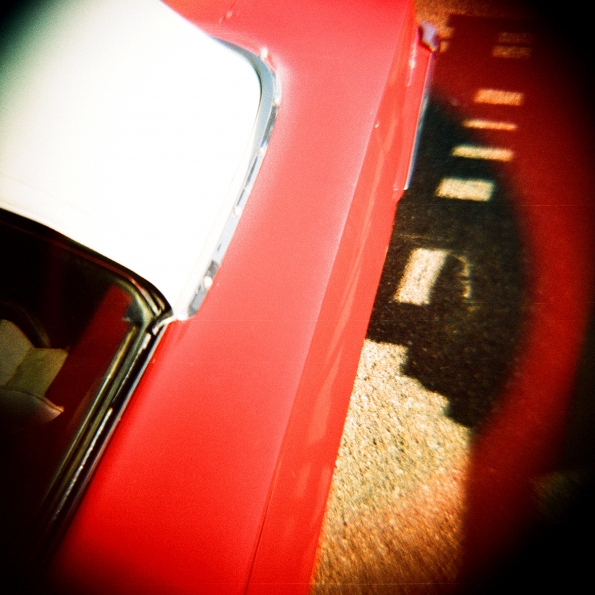

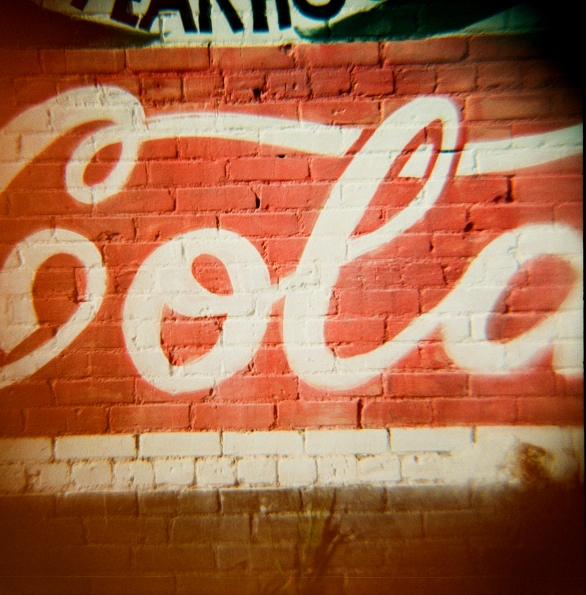
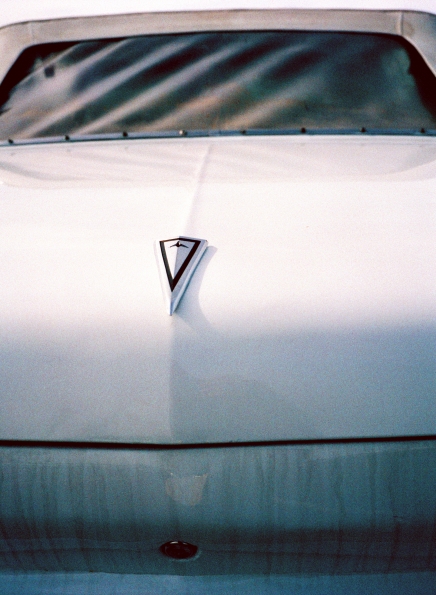
 Gasp! This picture is one of my top favourite toy camera photos now! It’s everything I could ask for in a cross-processed, toy camera photo.

By golly, I was somewhat happy with my fourth Diana+ roll!
The Diana+/F+ is a toy camera through and through. It can give you mega vignetting, light leaks, a lens that renders images both blurry and sharp in places, and very limited exposure settings. But, heaven help me, I don’t hate all the vignetting or even all the light leaks. What is even happening to me?? I will say that I wish I’d kept my original Diana F+ because it didn’t have catastrophic light leaks, even though I never taped it up.
Conclusion?
Read More →
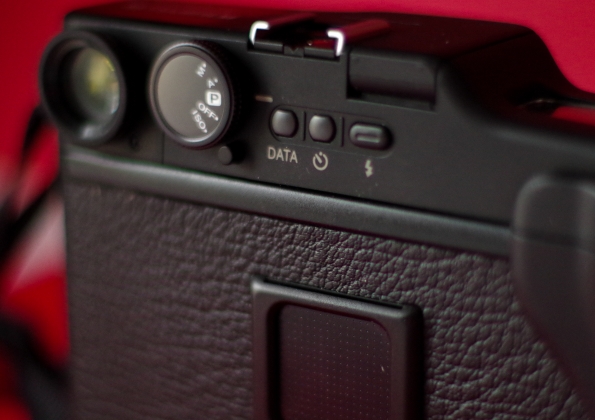 On/off/exposure mode/ISO dial, data selector button, self-timer button, flash button
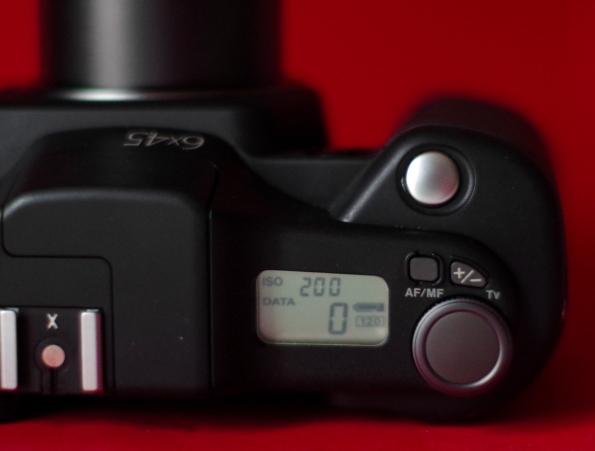 LCD info display, auto focus/manual focus selector button, exposure compensation button, and selector wheel
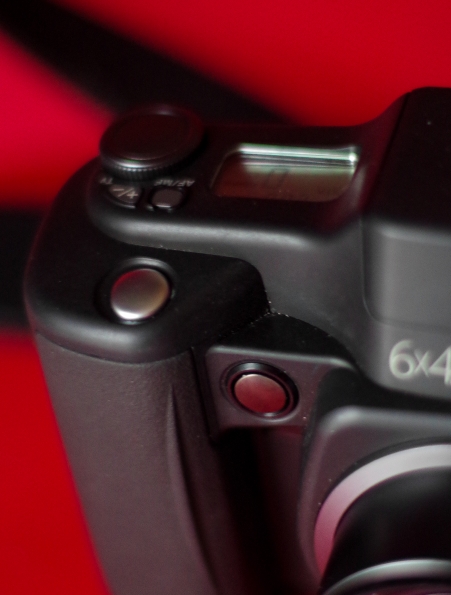 Primary shutter release on top, secondary shutter release on front
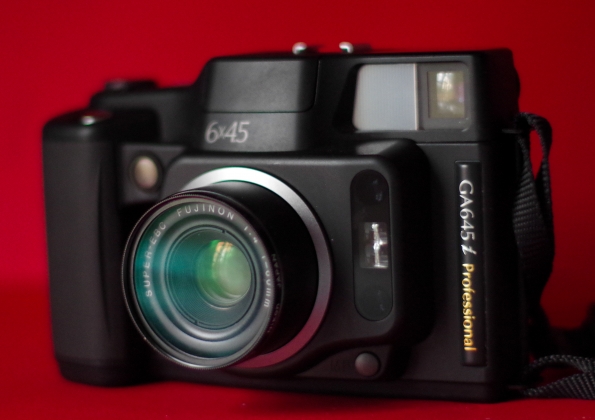
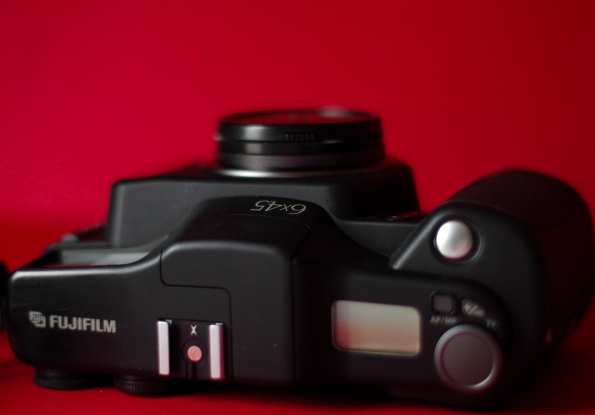 By no means a small camera, but smaller than so many other medium format cameras
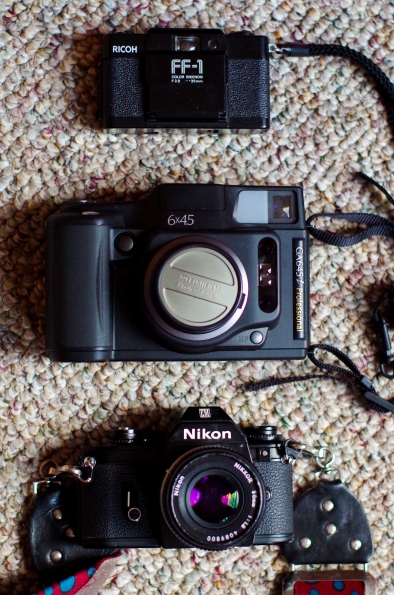 For comparison, the GA645i pictured with two of the smaller cameras I’ve traveled with: The Ricoh FF-1 above and Nikon EM below.


 Testing the macro on this TINY slice of a vegan mini pear pie I’d made. If you can fill the frame this much with a 24mm lens, you KNOW it truly focuses close up!
 THIS! This right here. This shot made me say, “Yup. This lens is a keeper.”


 An impulse purchase the same week I got the Sigma Super Wide II
 My sister’s black and gold “ombre” mini pumpkin


 Ezra and some stuffed animals. Love the fox one!
 I actually cropped this one because I thought it was cuter this way 🙂


 (I know this one has motion blur, but I love it!)


 Pretty cardinal ornament my mother had on her mantel at Christmas
 Shiny new coffee maker for Christmas!
 Riding to Pho Hoa Bihn with Mallory
 Lovely, lovely tofu with pineapple at Pho Hoa Bihn

 My best attempt at photographing the viewfinder of my Yashica GT. See the little diamond in the middle? That’s how you get your image in focus. The double image is not aligned here, so that’s why the yellow area doesn’t quite look like a diamond.
 Warning arrows


