Tag Archives: Camera Review

{Getting to Know You} Yashica T4

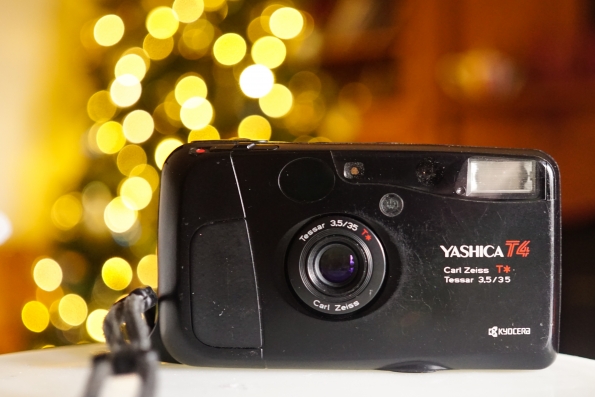
The Yashica T4 is one of two cameras which I acquired in 2017 that I a) never expected to ever to find in a thrift shop and b) never expected to find in the particular thrift shop I did.

For those of you outside the US, you may not know that we have a large chain of thrift shops (aka charity shops) here called Goodwill. Then there’s something called the Goodwill Outlet/Warehouse. Last year, I went into a nearby Goodwill Outlet for the first time. It was CHAOS. I remember once that my brother went into the Outlet store, took one look at the disarray, and walked right back out. In those stores, there are just bins full of unsorted and non-priced items. Clothes are priced by weight rather than individually, books are 50 cents to $1.00, and most everything else is priced by the cashier when you got to check out.  During my first visit to the Outlet, I was going through bins, and my heart nearly stopped when I saw a Yashica t4. I couldn’t breathe! That’s a premium point and shoot 35mm camera! Why is it in the Goodwill Outlet?? I was SHAKEN!

Of course, there was no price on the camera, so I waited in line to get to the cash register. The cashier said “It’s $2.” I was so scared that I would get found out and have to pay $100 for it. I felt like I was getting away with something.

For a bit of background, the reason the Yashica T4 is generally so expensive is a) It has a highly sought after Carl Zeiss T* lens b) there is a fashion photographer who used this camera a lot, and it caused the camera to gain something of a cult following.

Yashica T4 specs:

  • 35mm f/3.5 Carl Zeiss Tessar lens
  • Automatic exposure
  • Shutter speeds: 1s-1/700s
  • Accepts DX-coded film, speeds 50-3200 ISO
  • Built-in flash 
  • Shooting distance: .35m – infinity (1.1ft – infinity)

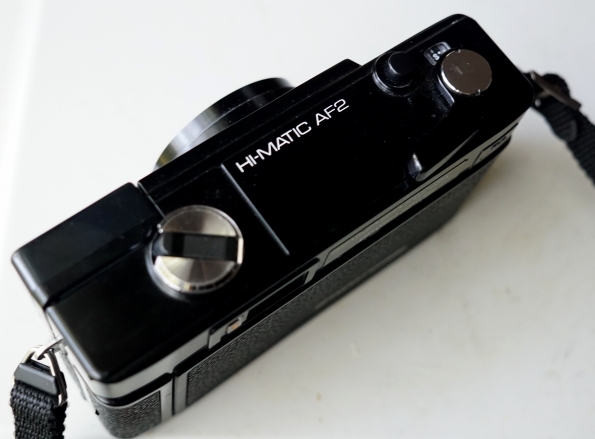
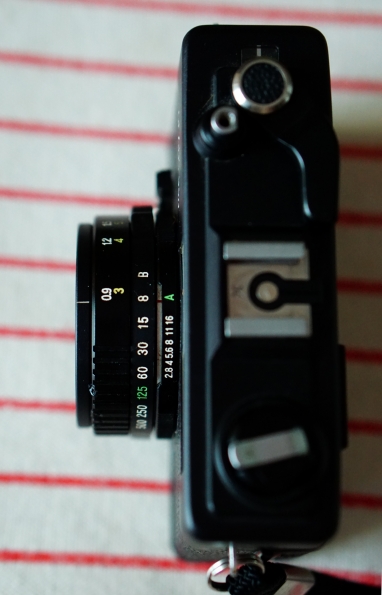
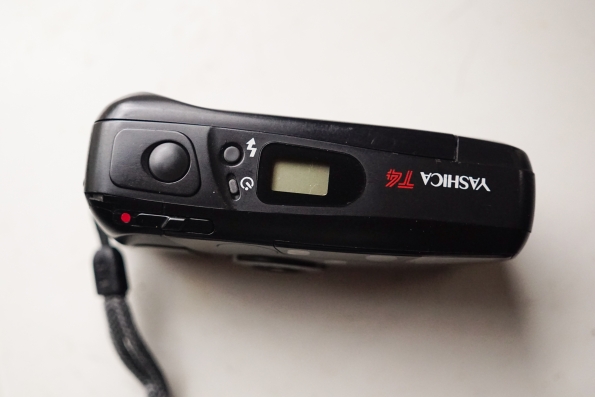
Top view: power switch, shutter button, flash mode button, and self-timer

The one caveat to this deal of the century is: I put a battery in the camera, and found out that the camera’s on/off switch doesn’t work. It’s on at all times. That’s why I have dubbed it the “$2 always-on Yashica T4.” I didn’t notice until I got it home that there was a little chunk of plastic broken off one corner of the camera next to the power switch, so I’m sure that’s indicative of why the camera won’t power off. But, hey, at least it wasn’t stuck off! 

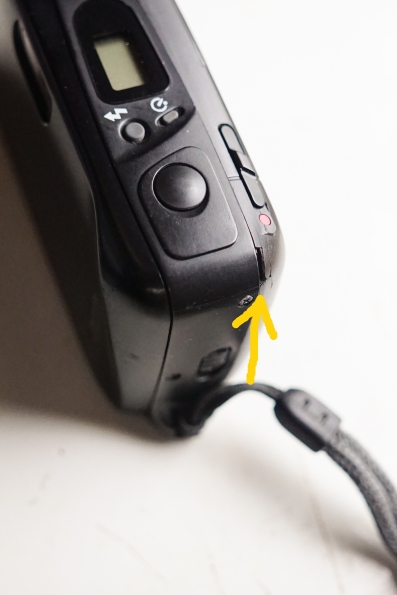
Chipped corner by the power switch

The benefit to this is that I don’t have go through the flash menu button each time I power the camera on in order to turn the flash off (which is how I usually shoot.) I just always keep it in the little leather case it came in, because being always on means the lens is always exposed (rather than protected by the built-in lens cover when the camera is powered off.)

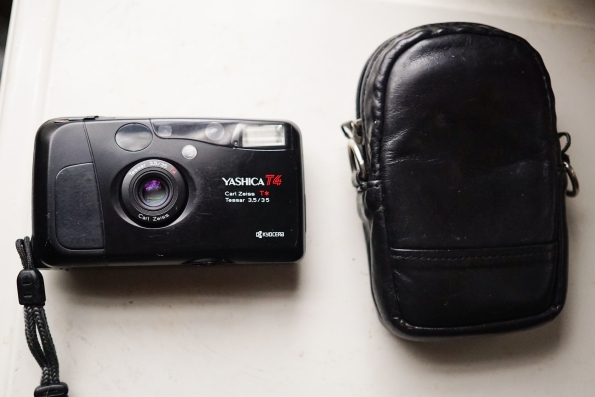
Very 1990s leather case which was with the camera when I bought it

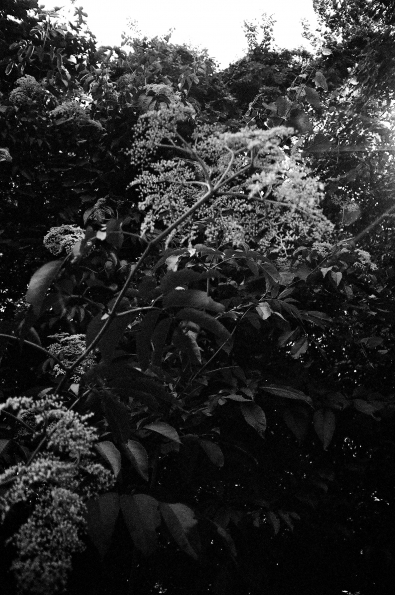
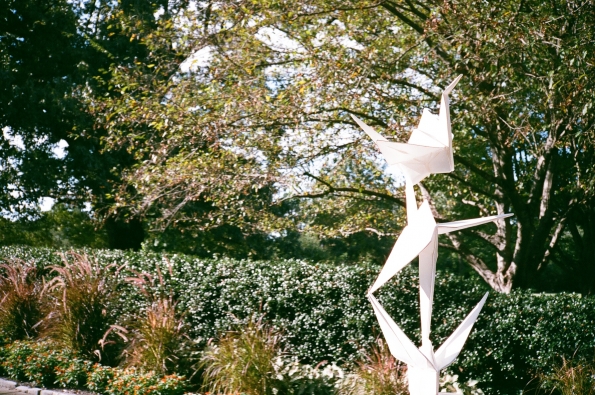
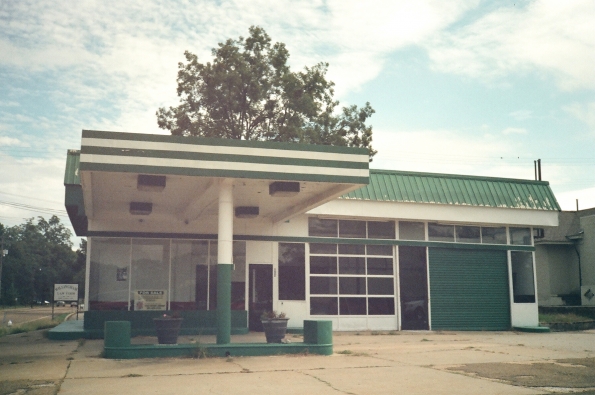
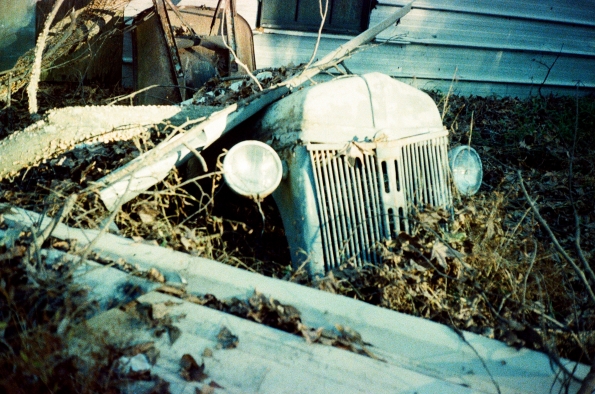
I put a quick roll through the camera right away to see if it was otherwise functioning. IT WAS!!! The photos weren’t that special, but I could kind of begin to see why the lens is so sought after.


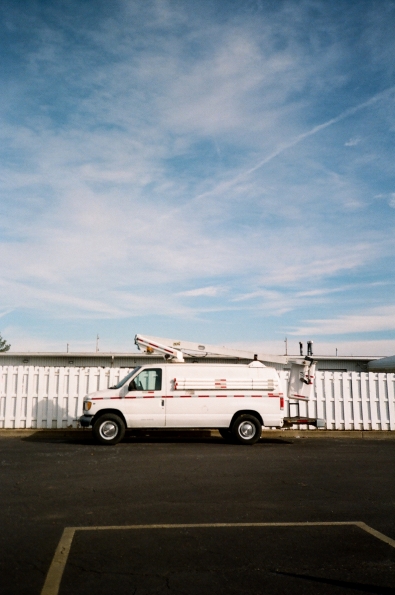
The next roll was a fresh roll of Fuji Superia 400

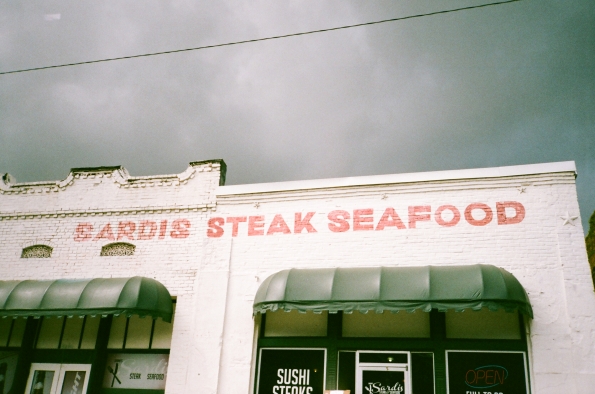
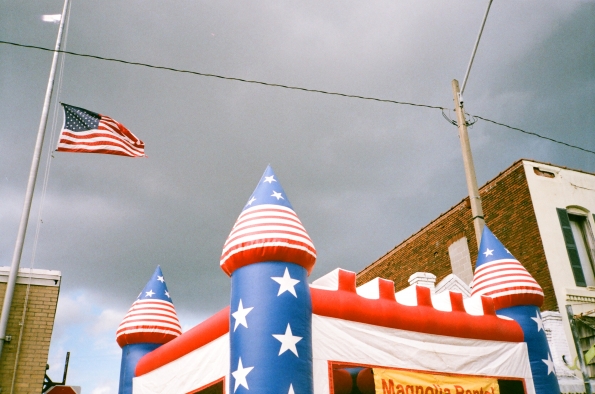
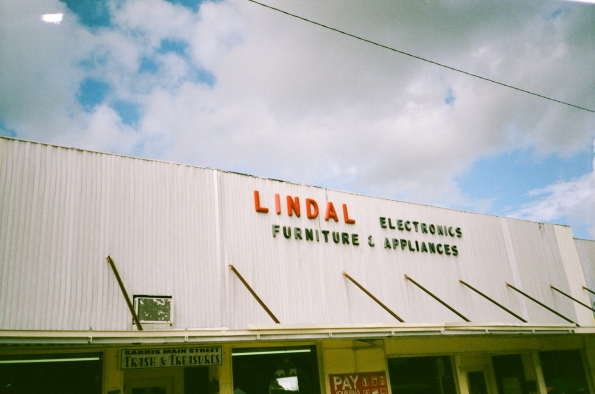
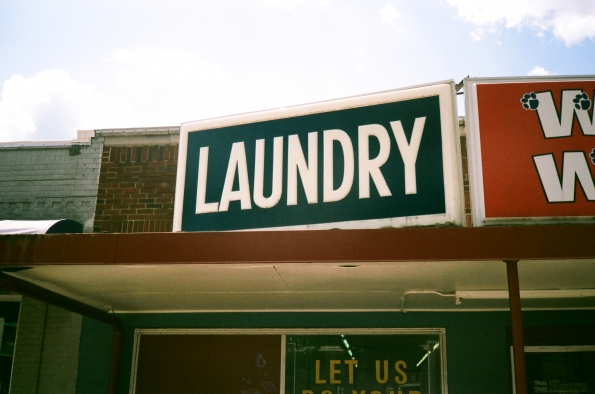
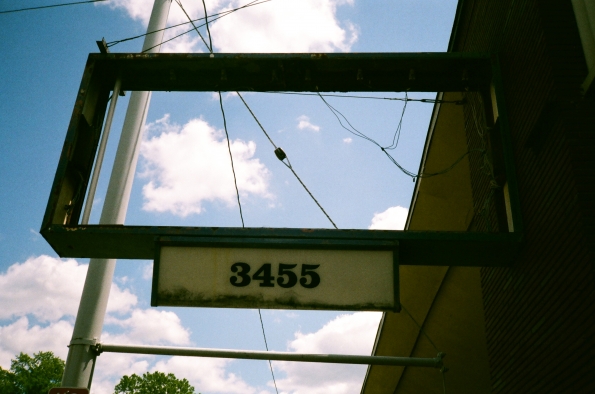
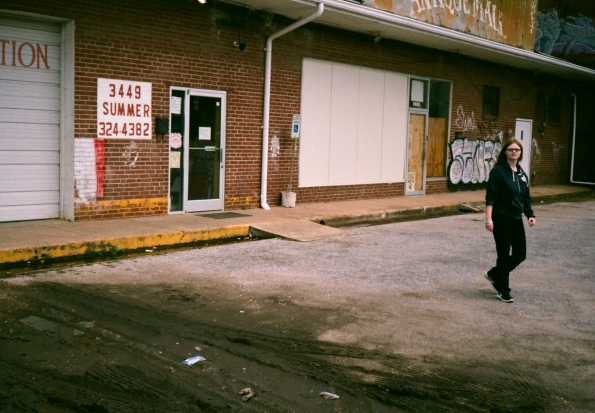
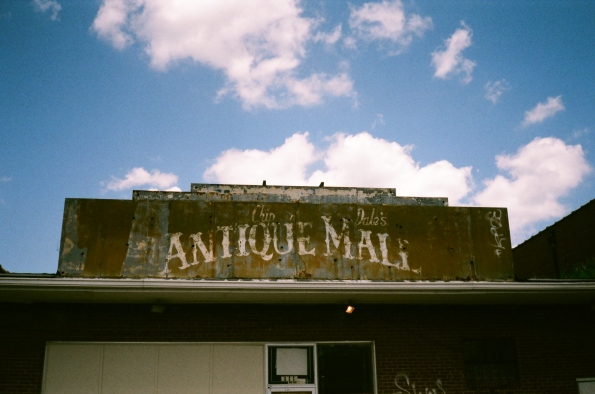
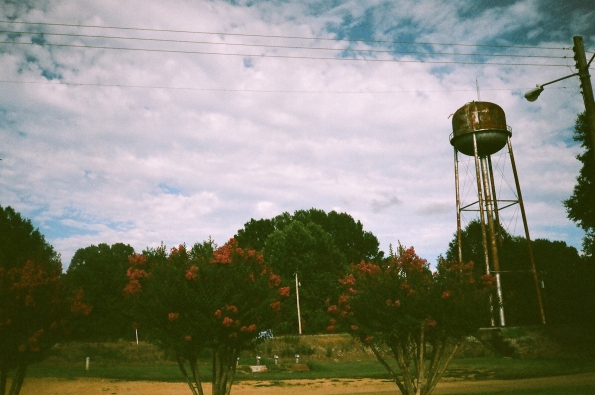
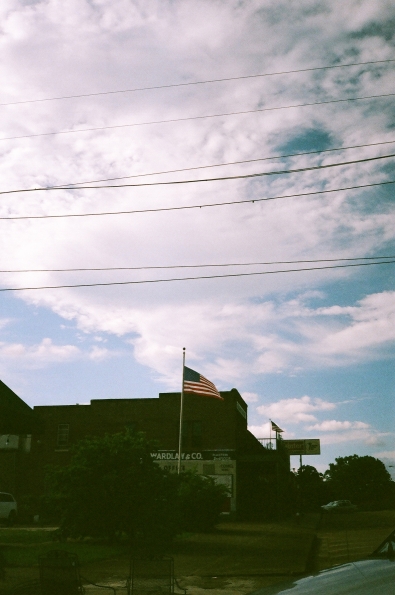
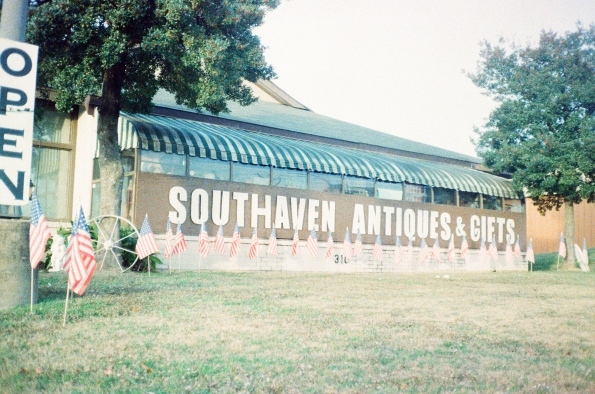
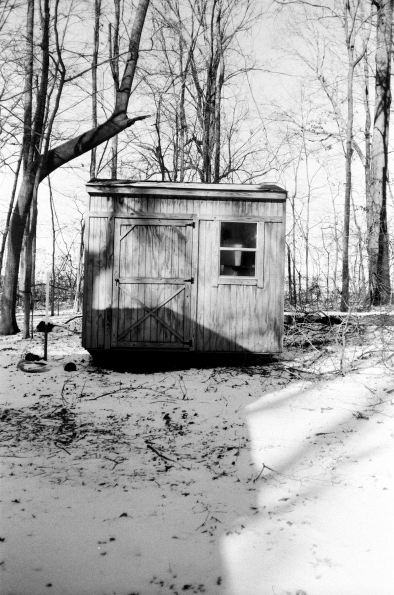
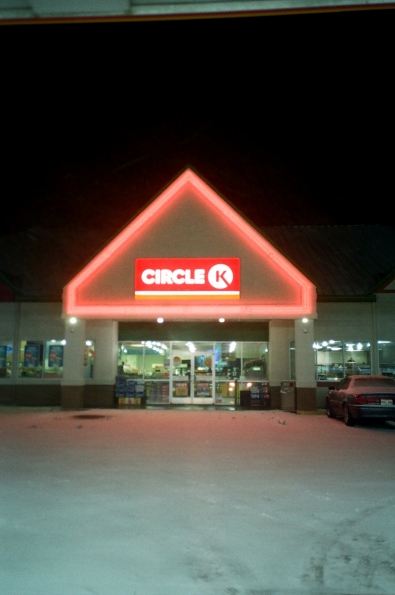
Sardis, Mississippi (Smalltown, USA)

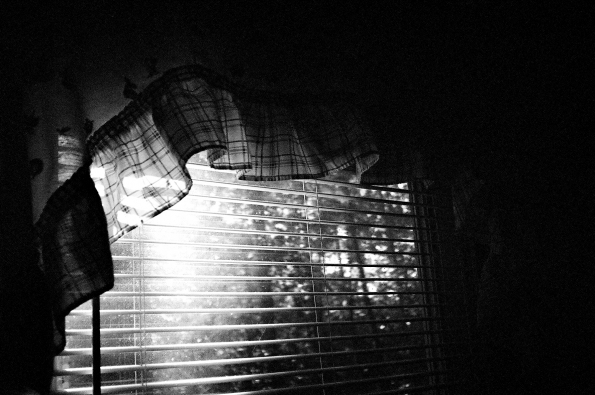
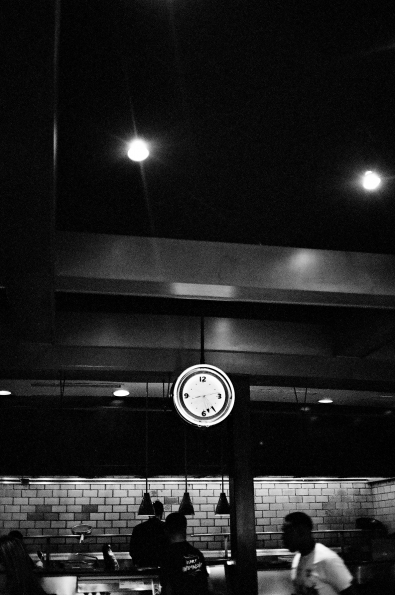
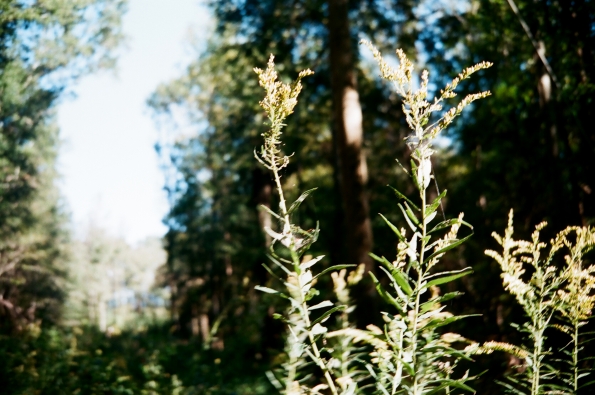
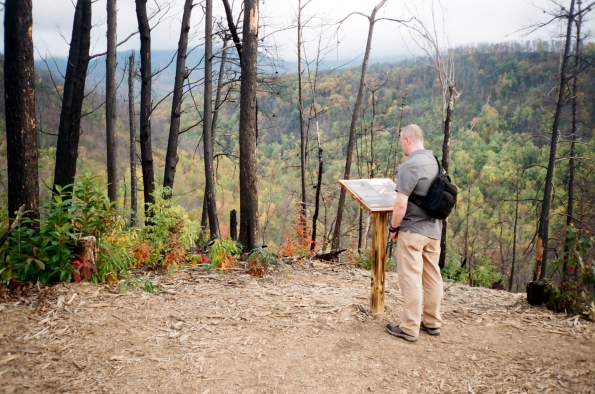
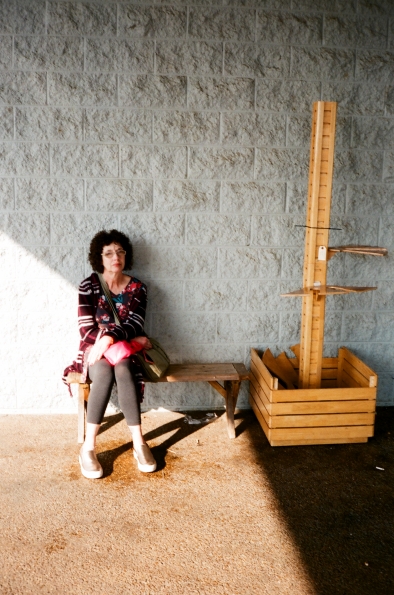
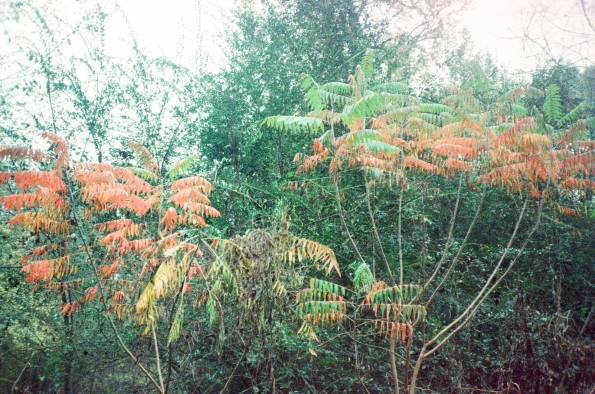
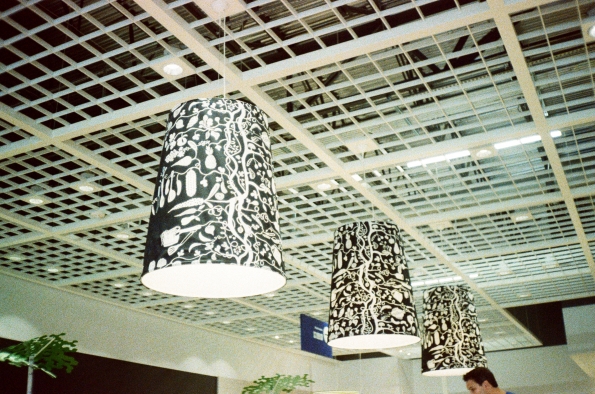
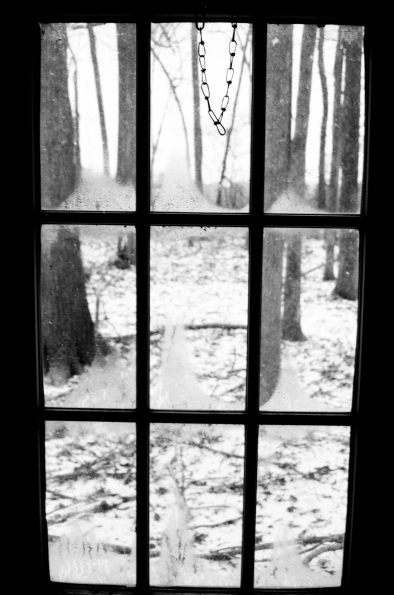
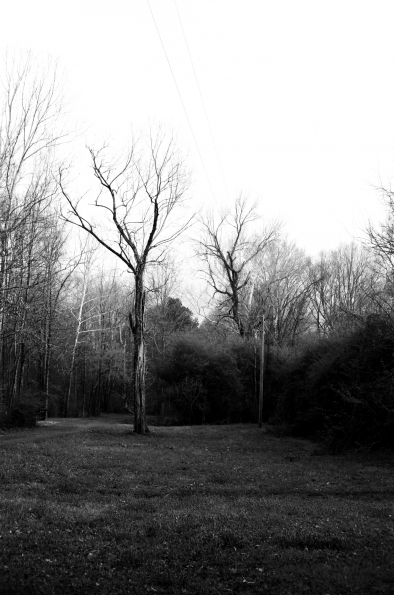
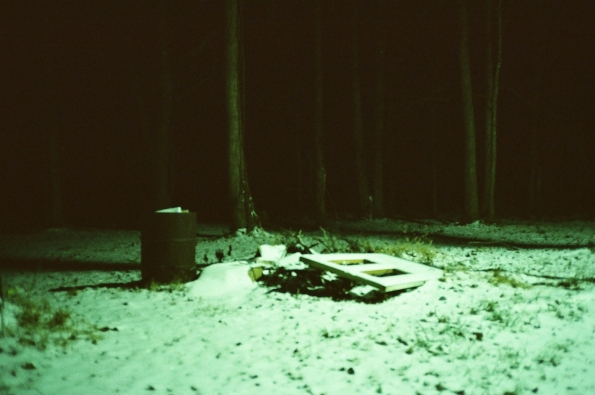
Since I knew I would only have a handful of photos from the first couple of Yashica T4 rolls to share on this blog post, I shot another roll JUST to be shared here! Only it took forever to finish because it was film that was slow (100 ASA) and it was put into the camera during the long, grey winter. I ended up having to wait for sunnier days to arrive before I could finish the film!


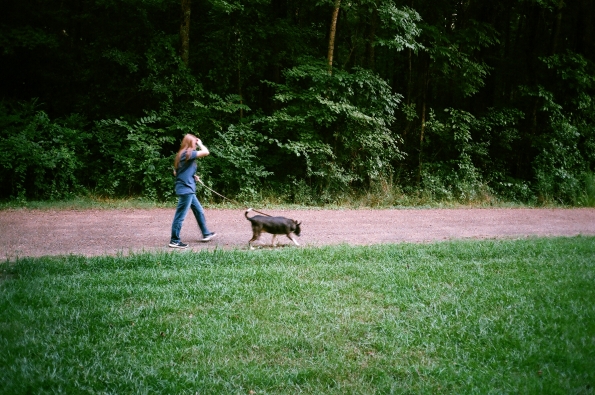
(this is hard – my Dilly has passed since this photo was taken)


Messy hair, don’t care

(frequent test subject)

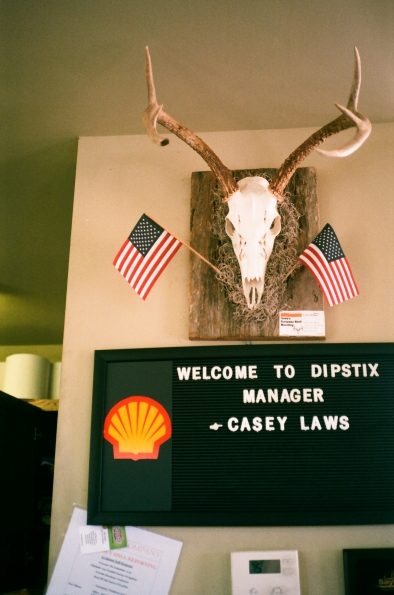
(Full disclosure: these tulips were part of the landscaping at Taco Bell)

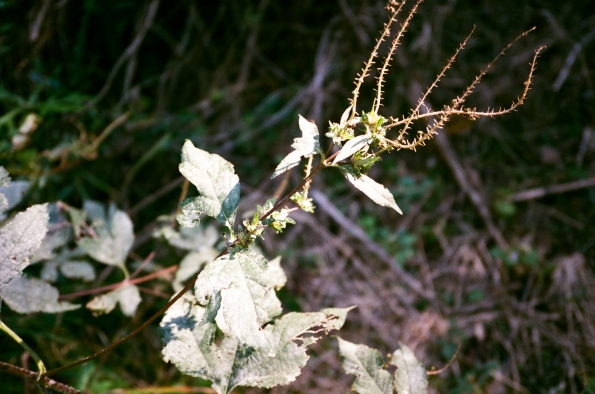
When a camera reaches cult status, I kind of scoff at the idea of it being THAT great. But the more photos I make with the Yashica T4, the more I kinda get the hype…the lens is really something special! So, for $2, I’d say it was a pretty good investment 😀

{Getting to Know You} Minolta Hi-matic AF2

This is the Minolta Hi-matic AF2.

I found it at Salvation Army for $5. Scratch that: when I went to be rung up at the cash register, the camera was actually $2.50 because certain items in the store were half off that day!

View of the back of the camera – you can see the flash ready lamp on the left. On the right is a window that indicates whether or not film is loaded. An orange “flag” appears in the window if film is in the camera (and loaded properly)

The little label on the back makes me laugh, with its descriptions of the “beeps” 

This is an auto focus camera from the early 1980s – one of the first of its kind! It even looks like its Minolta manual focus rangefinder brethren.

Minolta Himatic AF2 Specs:

  • 38mm f/2.8 lens with a 46mm filter thread
  • Shutter speed range: 1/8s – 1/430s (slow shutter speed “beeeeeeeeep” sounds when the shutter speed would be 1/40s or slower)
  • Ten second self-timer
  • Manual film advance, via film advance lever (I like this – auto film advance in cameras from this era was LOUD!)
  • Auto focus range: 1m-infinity (you can lock focus by half-depressing the shutter button to lock focus, then recompose before fully depressing the shutter button.)
  • Power source: two AA batteries

Normally when I get a camera, I shoot a couple of rolls with it and then write a post as a little review/share photos from those rolls (see my “Two Rolls In” series.) The Hi-matic AF2 is one of a few cameras that I picked up last year but didn’t share any results from because I needed to save the photos for different blog posts I have in the works. What I decided to do is share the shots from my test roll that weren’t set aside for other purposes, plus shoot a whole other roll to share here!

Roll #1 was Ilford XP-2, shot in May 2017

I was surprised with how sharp some of these were!

Roll #2 was Fujicolor 200, shot in April 2018

I was less impressed with this roll. I don’t know if I shot too hastily (these early auto focus cameras were easily tricked by certain subjects or lighting situations) or if the batteries needed changing, but the camera missed focus and exposure on more shots than I was expecting.

I converted these two to black and white in post-processing, because the colors in the scans were off but I liked the photos of my dearest at a baseball game with attended!

Since I wasn’t particularly happy with certain aspects of the previous roll, I went ahead and changed the batteries in the camera, loaded a fresh roll of film, and tried to pay more attention to lighting situations/whether or not the focus seemed to have locked properly.

Roll #3 was Fuji Superia 400, shot in summer-fall 2018


(see – the camera exposes for the sky)

I don’t think she knew I was taking her photo – but the photo is nice and sharp! 

Origami sculpture in the Memphis Botanic Gardens  

Again, the camera exposed for the sky and underexposed the rest of the scene, but I kinda like the way it looks in this shot 

For $2.50, the Minolta Hi-Matic AF2 is definitely a keeper. It may just be my particular camera, but I think it’ll benefit from not shooting the film at its intended speed. I’ll probably dial in the ASA as one stop slower (technically over-exposing the film) than box speed. And if the scene has sky in it at all, I’m going to dial it back another stop to give the scene more exposure!

{Getting to Know You} Sears 35rf

I really like it when I find a camera at a thrift shop that I’d never heard of before.

(this photo was taken with another 2017 thrift shop find: my Yashica T4)

I’ll set the scene for you:

I was making my weekly thrift shop run and about to call it quits when I saw saw this camera on a shelf in the paltry electronics section of a particular store that usually doesn’t yield many “finds.” It was so tiny that I couldn’t believe it was actually a rangefinder, even if “rf” was part of its name!

But it was $6.59. I decided that I really didn’t need to buy the camera since I’d spent $3 here and there on random point and shoot cameras throughout the course of 2017 and was feeling pretty guilty about that. Like, had I not bought those silly cameras, I could have this one. So, I left it.

I left the store, drove down the road to go home, regret set in, and I turned back around to get the camera.

Success!!

It even came with its original case, with the stylized “SR” ( Sears and Roebuck) butterfly logo. I accidentally shot case upside down though, so I inverted the logo separately so you could see it  😀

Some of Sears 35rf’s specs:

  • Rangefinder focusing (.9m/3ft – infinity)
  • 40mm f/2.8 lens
  • Shutter-priority auto exposure and manual exposure 
  • Shutter speed range from 1/500s-1/8s, plus Bulb
  • Aperture range of f/2.8-f/16

In a move thoroughly unlike me, I immediately set about replacing the foam light seals. They were such a gunky mess that I figured I might as well get it over with.

In the meantime, I found out a little about the camera. It’s a rebranded Ricoh rangefinder (500 series.)

I shot a very quick test roll to see if I had done an okay job with the seals and if everything was functioning well mechanically too. I got it developed right away (also unusual for me as of late.)

I shared these on Flickr and Instagram (because I wasn’t sure when I’d put together a blog post for it here!) But hey, everything looked fine for the light seals and the camera seemed to be functioning fine!

(Shot on Fuji Superia 400)

I fell in love with this camera as soon as I saw the results from my test roll. I even took it on family vacation with me a few weeks after I got it. Here are some of the photos from that trip that I originally shared on my blog post about our vacation.

(Shot on Fuji Superia 400)

When I got home from vacation, I finished up the roll of Kodak Ektachrome 320T that I’d started shooting on vacay. Here are some of those photos (and these haven’t been shown anywhere before now!)

(Shot on expired Kodak Ektachrome 320T, cross-processed)

Then, I loaded the camera with the roll of JCH Streetpan I’d been holding onto for awhile. The results made me turn into the heart eyes emoji!
(I also haven’t shared any of these photos online previously 😉 )

(Shot on JCH Streetpan 400)

I LOVE the Sears 35rf. I cannot believe I was blessed to find it that day in a thrift shop that rarely yields any scores. The camera’s lens is nice and sharp, it’s little (though not so lightweight since it’s mostly made of metal,) and it’s now a prized member of my camera collection <3

{Getting to Know You} Mamiya M645

This was an “oops, I did it again moment.”

Last year, I bought a Mamiya M645.

I once extolled the virtues of another 6×4.5 medium format SLR I owned- the Bronica Etrsi. I’d found The One! Then I let it slip through my fingers. I sold the Bronica to a friend on Twitter who had been eyeing one. I have to say that I regretted letting it go…

Maybe I should have righted the wrong and bought another Bronica, but I decided to go in a slightly different direction by getting a Mamiya M645.

Some differences and similarities between the Bronica and Mamiya:

  • Film backs: The Bronica allows you to change film backs (and, therefore, film types/speeds) mid-roll. A Mamiya M645 does not, though you can get extra film inserts to pre-roll with film so you can change film quickly once you finish a roll. I liked the idea of changing film backs, but, in reality, I didn’t really do it with the Bronica often. And carrying multiple film backs was just one more thing to keep up with.
  • Construction: The Bronica is largely constructed of plastic. Not so for the Mamiya M645, which means the latter is more hefty than the former (weight of camera gear is a significant factor for a lot of people.)
  • “Grip” options: I had a speed grip for my Etrsi, which allowed it to function almost like an overgrown 35mm SLR (you can see photos of that set up in the blog post I linked earlier in this one.) It allowed the shutter to be triggered with a button on the grip rather than the one on the camera, and film was advanced with an advance lever instead of a crank. All this is done on the right side of the camera. I do not have a grip for my Mamiya (yet?) I have been reluctant to try one for that camera, because its grips are left hand grips. I have felt dubious about that because I’ve felt that it might feel awkward to have the shutter button/film advance on the left side. I don’t know…it doesn’t appeal to me. I might try one eventually, because handling the camera without one is sort of like holding a cube!
  • The shutter types are also different between these two cameras (Bronica: leaf shutter in the lens, Mamiya: focal plane shutter.) I won’t go too much into the differences here, except to say that for my style of shooting, the differences really don’t matter all that much to me!
  • On the subject of shutter speeds, the ETRSi and M645 have the same shutter speed range: 1/500s – 8s, plus Bulb
  • Multiple exposures possible on both. I used this often on the Mamiya, not so much on the Bronica. (I wasn’t that into multiple exposures when I had the ETRSi)
  • Mirror lock-up on both (to reduce vibration during certain types of exposures.) Not that it was a feature I utilized often, but mirror lock-up on the ETRsi is more tricky than the M645 because, on the Bronica, putting the mirror back down fires the shutter. To avoid wasting a frame of film, you need to take the film back off, return the mirror to the down position (which fires the shutter,) flip the multiple exposure lever to activate that “mode,” then put the film back on again, take your next photo, flip the multiple exposure lever to exit, and finally advance the film. That’s A LOT. With the M645, you just flip the mirror lock-up lever to return the mirror to its down down position and move on with your life!

One reason I took the plunge and purchased the Mamiya M645 is that I got it for a song…seriously, it was a price that made the choice feel like it wasn’t much of a risk. I bought the body and lens (80mm f/2.8, the standard lens) then purchased the prism separately to complete the kit.

The format of this blog post is unlike most of my camera “reviews,” but it’s because I went about trying “new” cameras differently last year, so the posts I write about the cameras are different too! Side note: I only have limited photos from the first two rolls I took with the Mamiya, because most of those photos are allocated for different projects (which I keep alluding to on here…I’m promise all will be revealed as soon as possible!)

Roll #1: Fuji Provia 400F, expired in 2005, cross-processed (June 2017)

First frame! This is of a Russian wooden box I’d gotten at a thrift shop. 

Elderflowers

Roll #2: Ilford FP4+ (June/July 2017)

So I’d had those two rolls developed (though I have shot another that hasn’t been developed as of yet.) I decided I needed to go ahead and replace the badly deteriorated light seals. The following photos were from my post-light seal replacement test roll (looks like they worked!) I can share all of the results from this roll because, well, they were just for this blog!!!

Film: Lomography Color Negative 400 (April 2018)

I will say that I don’t feel as if I bonded with the M645 as quickly as I did my Bronica ETRSi, but I also have had my {camera} attentions divided this last year, so I haven’t invested as much time getting to know the Mamiya as I should have. When I do pick it up to use, I really enjoy the experience though! I mentioned that handling the camera without a grip attached is like holding a cube, but it’s not been as awkward in practice as it sounds.  I hope that, with time, I will also get to add another lens or two to my M645 kit – there’s a drool-worthy 80mm f/1.9 available for it that I’d LOVE to try! Not to mention a wide angle lens would be nice too.

Post Navigation