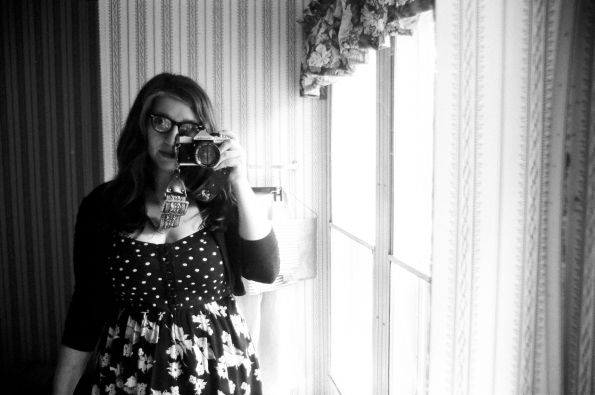
This could be subtitled “I got my mirror self-portrait mojo back”
As I mentioned in a previous blog post, I am trying to get back into shooting m42 cameras/lenses. In the aforementioned blog about my Praktica MTL 5, I told of a “jumpy” meter needle that didn’t make me feel very secure about its readings and said I’d actually bought another m42 body after shooting that roll with the MTL 5. The second m42 body I bought was a Fujica ST605N.
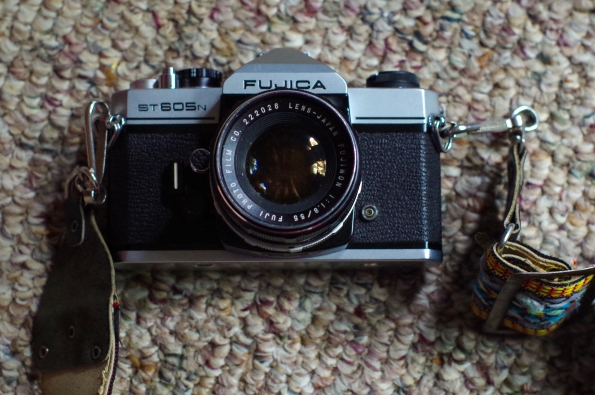
Just as with the MTL 5, there isn’t much to say about the features on the ST605N. They’re both pretty basic cameras. The film speed selector goes from to 25-3200 ASA. Shutter speeds are 1/700s – 1/2s, plus bulb. However on my Fujica, the slowest two speeds, 1/4s and 1/2s are inaccurate. This is no big deal, as I very rarely use those shutter speeds anyway. One of the Fujica’s selling points for me was the fact that it takes batteries that are much easier to find than what the Praktica takes. Battery availability is one of the main reasons I bought this camera.

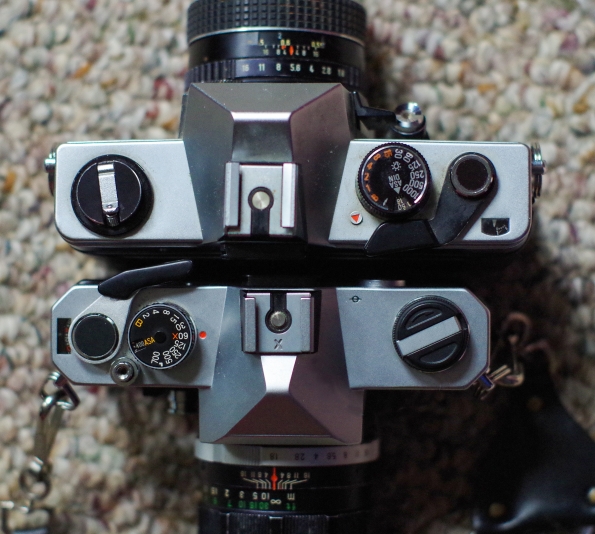
Shutter speed dial on top, with shutter speeds from 1/700s – 1/2s, plus B. Film speed selection is within the shutter speed dial.
 It’s not lightweight, but I do like how much more compact the Fujica is compared to the Praktica.
This is kind of a strange thing to like, but I really like the little button that activates the meter/stops the lens down! Most other cameras of this ilk have a lever (as the MTL 5 does) that you press to turn the meter on. I like both the way the round button on the Fujica looks and the way it feels. It’s pleasant, I guess.
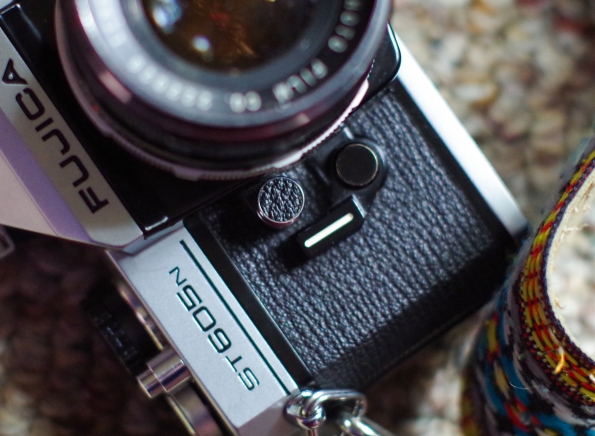 Little round meter activation button
Another thing I like is that the Fujica has a shutter speed indicator in the viewfinder. I don’t believe I’ve ever had an m42 body that’s had that feature, but it’s pretty handy and reminds me a bit of my beloved Nikon FE’s viewfinder.
Now, to the photos. As I always say, camera bodies are just vehicles for lenses and lenses are the thing that determine image quality. But inaccurate shutter speeds or a faulty meter can ruin photos taken with even the best lens. So when I am testing a “new” camera body, I’m really testing the shutter speeds and the meter (where applicable.) The Fujica’s meter seems just fine! I was shooting some of my expired Kodak High Definition 400, so I dialed in a film speed that was a little slower than 400 to help compensate for potential stop loss of the expired film.
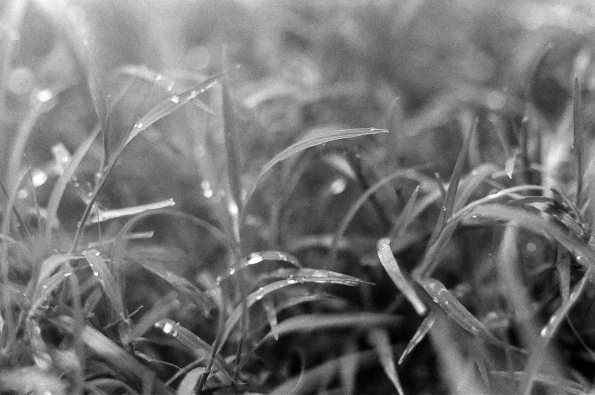
Roll #1 was Kodak High Definition 400, expired in 2011
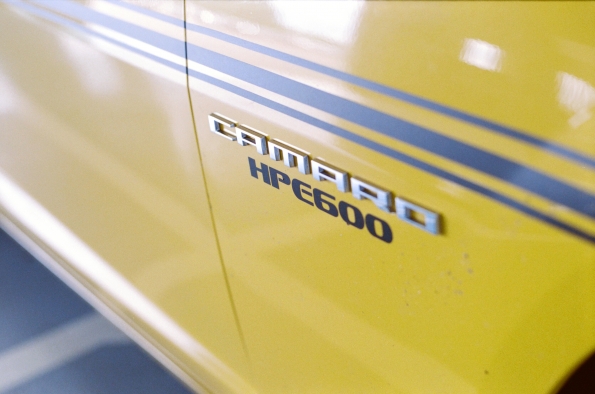
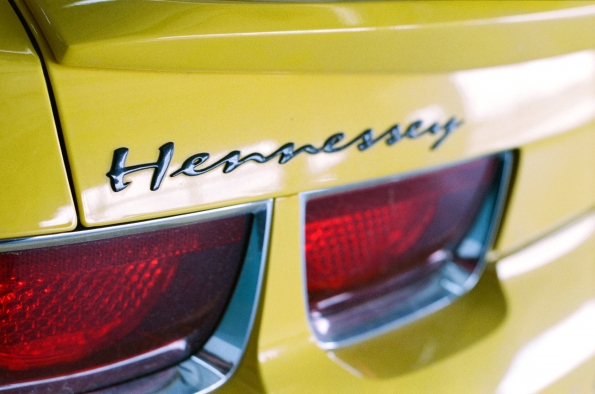
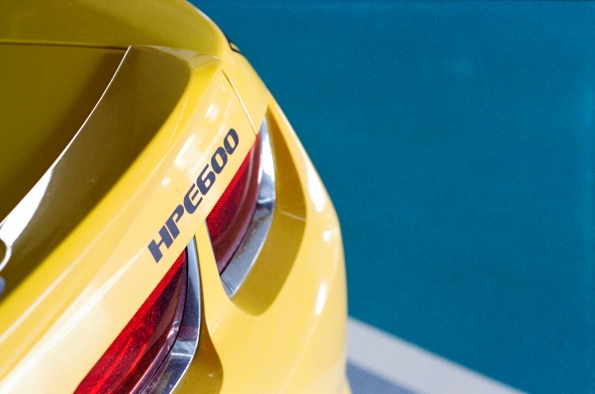
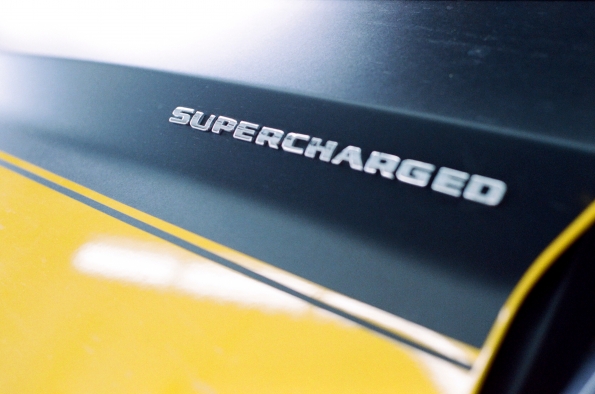
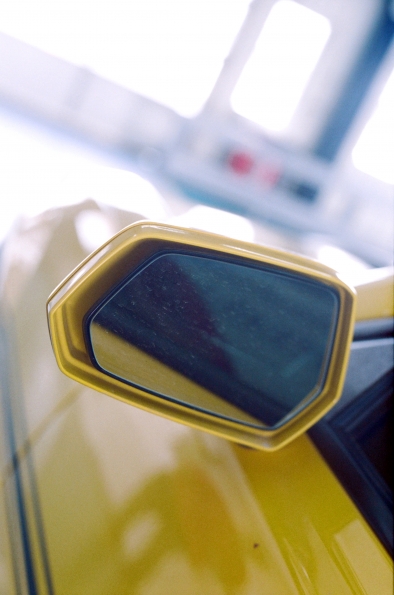
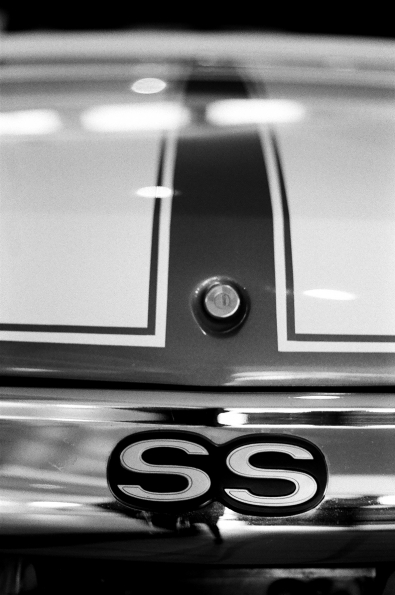
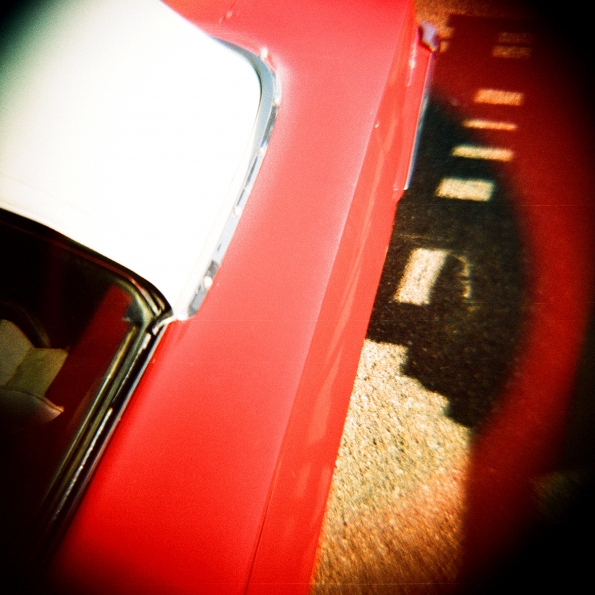
Chevy Camaro, Hennessy edition in the auction bay at work. I heard a really interesting story while I was taking these photos that maybe I’ll tell you one of these days.
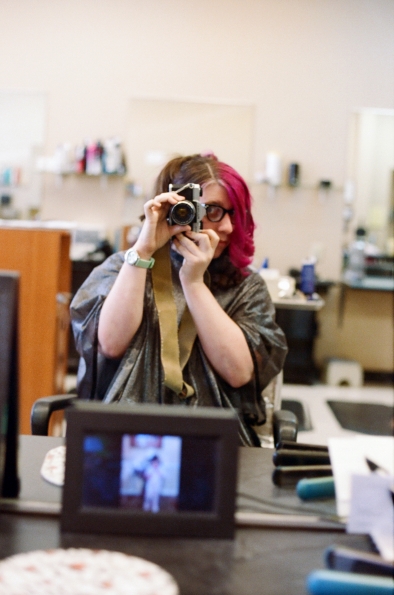
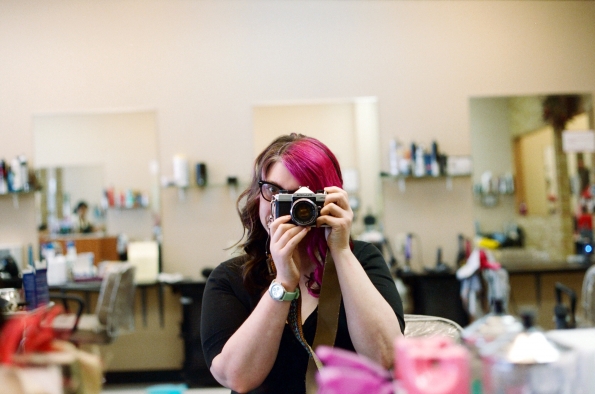
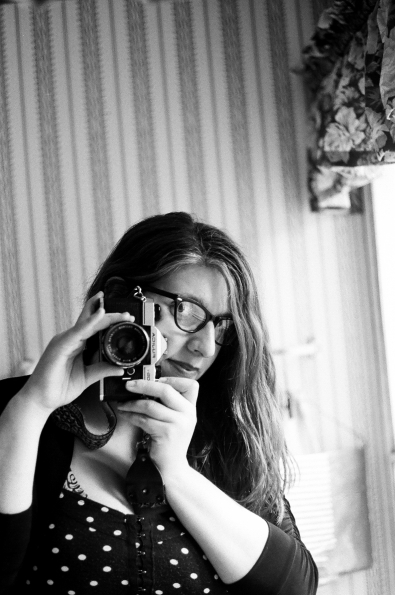
Me in the beauty shop the day Rachel gave me “fancy hair”
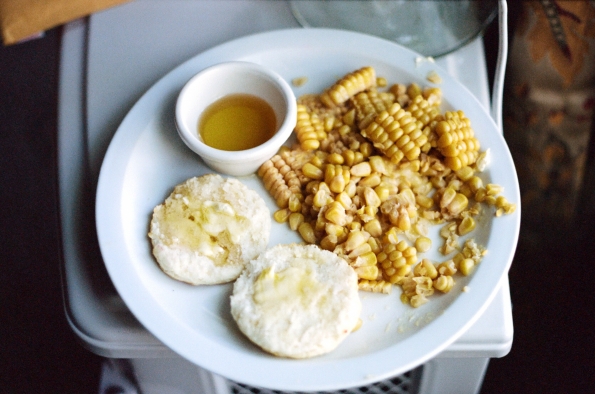
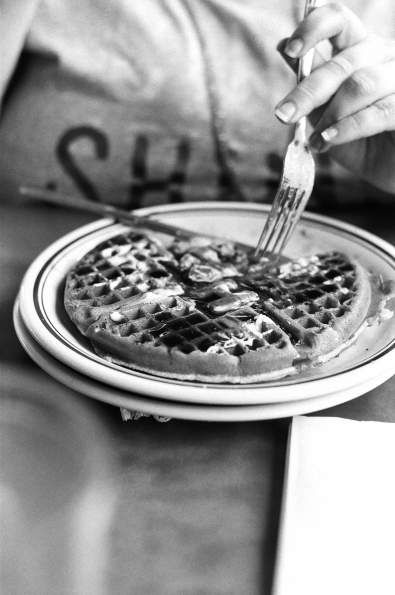
“The new Sunday dinner” – we stop and get Popeye’s, and I get a biscuit and an ear of corn. I use agave nectar instead of the “honey sauce” (it’s not honey) that Popeye’s gives you for the biscuits.
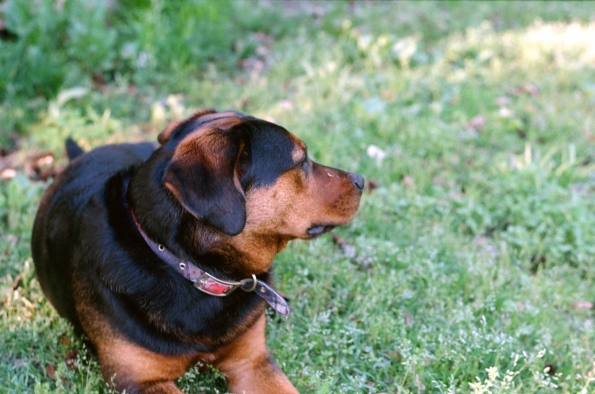
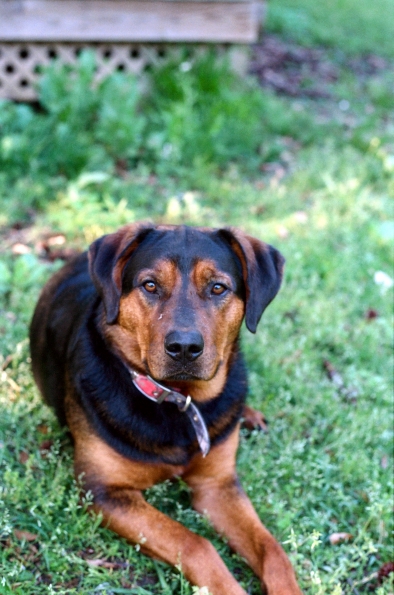
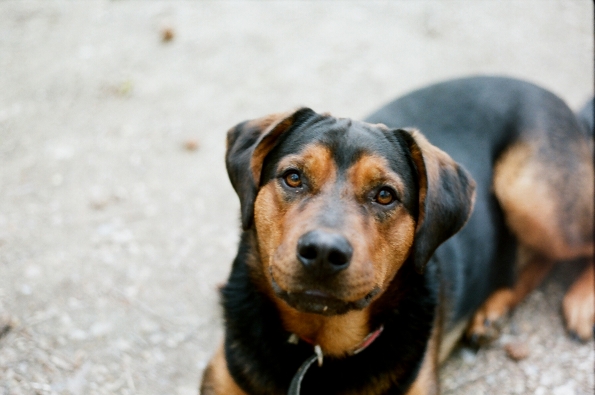
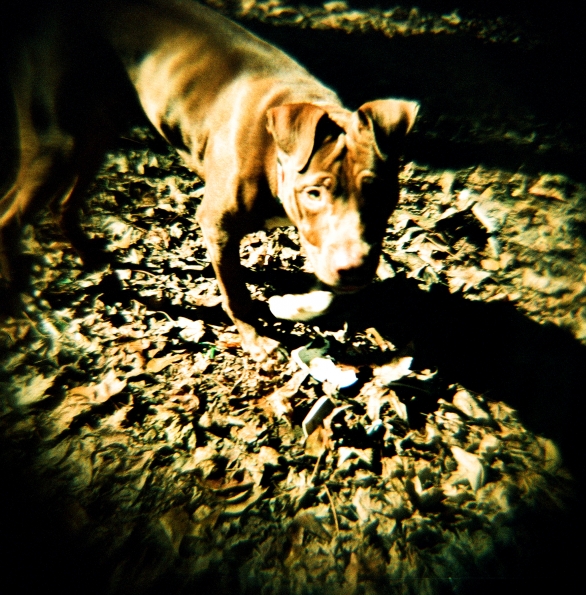
Hope you aren’t tired of Wyatt’s photos yet!

Sunday dress
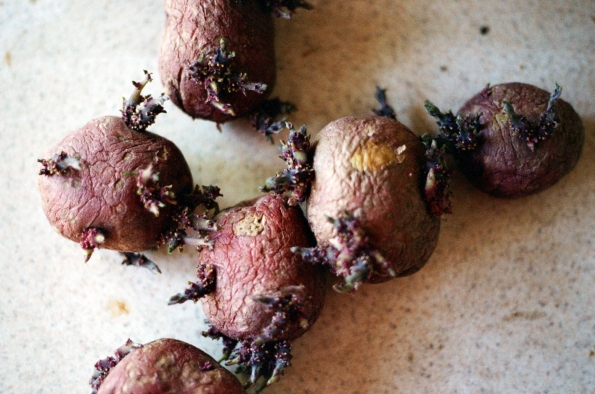
Ewwwww
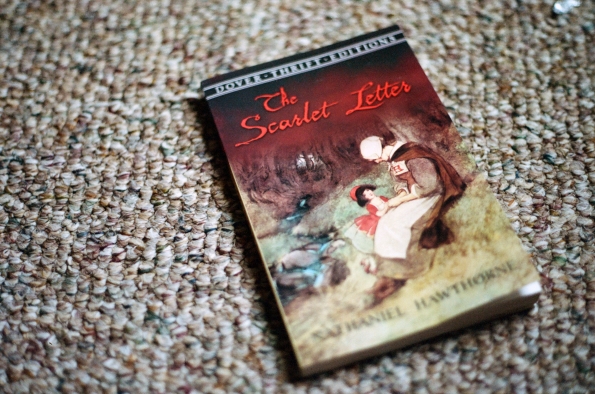
There were already way too many photos of my new favorite book on my Instagram feed, but here’s another one!

Afternoon coffee and readin’ The Scarlet Letter
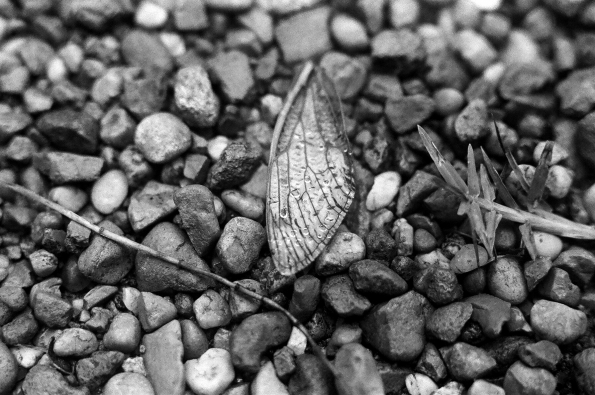
Roll #2 was Ilford HP5 Plus (and outshines the color roll IMHO)
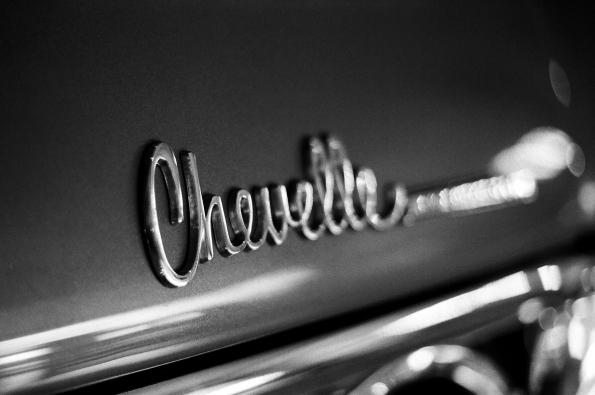
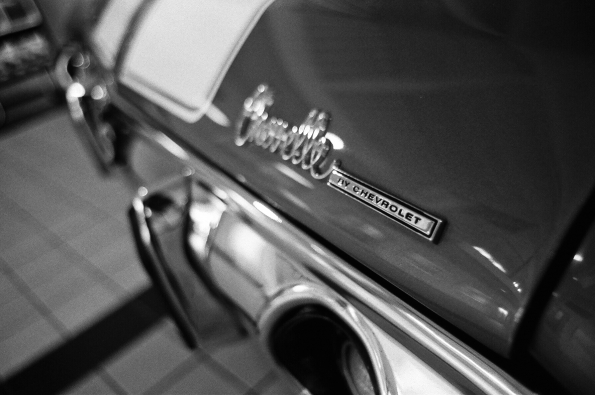
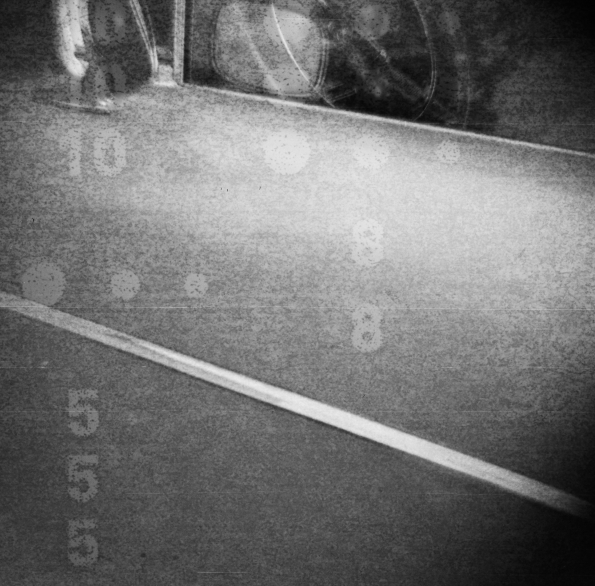
Chevelle at work


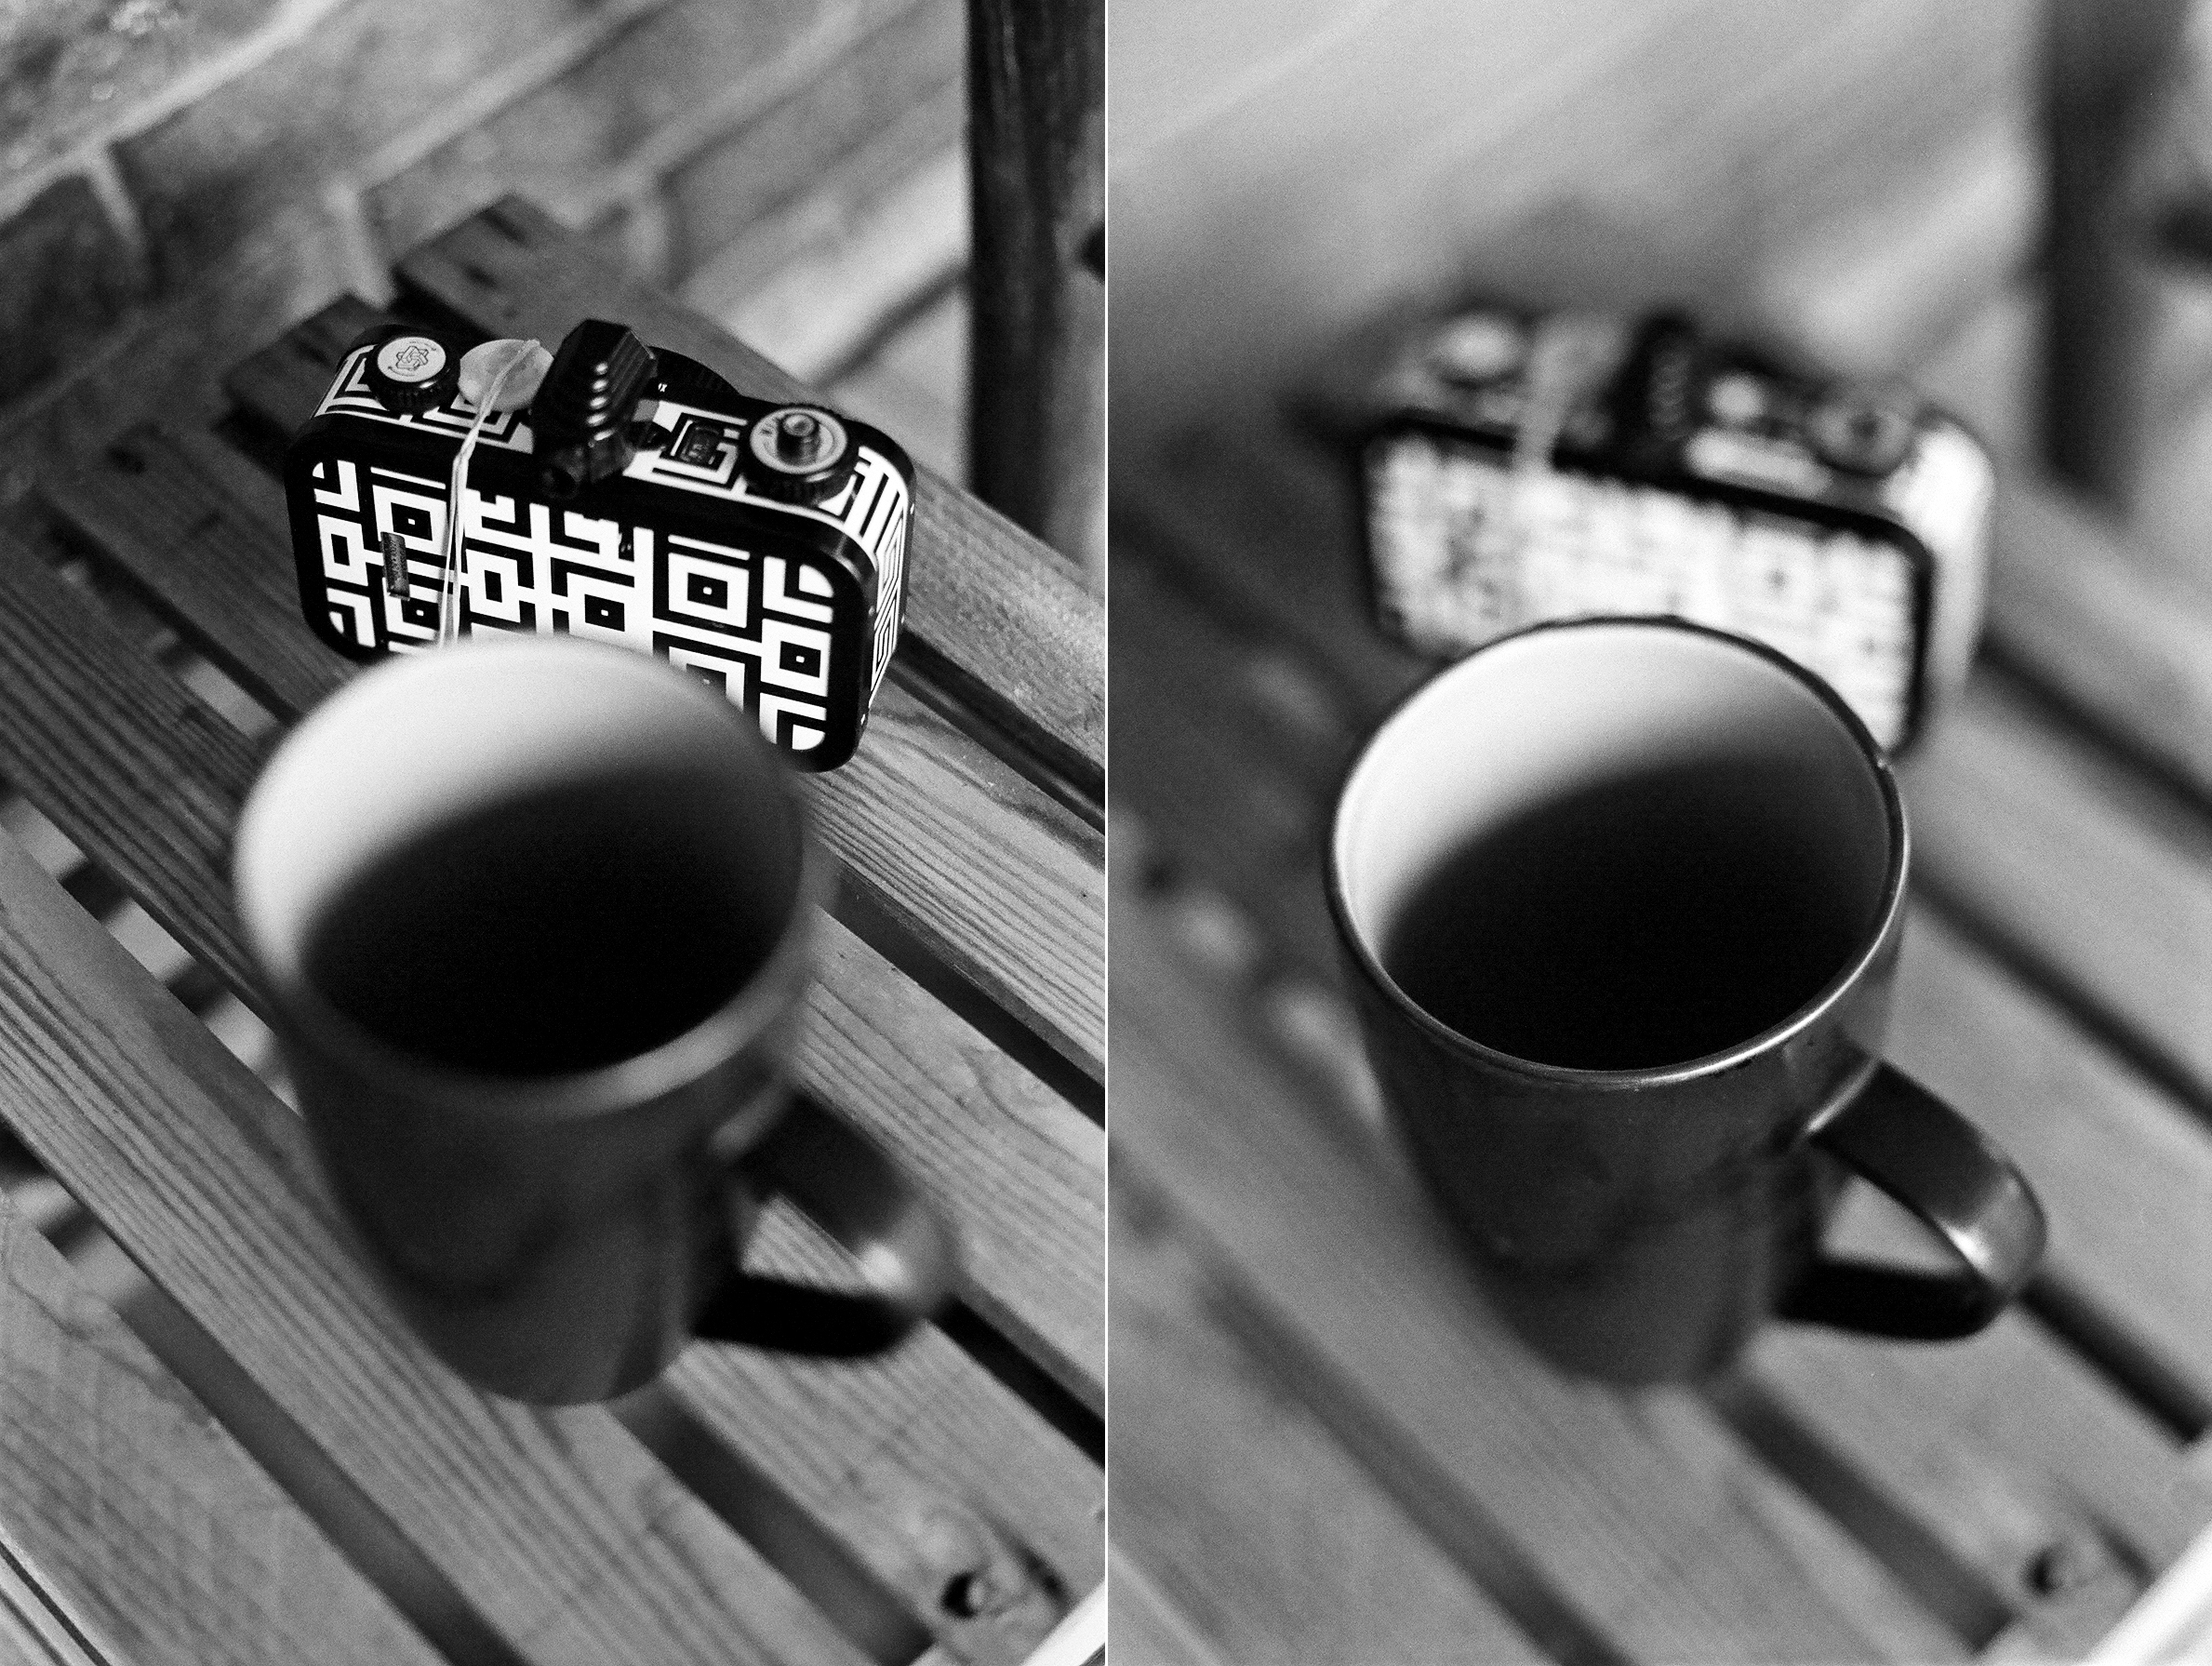
Coffee out on my aunt’s deck in Texas
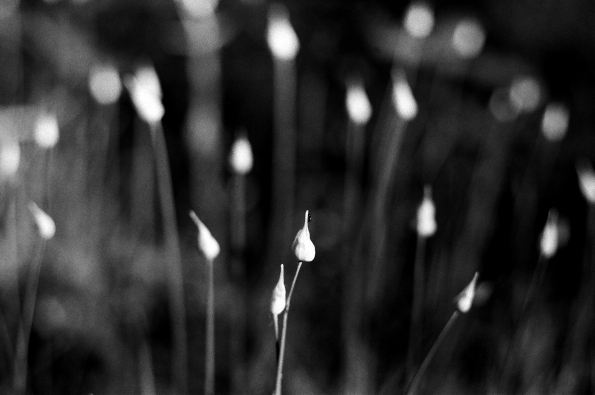
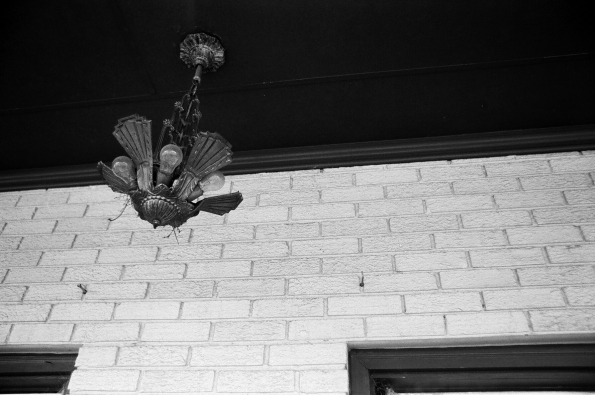
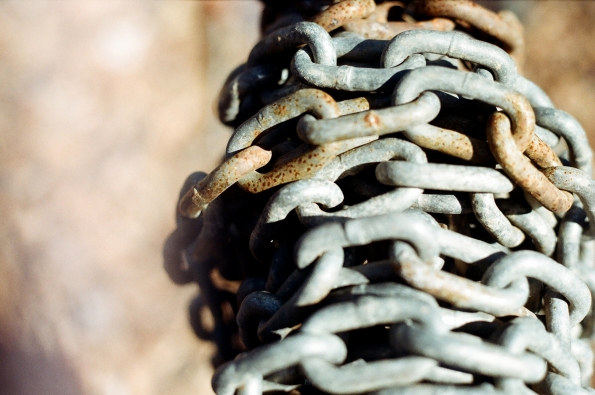
Some shots using a macro extension tube on the Fujinon lens
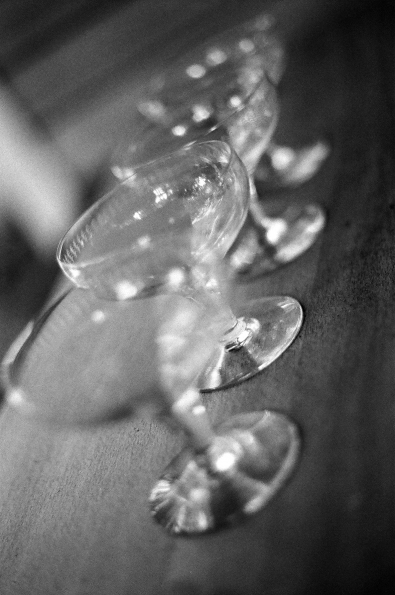
Some sweet little champagne coupes I got at Goodwill recently
Sundress days
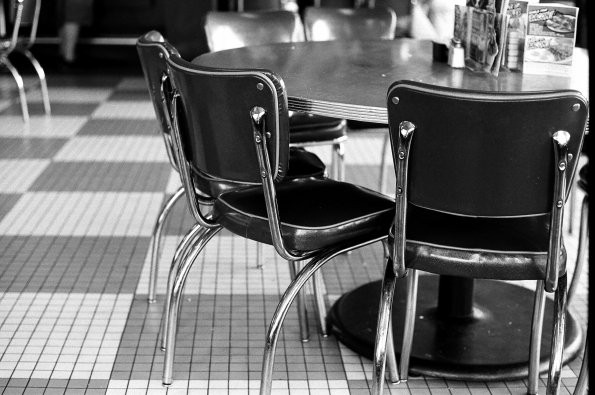
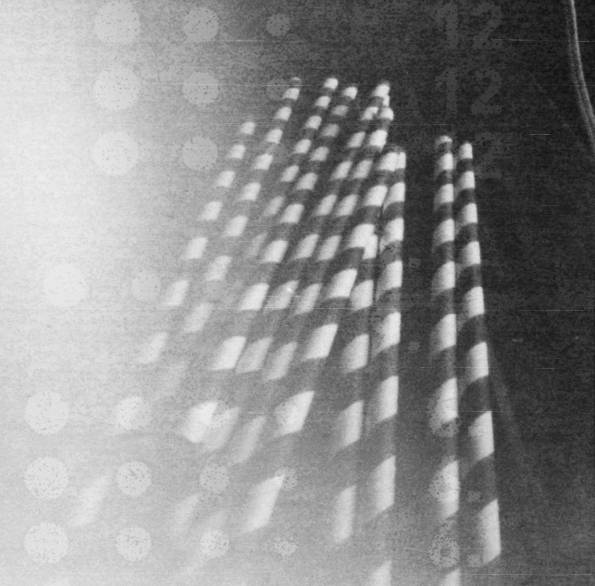
Memorial Day at Huddle House

Boop
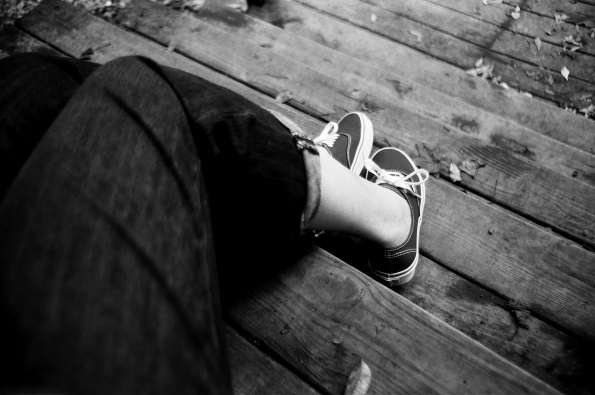

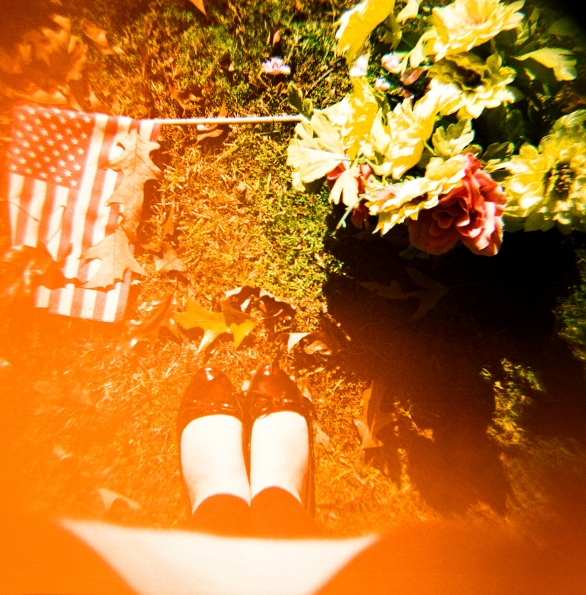
“The day my Vans arrived”
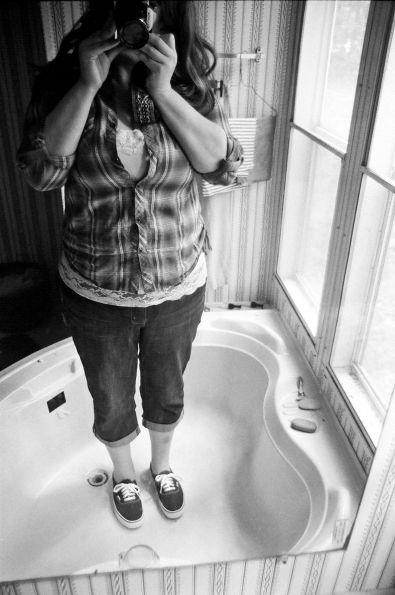
Vans mirror self-portrait

Hey
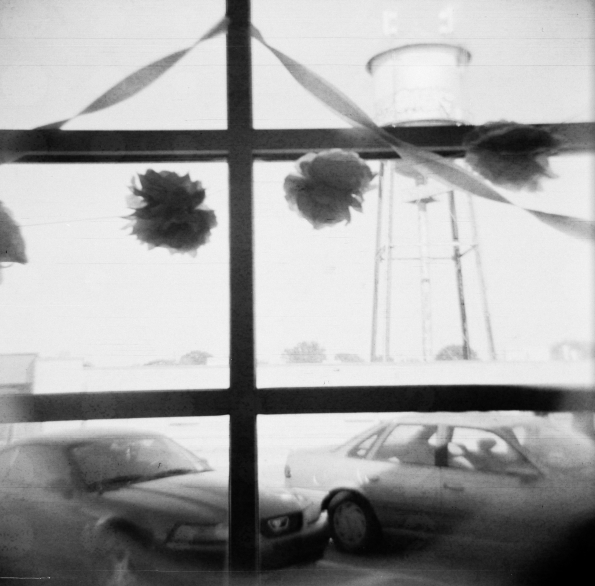
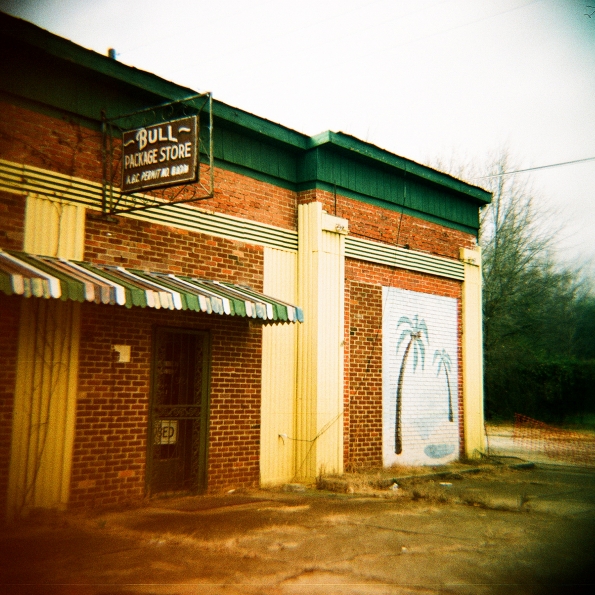
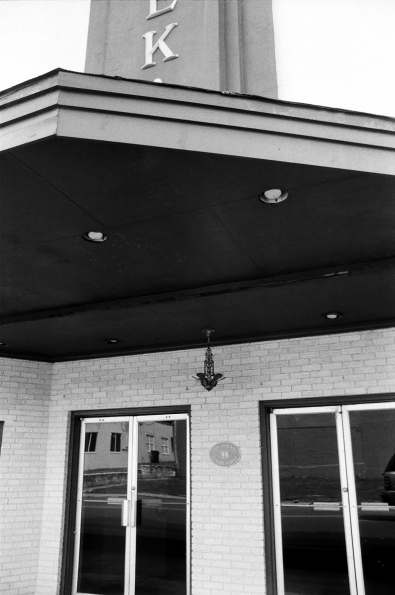 Eureka theatre, Batesville, MS (color images taken that same day in Batesville, coming soon)
Photos taken with Fujica ST605N, mostly with a Fujinon 55mm/1.8 lens, though a few were with a Sears 28mm/2.8 lens
Conclusion:
I really like this Fujica! I have had so many different m42 cameras over the years, and this is definitely one of my favorites. And I’m still likin’ my Fujinon 55mm/1.8. I wish I’d not gone through the frustration and cost of having a Praktica with a weird meter before getting the ST605N, but “God bless the broken road that led me straight to you” 😉
 Photo of the Praktica MTL 5, taken with an Olympus Stylus Epic


 Can you blame me? Phwoar!
 mode buttons and LCD screen which shows battery power, mode selected, and the number of shots taken
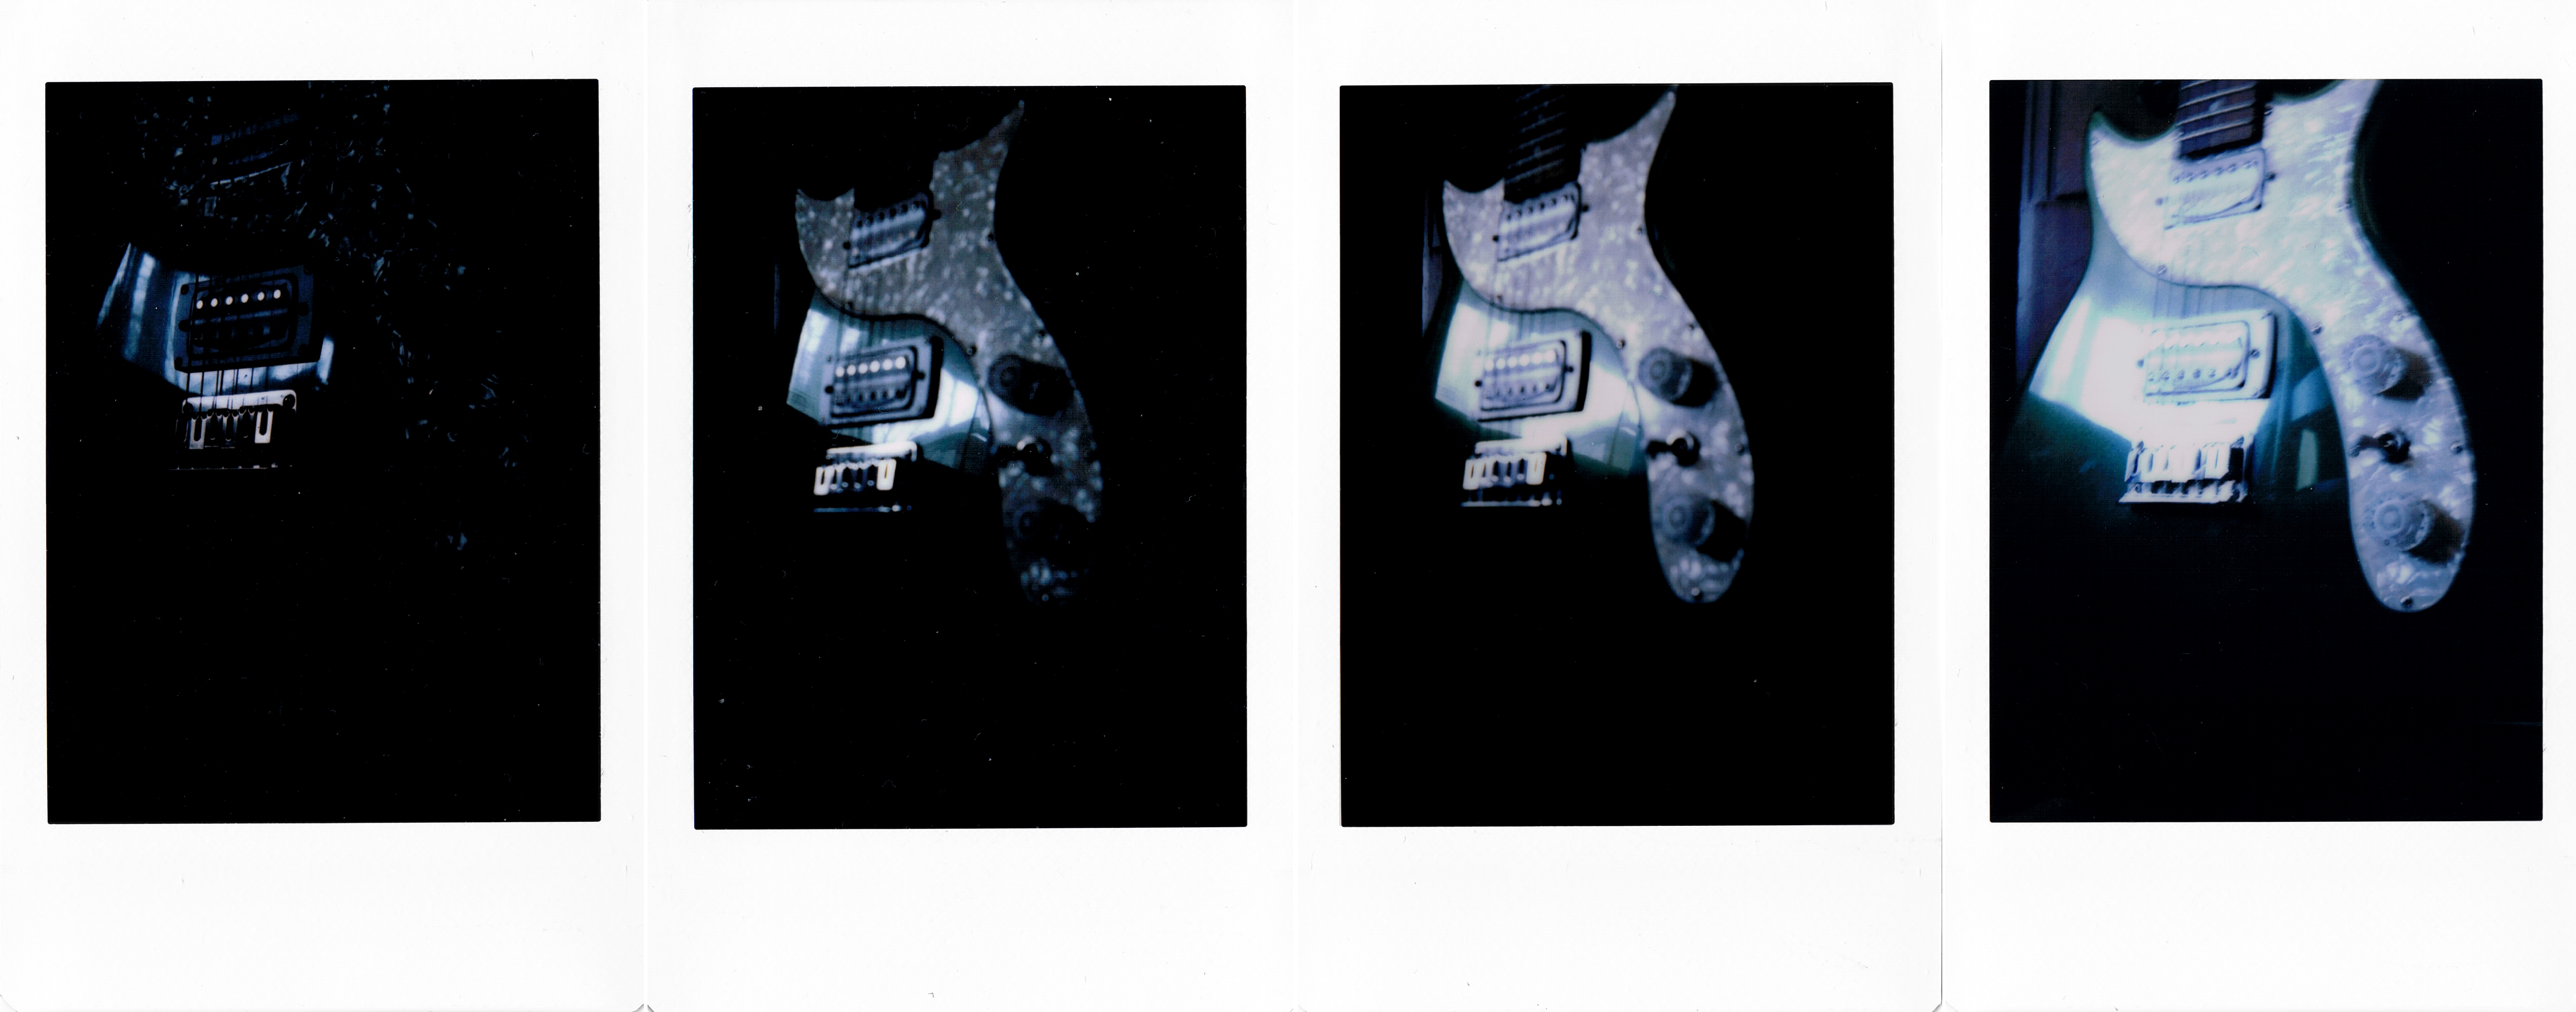


 flash off, auto exposure, Darken


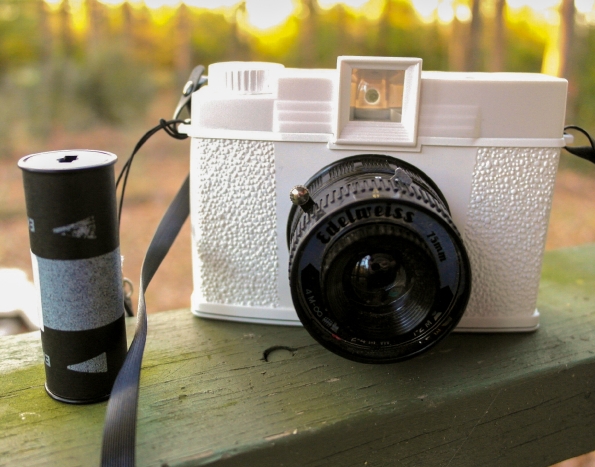
 Bye bye, Novella Diana F+. I kinda of want you back now.
 Roll #1 in progress – an attempted (unsuccessful) pinhole photo. The resulting photo is the fifth one below here:
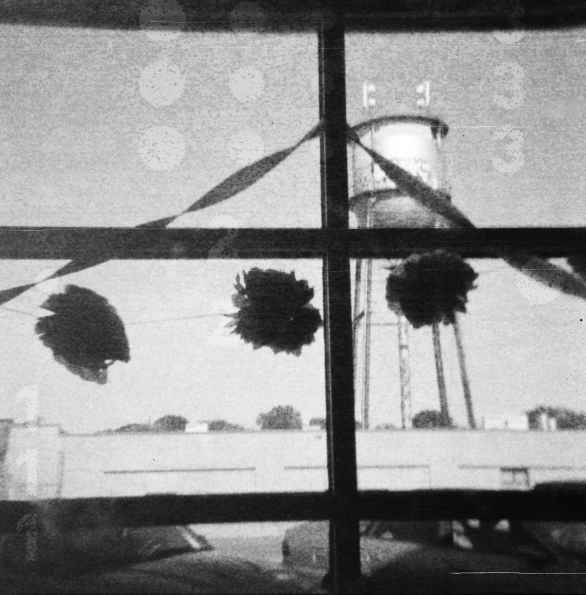

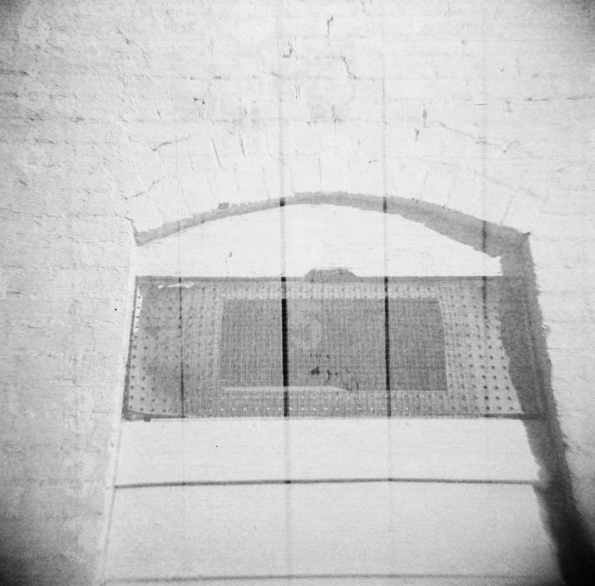
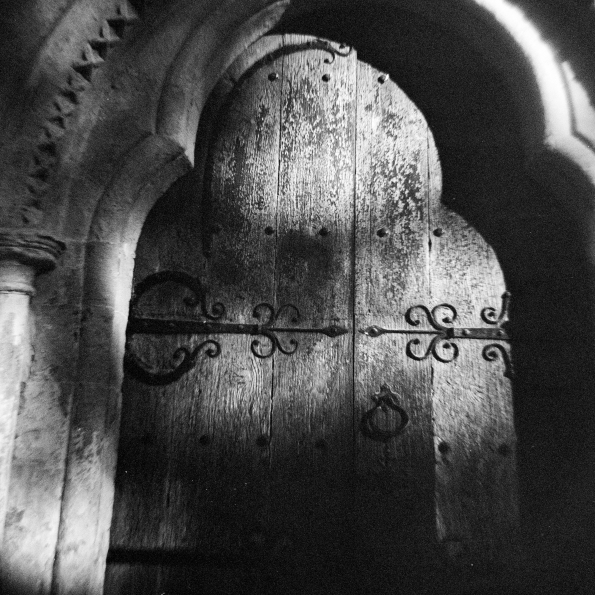
 (Pinhole exposure)
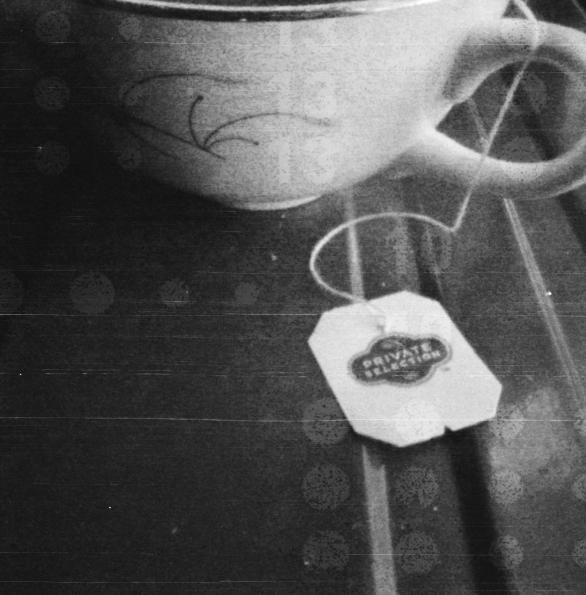 (Pinhole exposure)
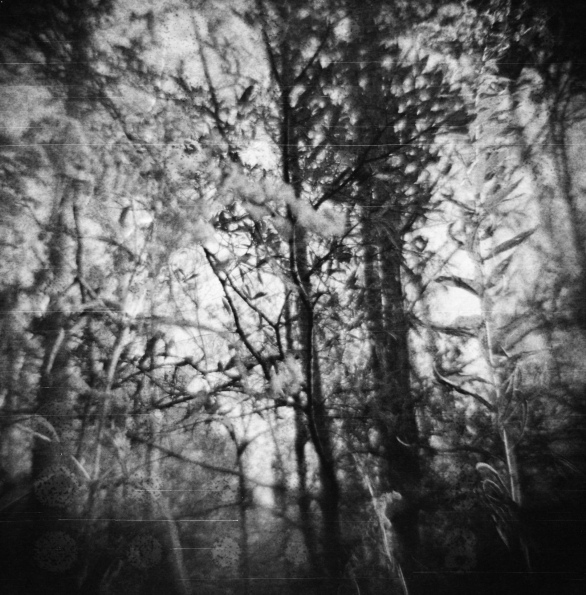
 Lady Grey looks like a “fat roll” (common problem in rolls shot with Dianas.) It was just husky to begin with. Fat rolls usually have light leaks because the film isn’t tightly wound around the film spool.
 (Pinhole exposure)
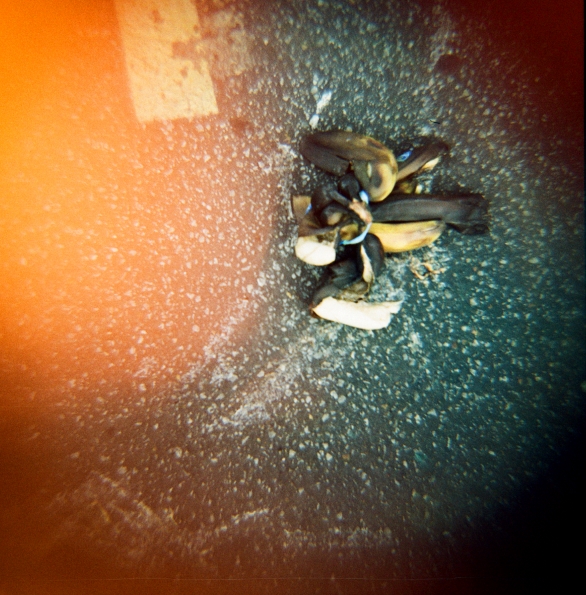


 (Pinhole exposure)


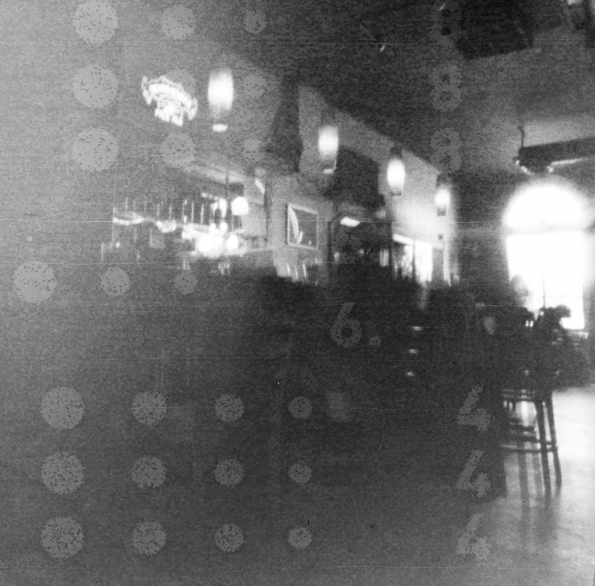
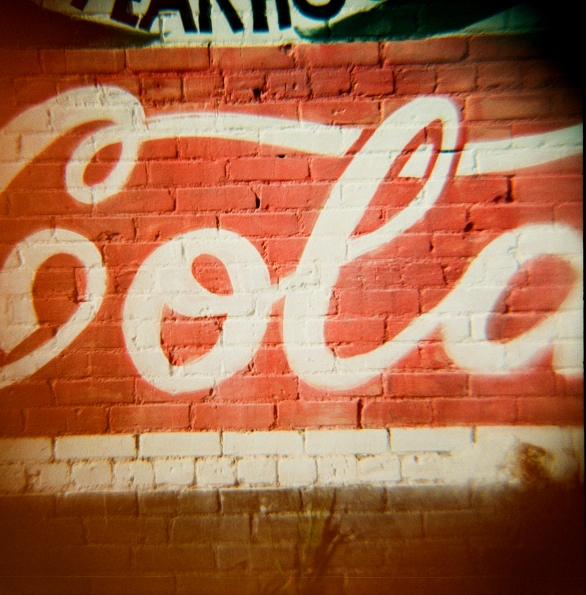
 This is actually a double exposure, but the first of the two exposure looks very faint


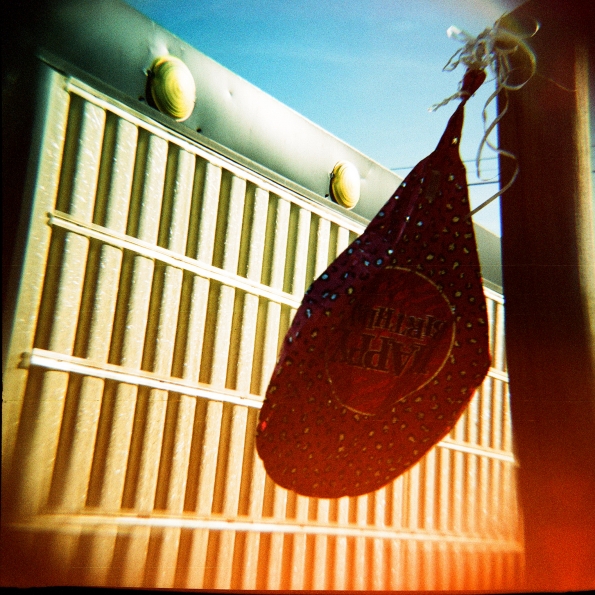
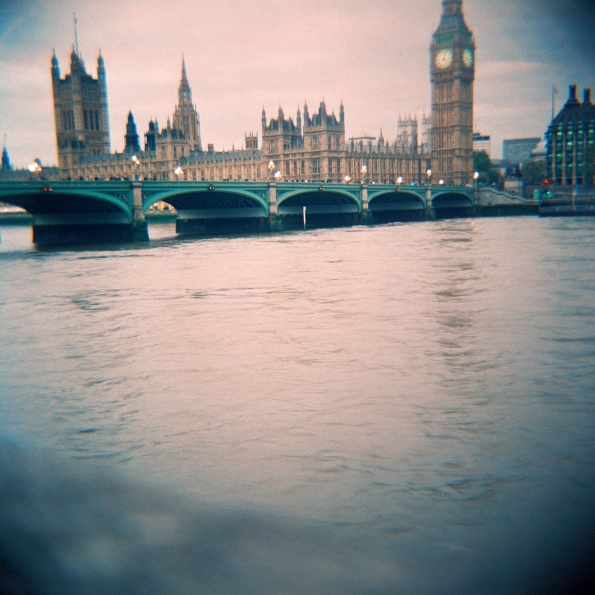
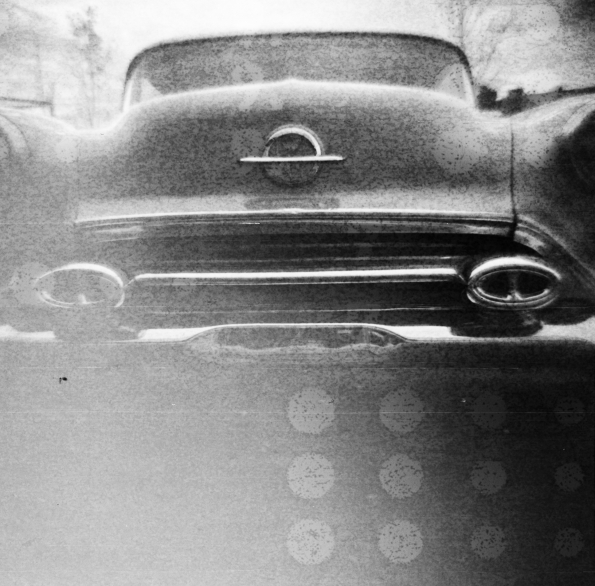
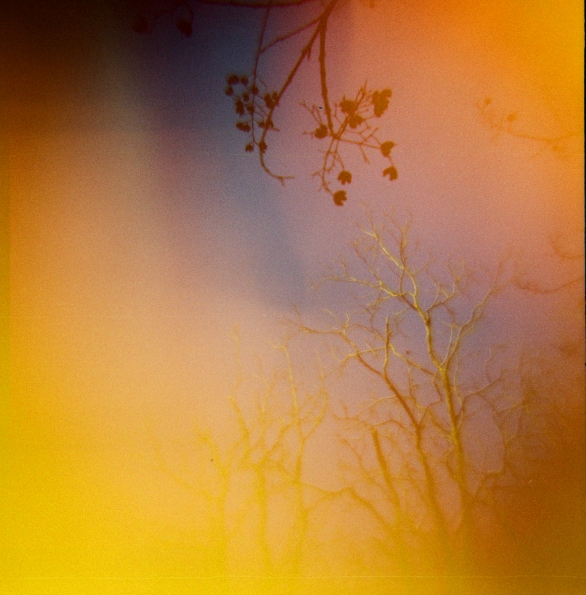
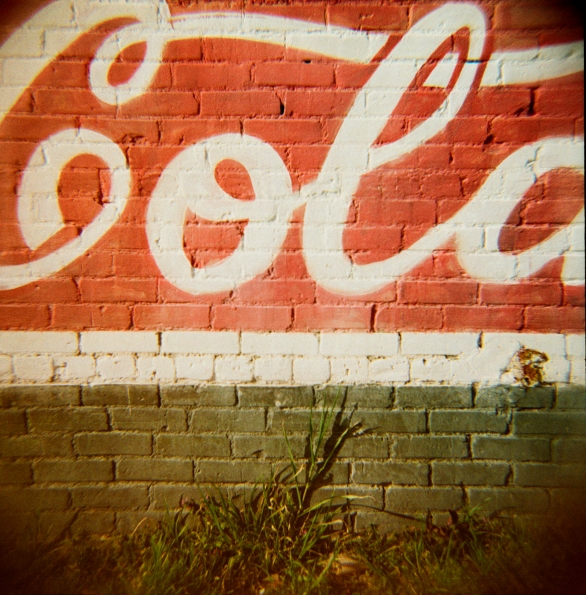
 Gasp! This picture is one of my top favourite toy camera photos now! It’s everything I could ask for in a cross-processed, toy camera photo.