Redscaling film is a technique I originally started fiddling around with back in 2012. I wrote a blog about it and explained how redscale film works. In short, you load the film into the camera upside down, with the light-sensitive side facing toward the back of the camera instead of toward the shutter. The results I’ve gotten with my DIY redscale film have generally produced VERY STRONG red, orange, or yellow results. I decided that it wasn’t a look I wanted in my photos very often.
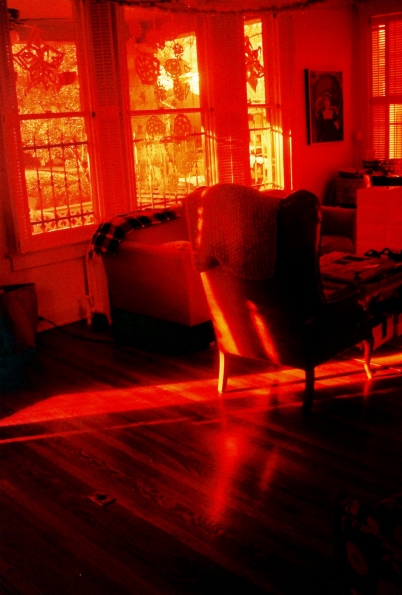
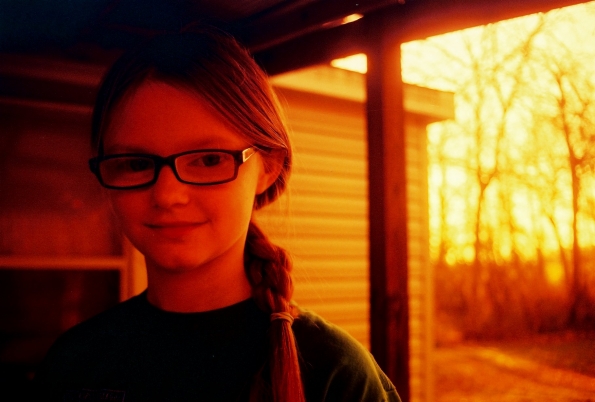
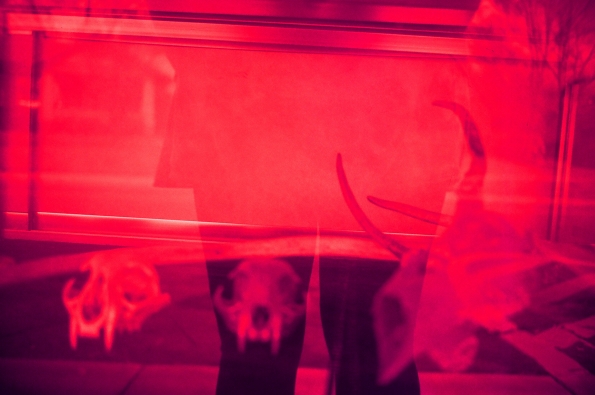
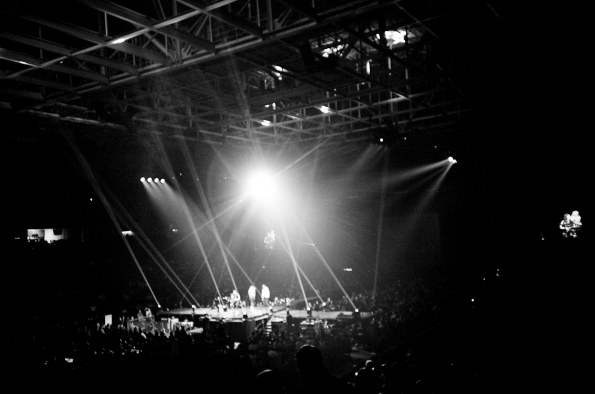
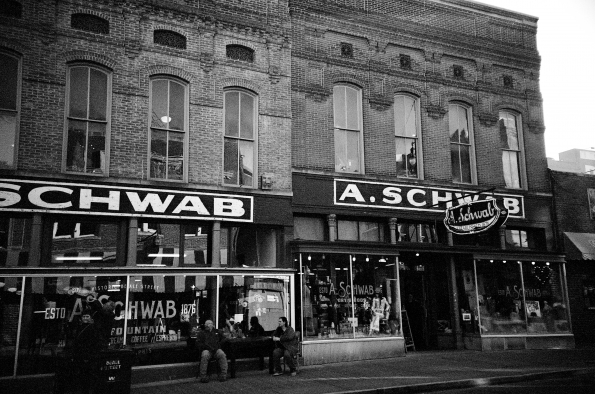
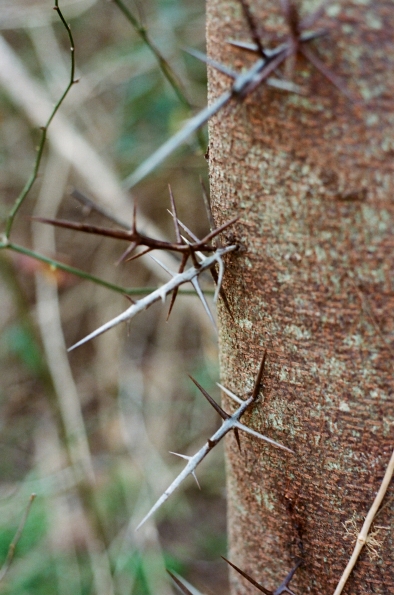
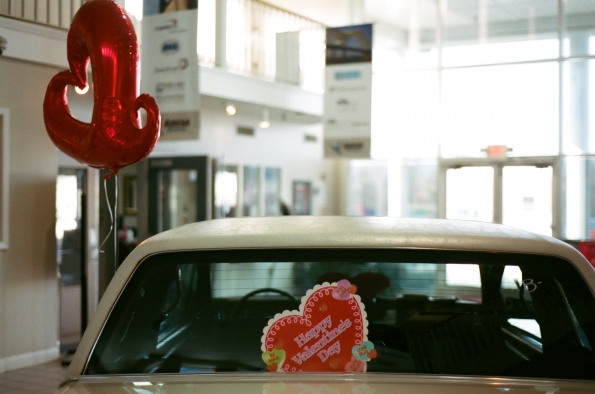
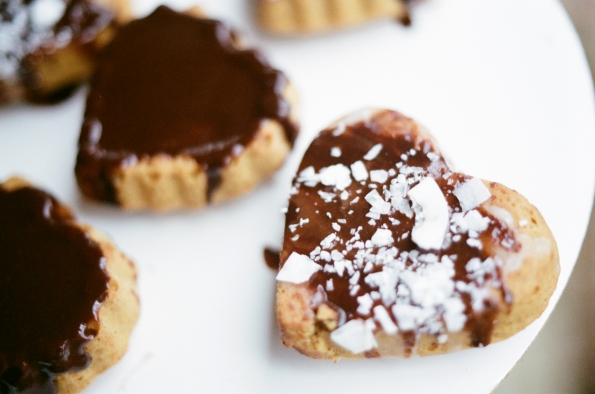
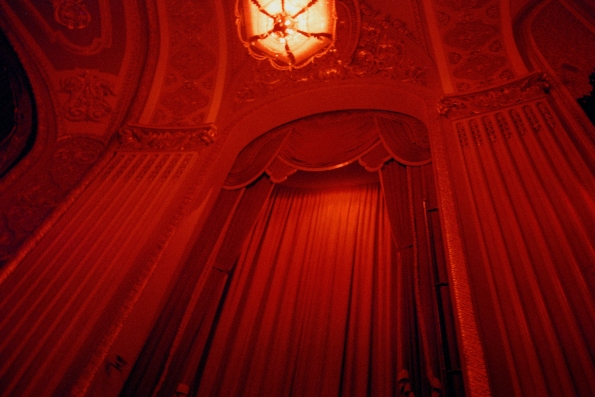
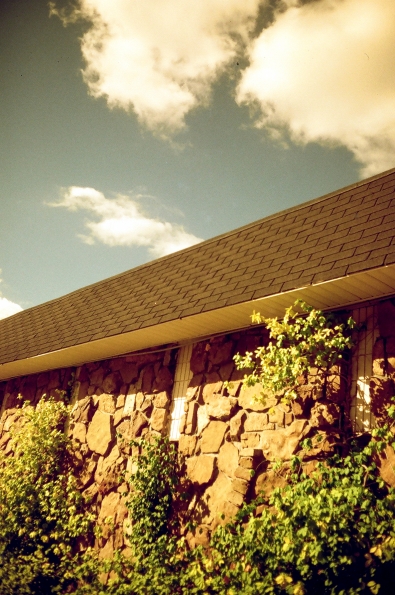
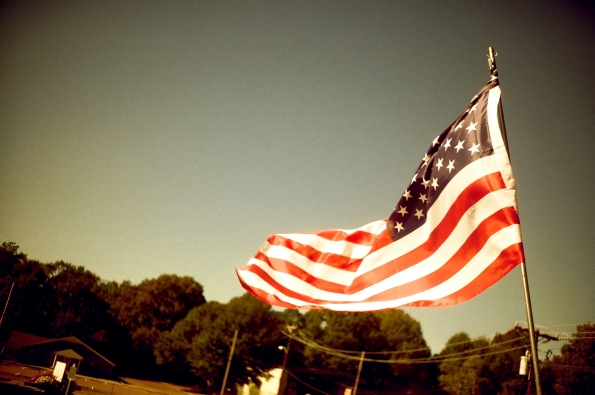
Redscale roll #1
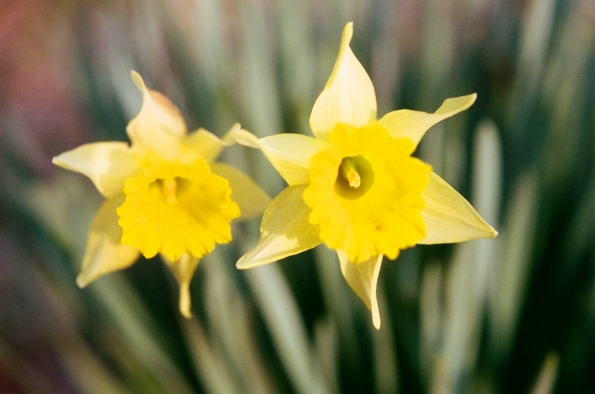
 Fuji Superia 400, shot at 200 ASA
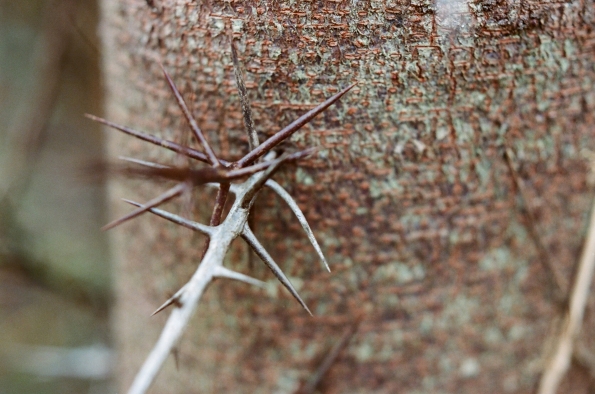
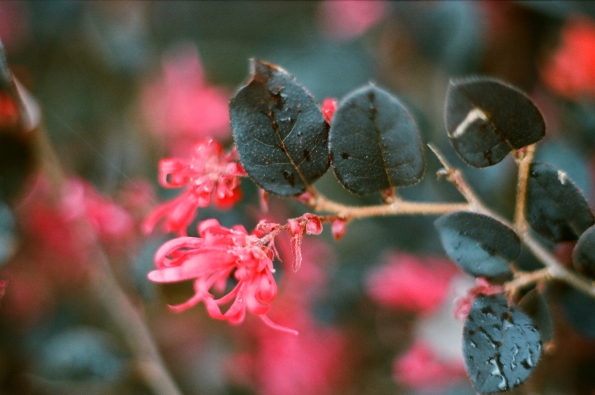
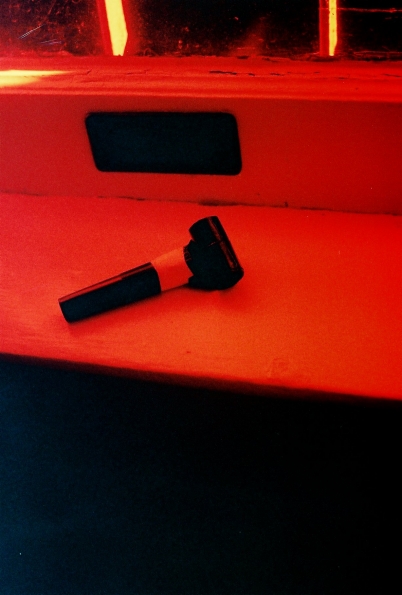
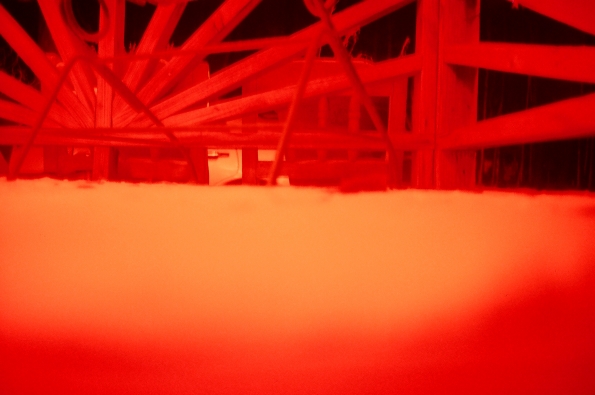
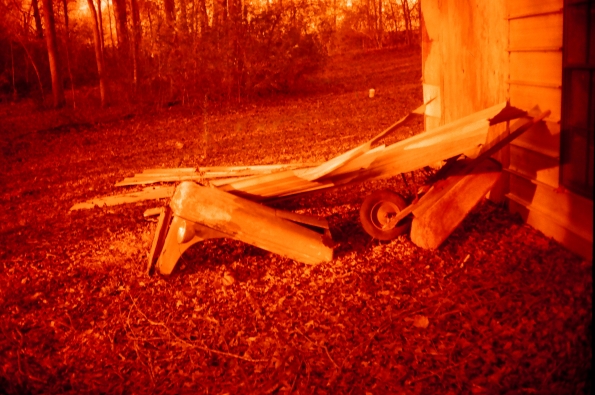
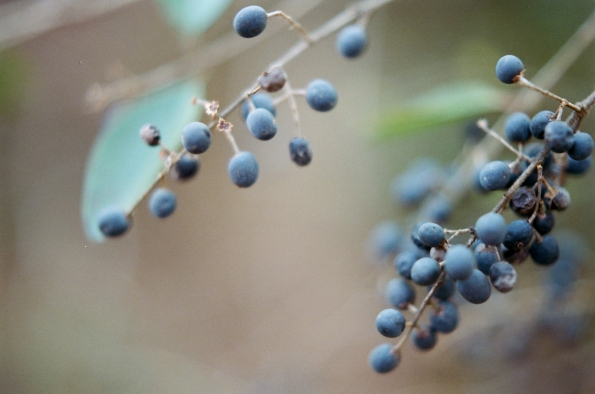
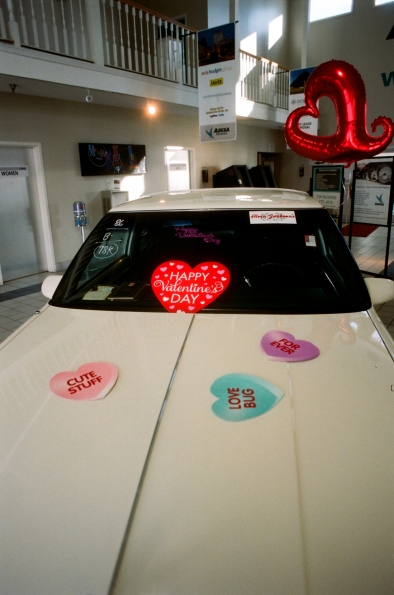
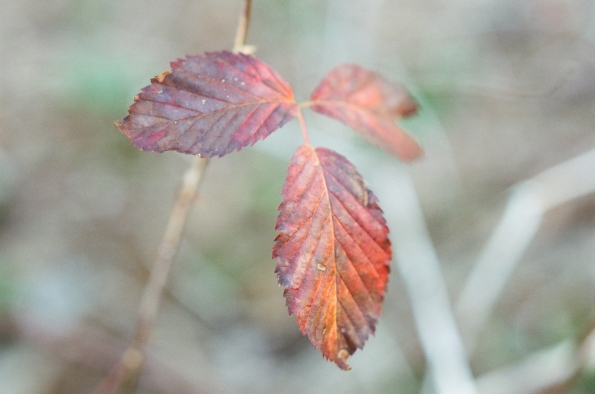
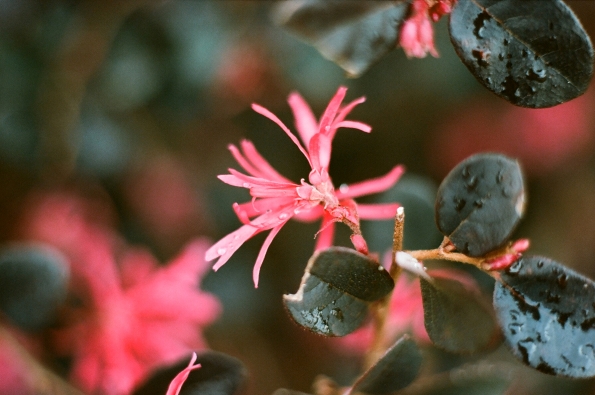
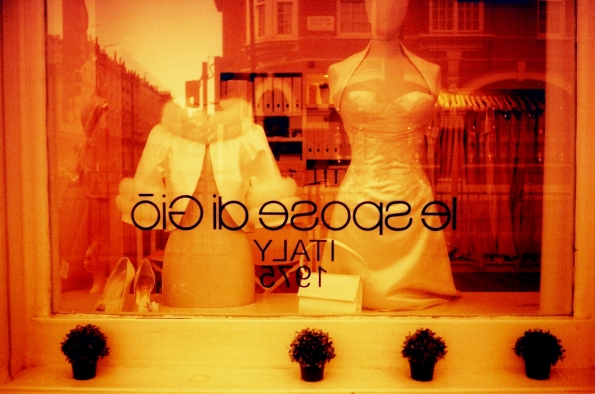
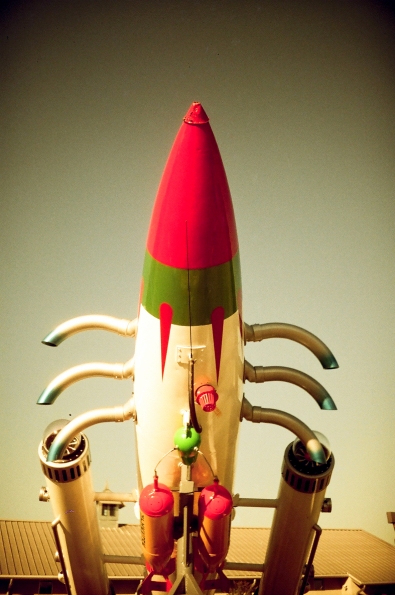
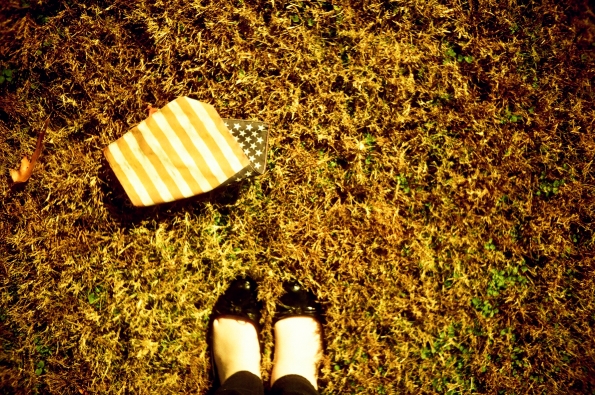
Redscale Roll #2
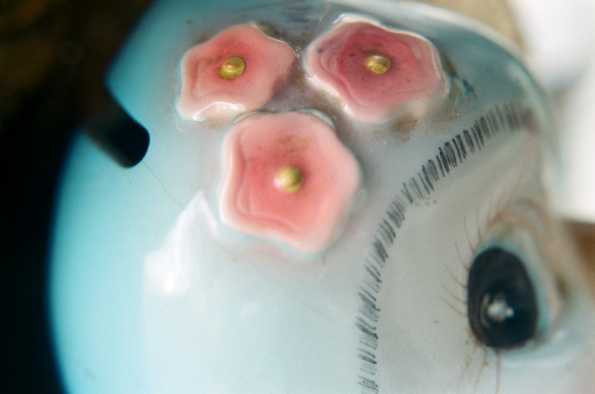
 Fuji Superia 400, shot at 200 ASA
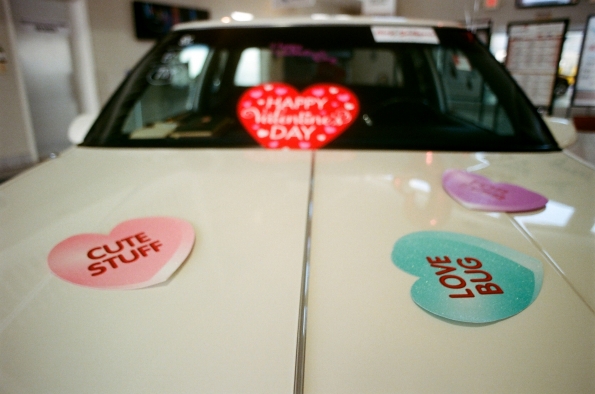
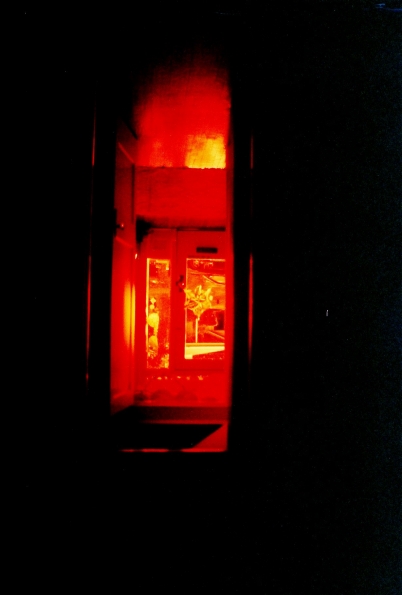
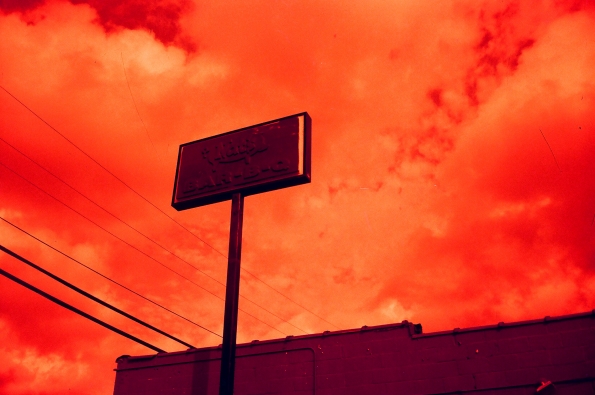
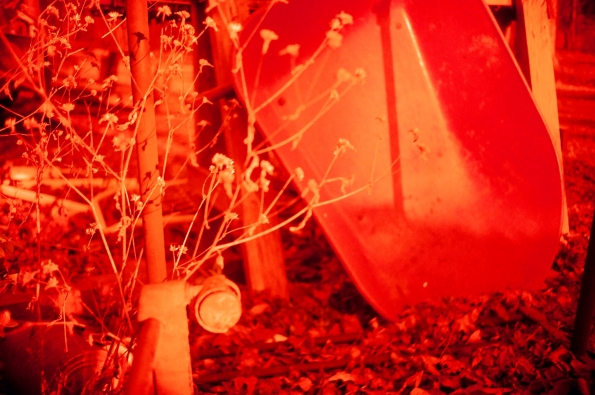
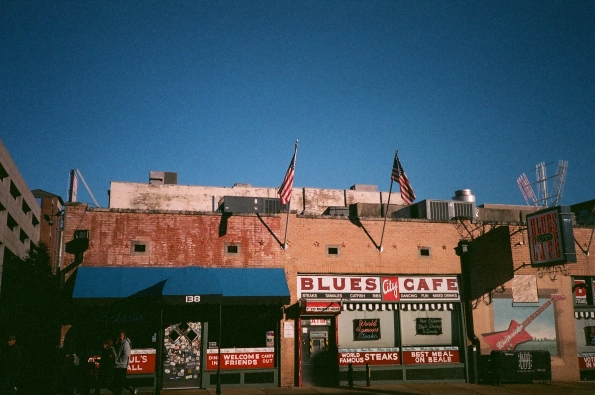
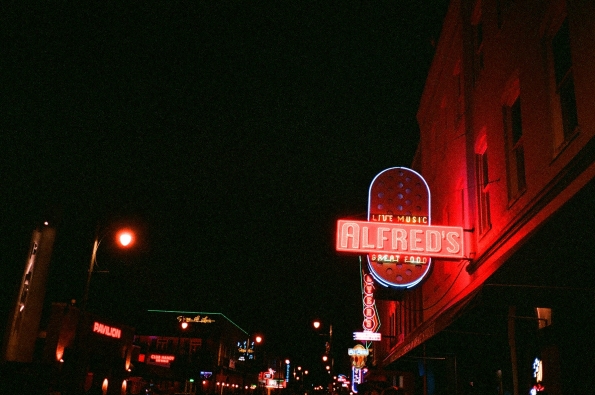
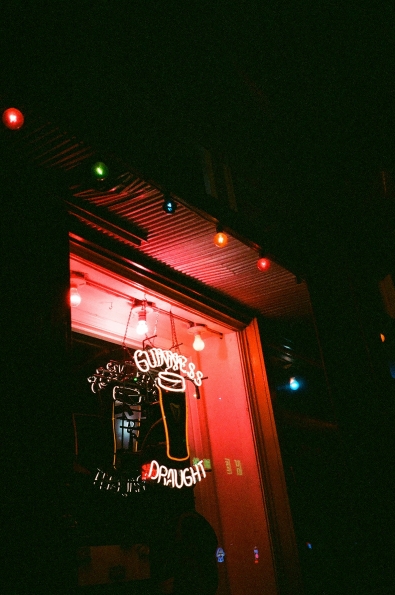
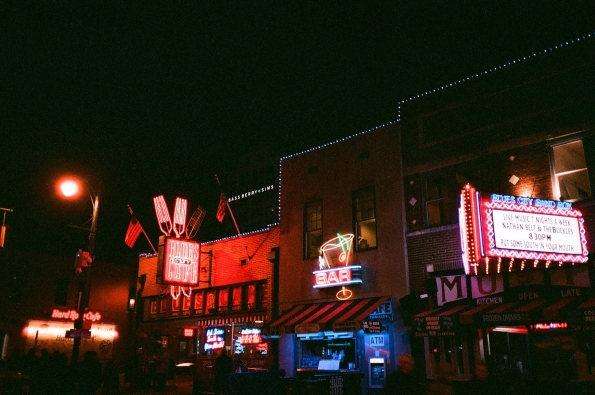
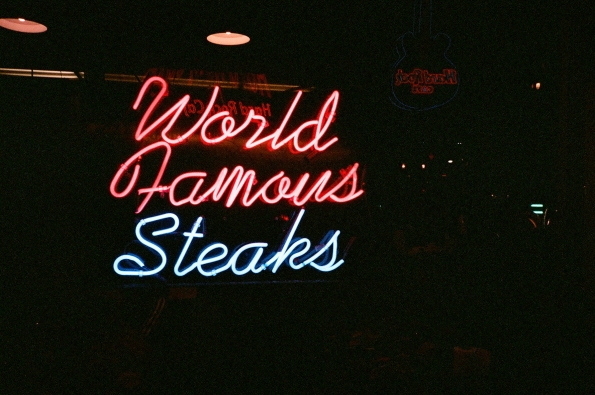
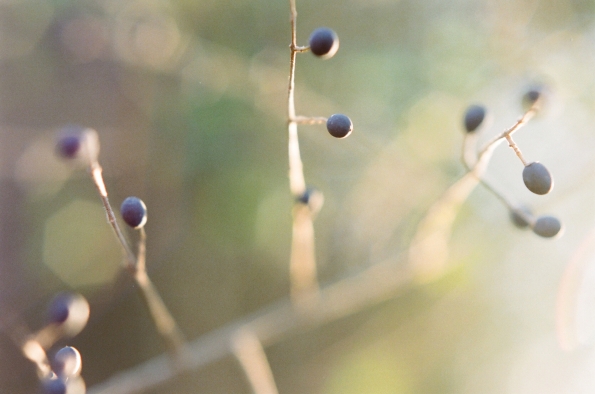
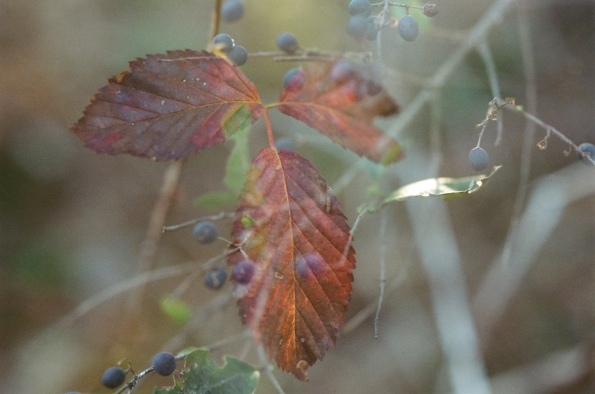
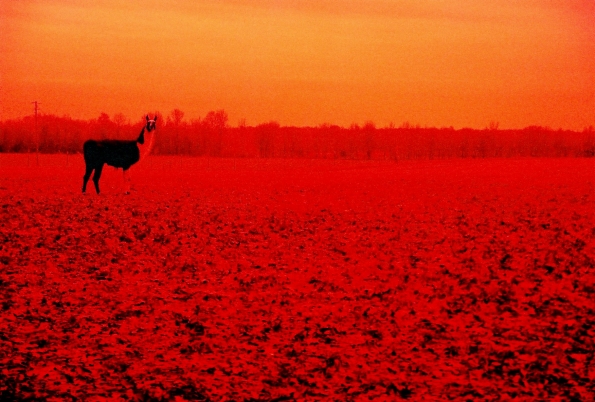
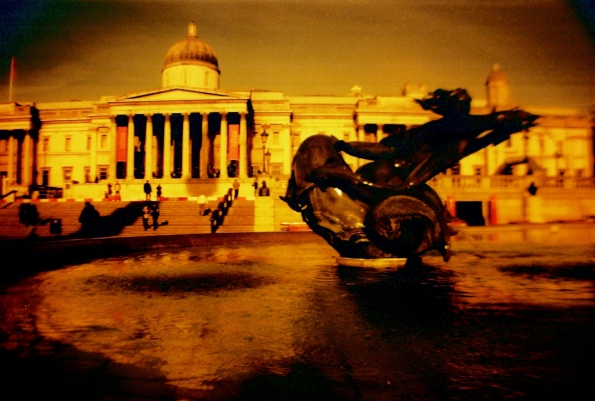
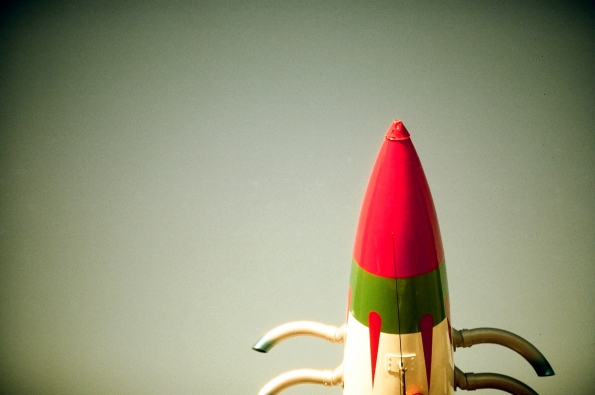
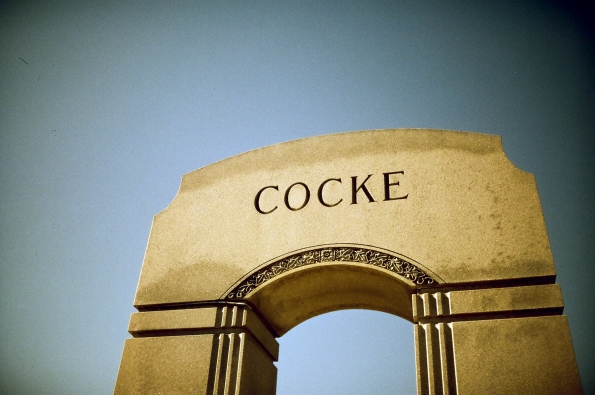
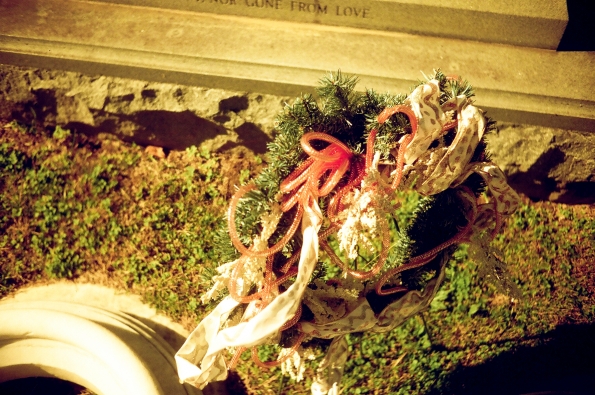
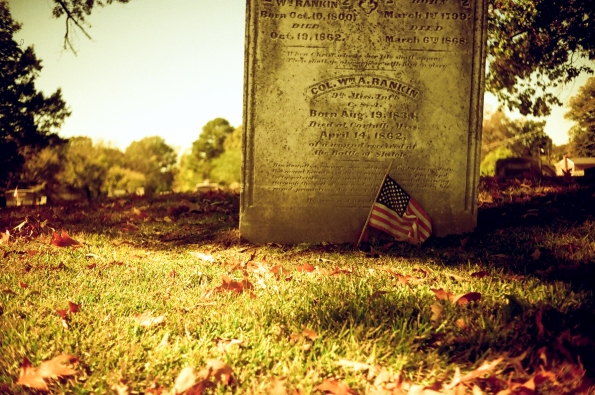
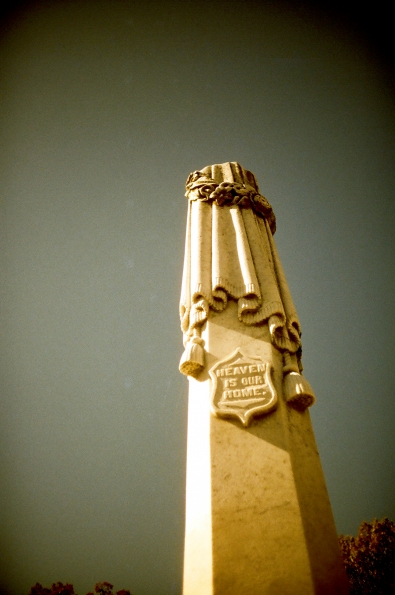
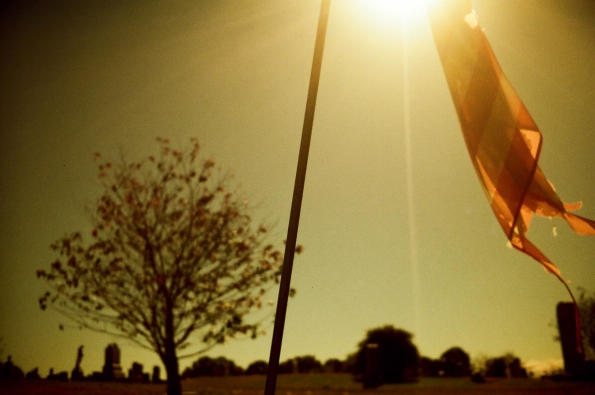
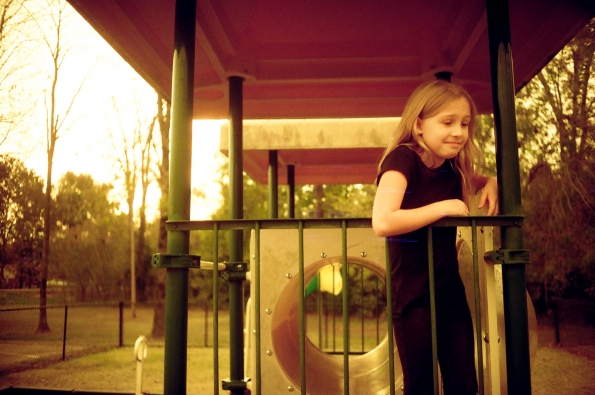
Redscale Roll #3
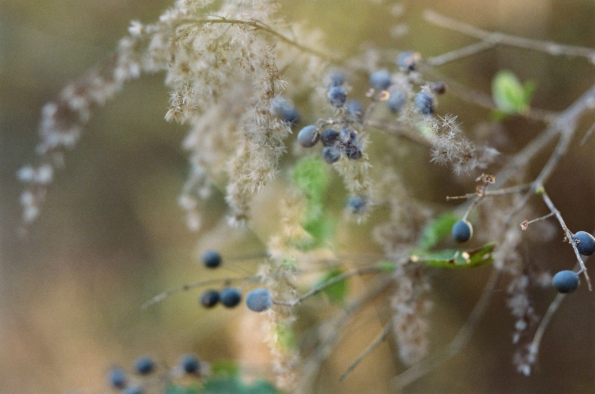
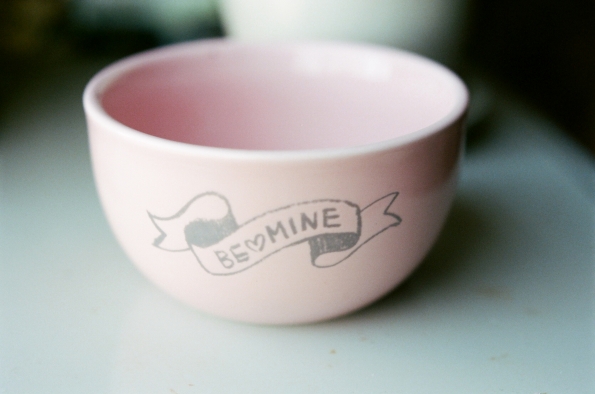
 Fuji Superia 400, shot at 100 ASA
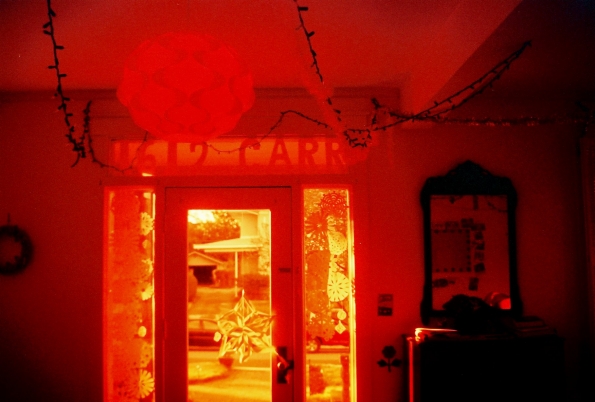
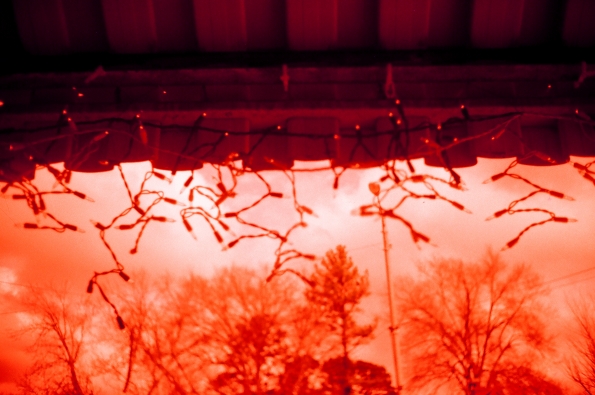
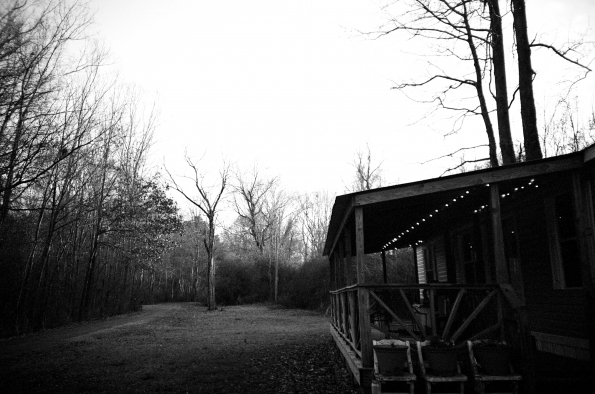
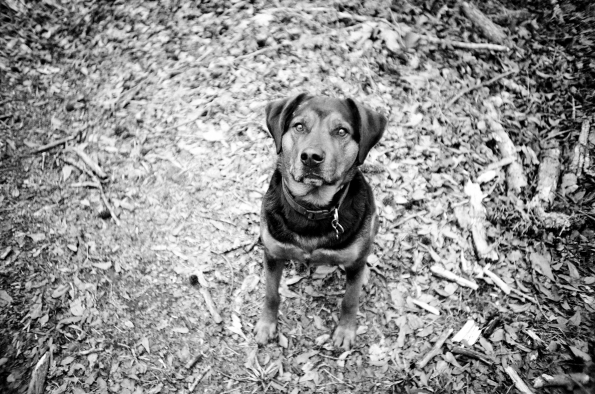
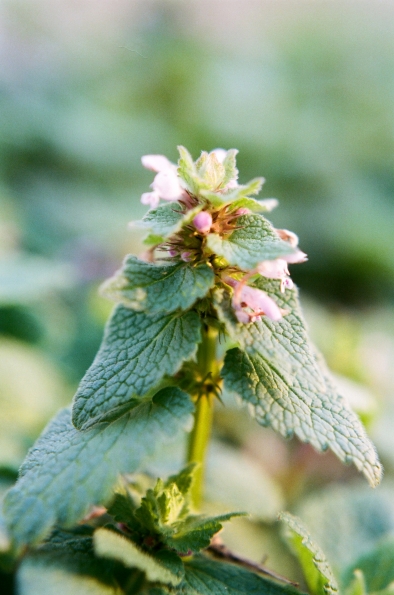
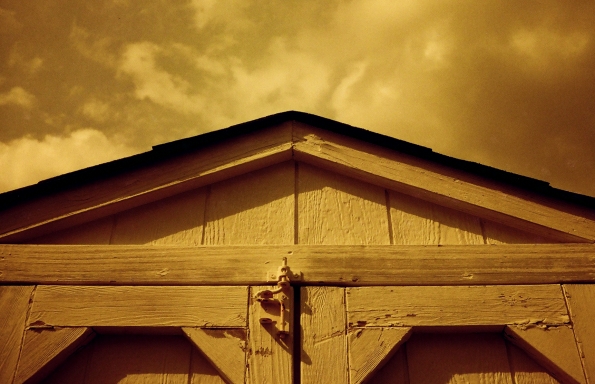
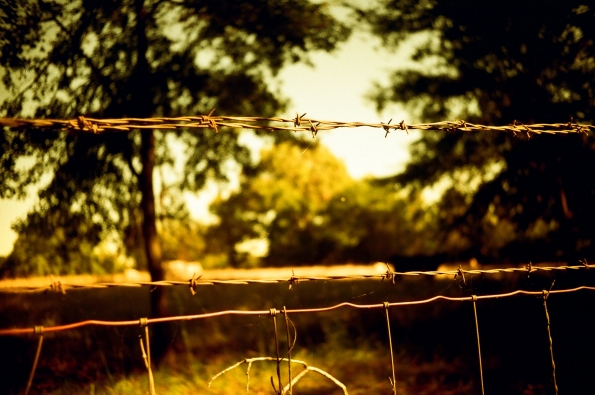
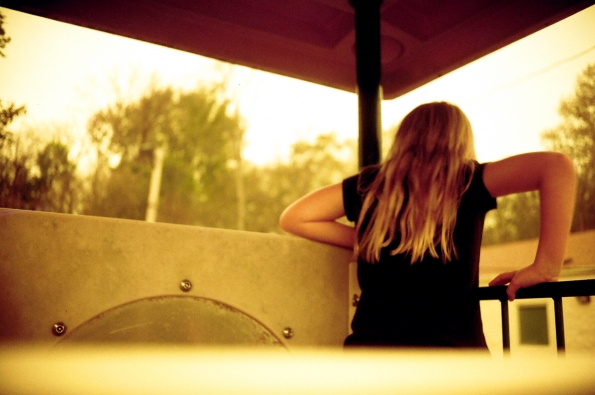
Redscale Roll #4
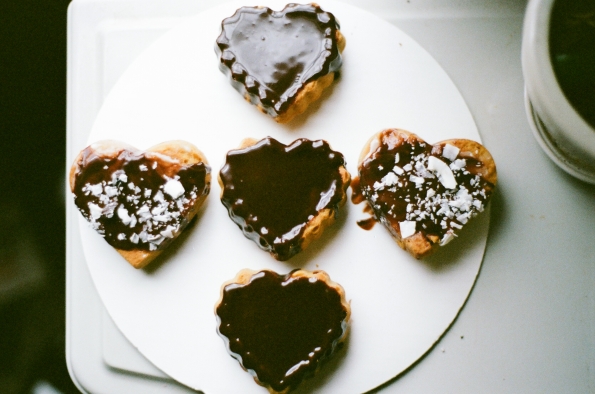
 Fuji Superia 400, in a camera with no exposure/ASA control
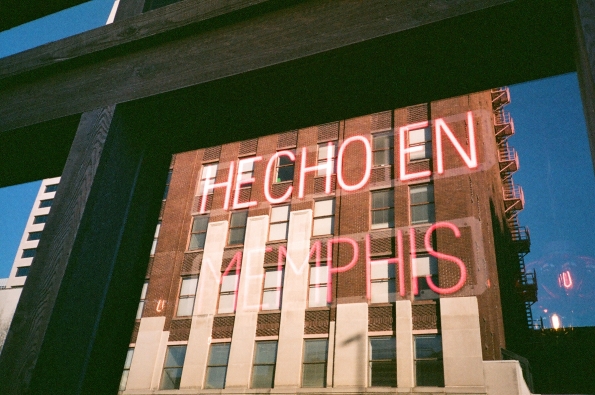
I’d seen examples around the web that featured redscale photos with much more subtle colors than the ones I’d been getting. It seems that you need to purposely REALLY overexpose the film if you don’t want strong, warm tones in your photos. Since my favorite redscale roll had been shot in my Ricoh FF-1 (Roll #3, as shown above – in London 😉 ) I thought I’d try shooting more redscale film in that camera. I put some 200 ASA film in my FF-1, setting the film speed as 25 (that’s THREE STOPS difference between the film’s box speed and the speed at which it was shot.) This meant I needed to shoot on sunny days in order to get good exposures. 25 ASA is reeeeeally “slow” (not very sensitive to light, requiring more light to make a correct exposure.) Thankfully, we had a sunny autumn, and I couldn’t be happier with the results! I am keen to try this again with different film brands/speeds/lighting conditions.

 Ricoh FF-1 • Kodak Gold 200, shot at 25 ASA
Note: Usually, photos on redscale film are presented backwards/as a mirror image, due to the film being shot backwards (i.e. If you shoot something with a word on it, the word will be reversed the same way it would be if you held it up to a mirror.) The lab I used to develop this latest roll either scanned it differently or reversed the images after they were scanned, because none of the photos are reversed. I love it! I just might have to make sure my redscale photos aren’t “backwards” from now on!