Please allow me to introduce you to the Lomo’ Instant Wide. Hold onto your seats, because this will be a lengthy introduction!
It’s quite a camera and an unexpected addition to my collection.
When I first read about the upcoming release of the Instant Wide, I winced at the price, but I really got a bee in my bonnet about owning one! Lomography was selling it via pre-order, with shipment expected by Christmas. I kept going back and looking and thinking “Can I do this? I can’t do this! But can I?” I got an itchy trigger finger one October day because I just got a feeling in my bones that I was supposed to have this camera (hey! It happens!) I immediately got buyer’s remorse. It was a chunk of money! But here was my justification: I have been wanting a better Fuji Instax Wide camera for YEARS because I love the format but hate the available cameras for it. The hope was that Fuji would put out a better Instax Wide. Doesn’t look like we should hold our breath waiting for that to happen.
Before I can really get on with the Instant Wide review, I need to address what I mean by “better Instax Wide camera.” Basically, the readily available Fuji Instax Wide cameras left a lot to be desired. I have owned an Instax Wide 200 since about 2005, which had to come from England and film wasn’t available in the US for it at that time. Even once the film was easily found here, I just didn’t use the Wide 200 very often because it had so many limitations. It was auto exposure only. There was no ability to turn the flash off (though you could force the flash to fire.) There were only two focus settings which left a lot to be desired for versatility. The Wide 200 was an older model of the Instax Wide camera, but even the subsequent models weren’t really improvements over the 200.
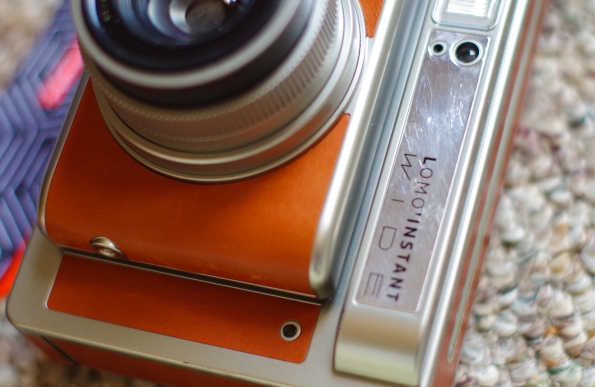
Now, what features did the Lomo Instant Wide offer that piqued my interest? Here are the camera’s tech specs from the Lomography site, and I’ll bold the things that got their hooks in me:
- Lens Focal Length: 90mm (35mm equivalent)
- Auto exposure type: Programmed Automatic
- Aperture: f/8, f/22
- Shutter Speed range: Bulb (Bulb Mode), 8s-1/250 (Auto Shooting Mode), 1/30 (Fixed Shutter Speed Mode)
- Exposure Compensation: +1/-1 Exposure Values (Ambient)
- Ejection Mechanism: Motorized
- Multiple Exposures: Yes
- Built-in Flash Guide Number: 13 (m)
- Built-in Flash: Automatic Electronic Flash & Flash Off Mode
- Closest Focusing Distance: 0.6m (0.1m with the Close-Up Lens)
- Zone Focusing Setting: 0.6m / 1-2m / infinite
- Tripod Mount: Yes
- Remote control transmission: Infrared
- Battery Supply: 4 x AA batteries (4 x 1.5V)
- Filter Thread: 49mm
Again, straight from the Lomgoraphy site, here’s what was in the box:
- Lomo’Instant Wide Camera (Central Park edition, in my case)
- Colored Gel Filters (four of them)
- Lomo’Instant Wide Ultra Wide-Angle Lens Attachment and Viewfinder
- Lomo’Instant Wide Close-Up Lens Attachment
- Lomo’Instant Wide Splitzer
- Remote Control Lens Cap
- Shooting Technique Cards
- Instruction Manual
- Bonus accessory: Lomography Light Painter, a special gift for pre-order customers
- Bonus accessory: An additional four colored gel filters for the flash, a special gift for pre-order customers
- Bonus accessory: Camera strap, a special gift for pre-order customers
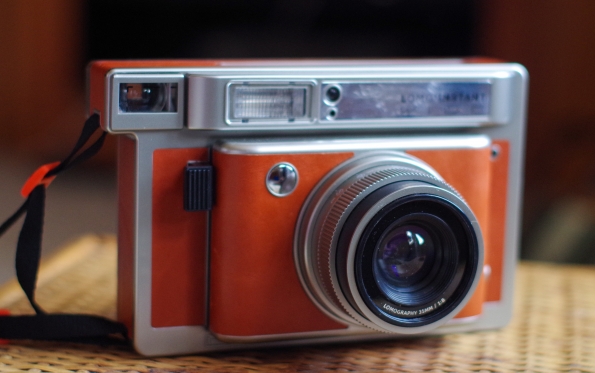
I received the Instant Wide in December, as promised. I knew the camera would be large, based on the size of my Fuji Instax Wide camera, but, WOWZA! It’s big!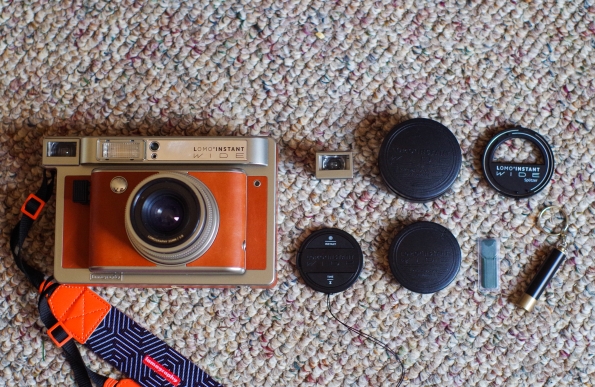
What was in the box (minus the tip cards) with my Central Park Edition camera
Tip cards: example photos taken with the Instant Wide, with info about settings/accessories used on the back
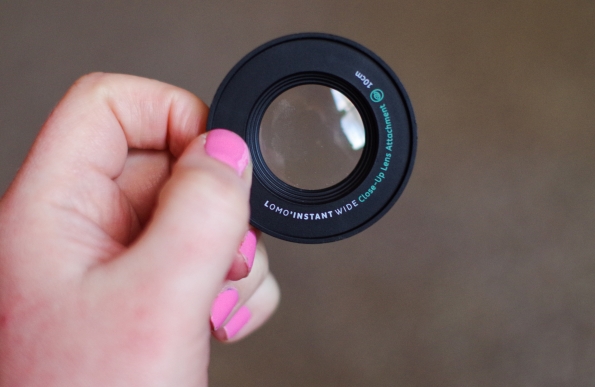
Close-up accessory
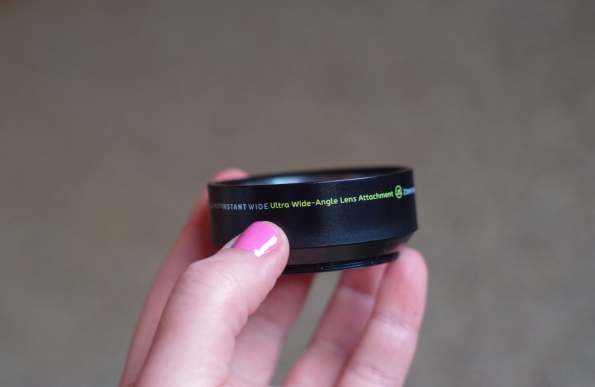
Ultra wide-angle accessory
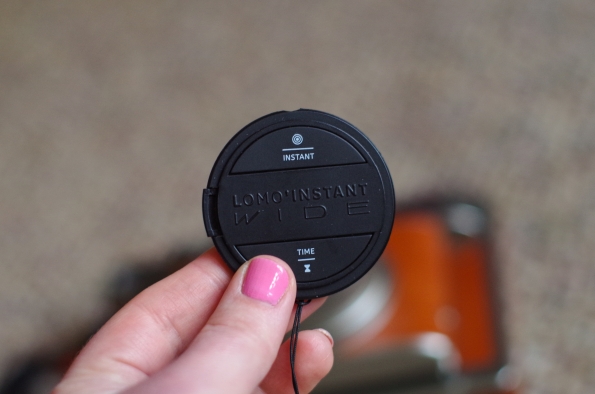
The best, most useful accessory for the Instant Wide: the lens cap that is actually a remote control. You use the instant side to snap a photo instantly (duh) and the time side to hold the shutter open for up to a minute in Bulb mode.
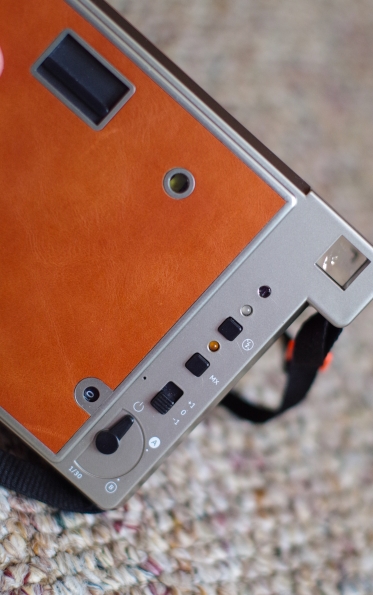
Controls: flash on/off button, multiple exposure button, exposure compensation button, on/off/auto/bulb/fixed shutter speed selector
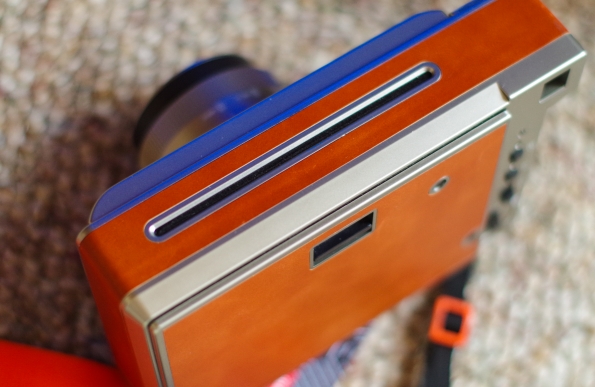
Where the picture is ejected after you take a photo
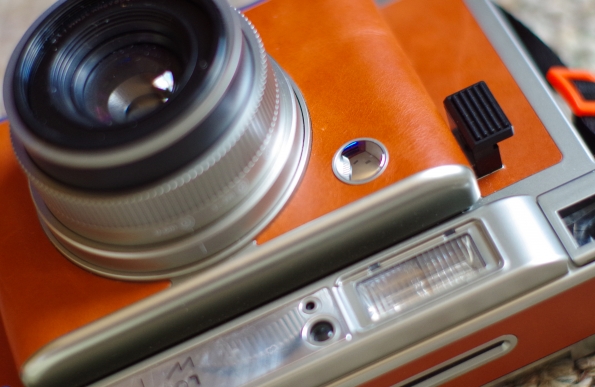
You’re supposed to be able to use the shiny silver circle to help compose self-portraits (fine: selfies!)
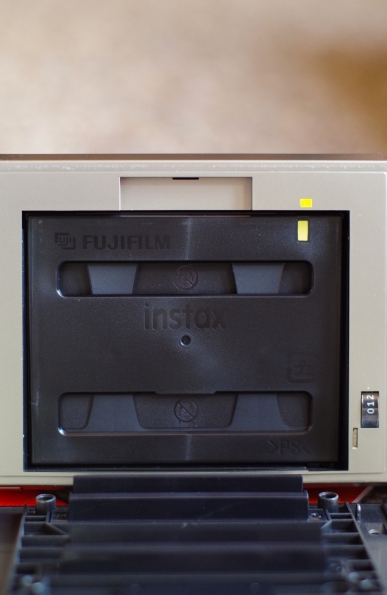
All cameras that use Instax film (wide or mini) are easy to load because there’s a yellow mark on the camera that corresponds with a yellow mark on the film cartridge, so you’ll know which way to insert it.

The light painter tool in use
One of the colored flash gels inserted over the flash
The only reason you might feel like this camera is heavy is because it’s powered by four AA batteries. Otherwise, the camera’s pretty lightweight.
I don’t know if Lomography does their product releases in December because they want people to give their new releases as gifts or because the winter holiday season is rife with photographic opportunities. Okay, it’s probably the former but the latter turned out to be true for me. I really liked having the camera put in my hands during a time of year when I would have good reason to take a lot of photos.
First shot! I’m in love!
Close-up attachment focuses at 10cm (about 4 in.)
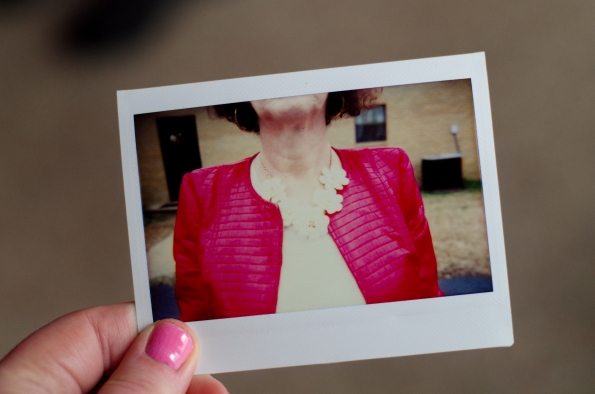
My mom’s flawless accessories (much better in person rather than in the digital photo of it)

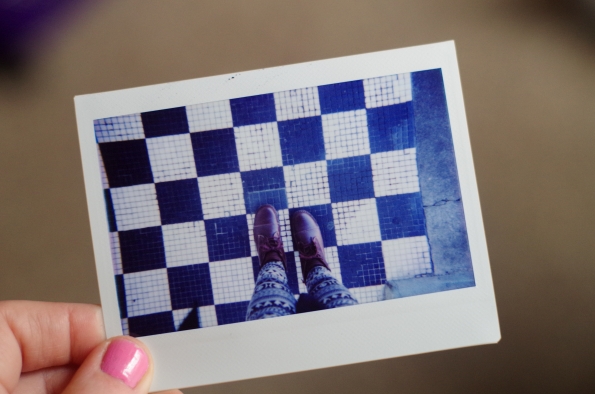
Arm-length self portrait
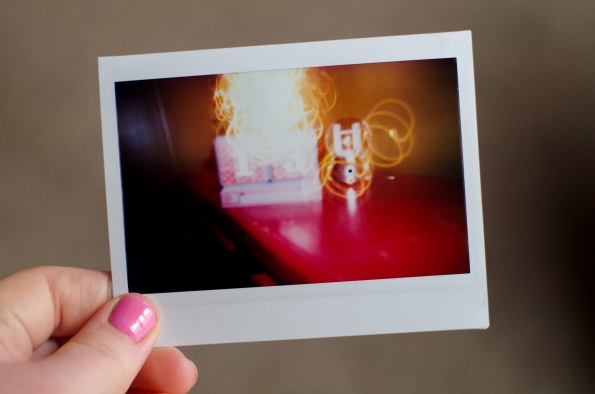
Bulb mode + flash + moving the camera in circles during the exposure
Another close-up accessory success – my eyes turned to hearts when I saw this shot
It’s underexposed, but I like it (close-up accessory used, of course)
Tried the ultra wide-angle accessory. Focusing guidelines given in the camera’s manual didn’t steer me correctly here.
The only time using the ultra wide-angle accessory worked okay. I have more work to do to figure it out.
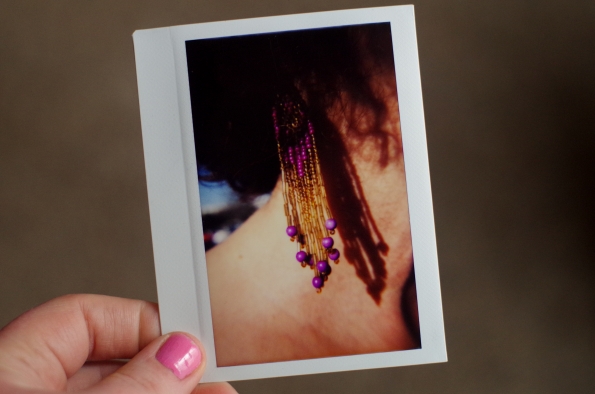
Quick grab-shot of my mother’s earring, with the close-up accessory <3
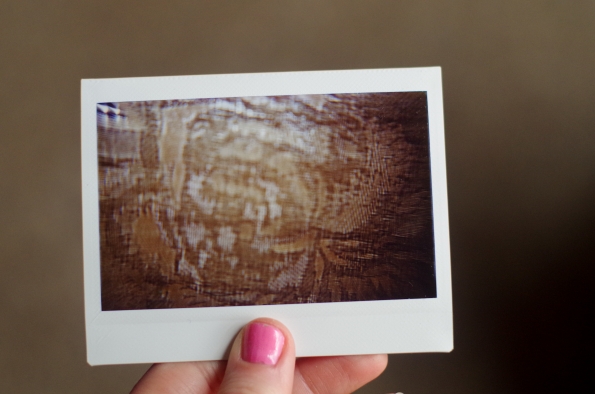
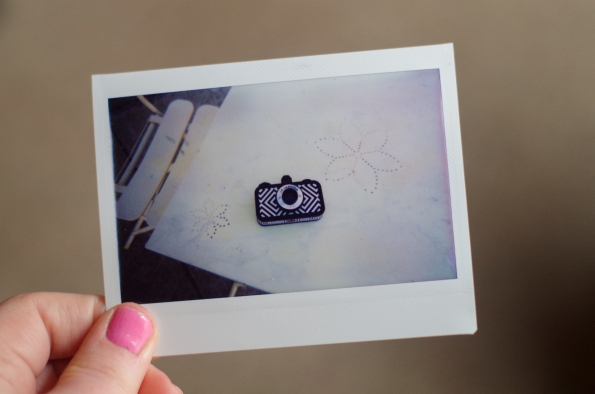
Close-up of fabric. Textural.
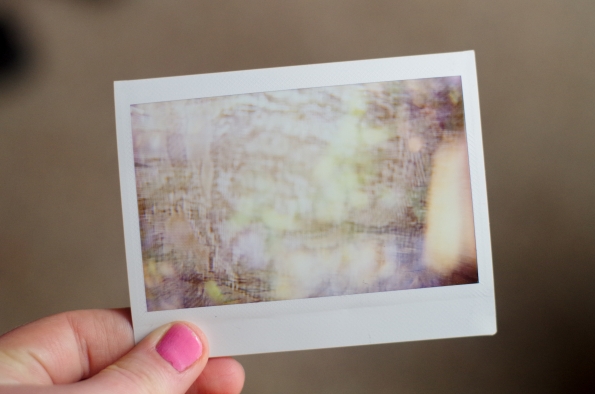
Attempted double exposure. It looks…ethereal?

Never taking the close-up attachment off this thing
Street art in Oxford, Mississippi
The Lyric venue in Oxford
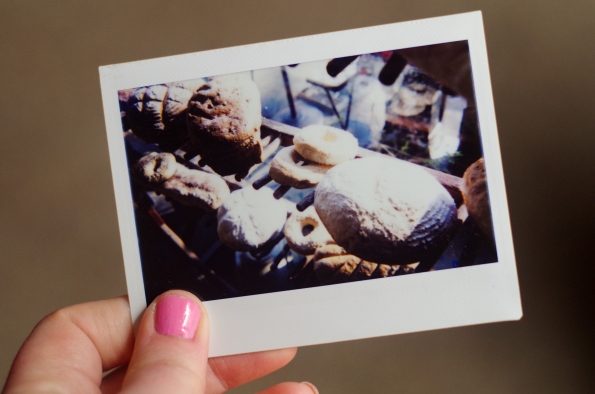
Breads on display at Bottletree Bakery in Oxford
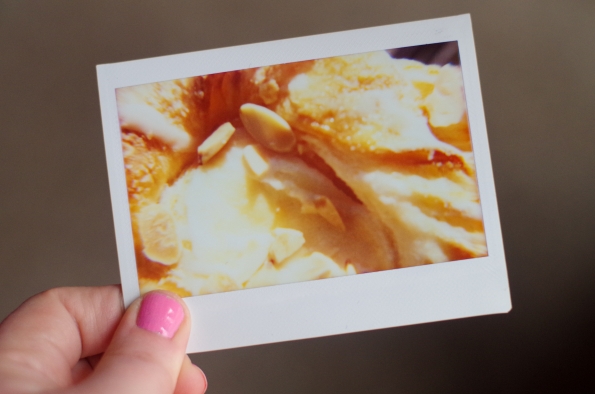
Uncomfortably close-up shot of a pastry from Bottletree Bakery in Oxford
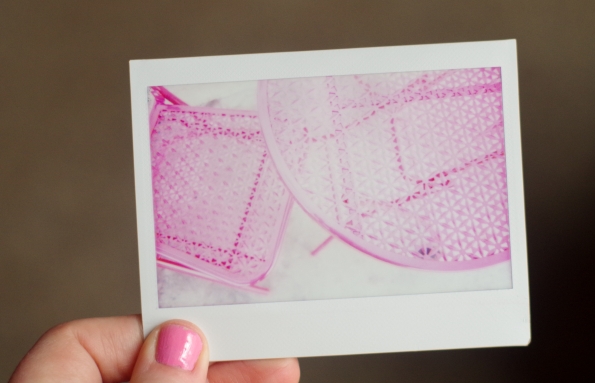
Patio table outside a business in Oxford
Shop window in Oxford
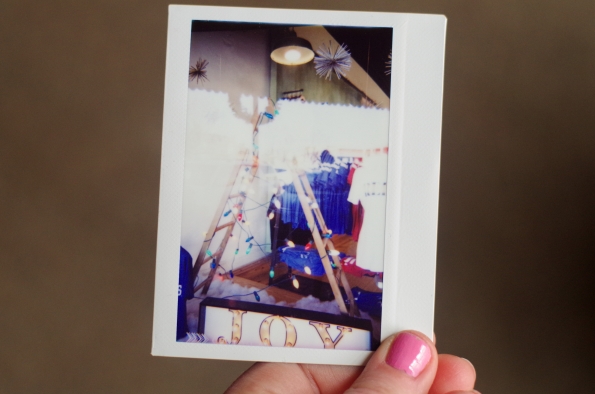
City Hall Christmas Tree in Oxford
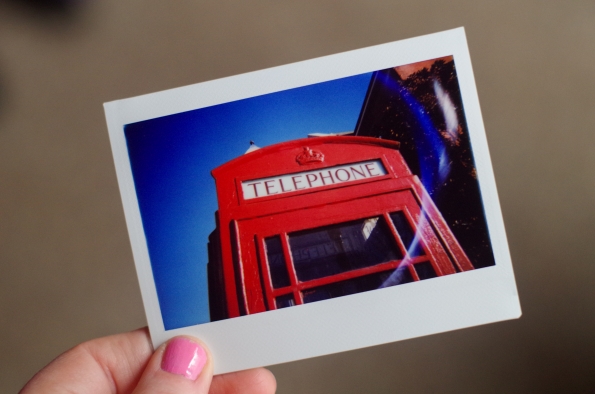
I can never resist the red phone booth (from England) that’s in Oxford
(Weird lens flare in this photo has been experienced by other Lomo Instant Wide users)
Shop window in Oxford
Me, standing outside Square Books in Oxford
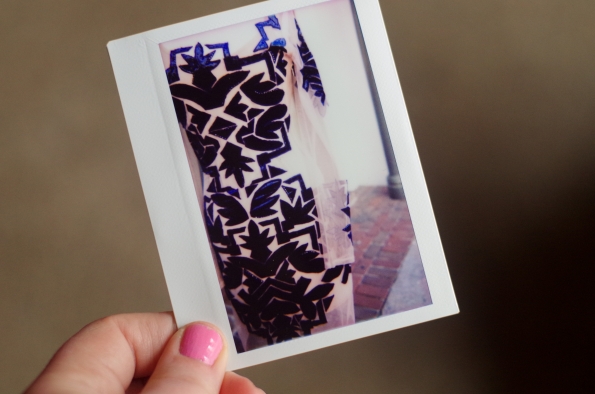
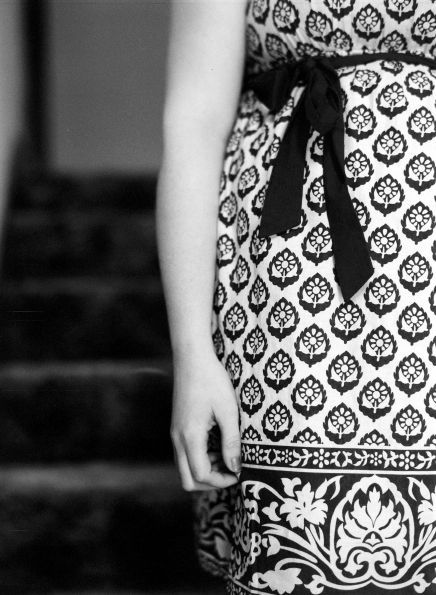
Dress outside a clothing shop in Oxford. Reminded me of something Lady Mary would have worn near the end of Downton Abbey 🙂 (the 1920s)
My Lomography La Sardina on a table outside a business in Oxford
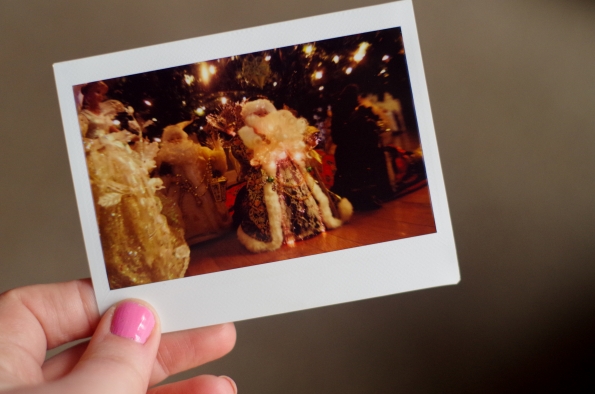
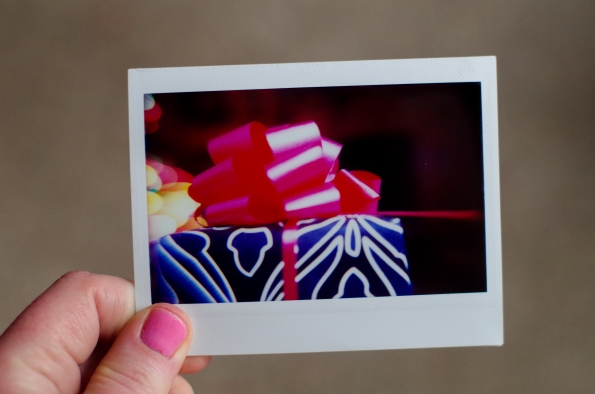
Santas and angels under the Christmas tree at my brother and sister-in-law’s house
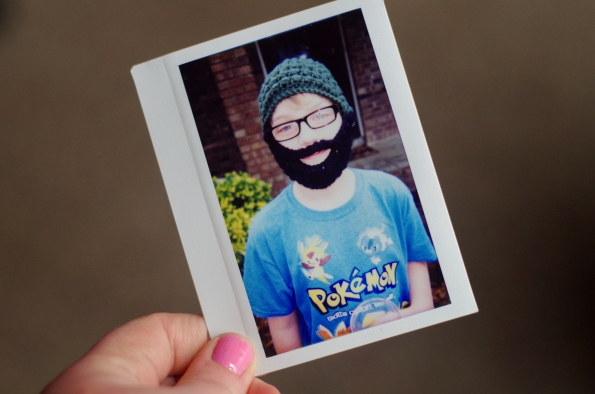
My nephew Braeden and the beard I crocheted him for Christmas 🙂
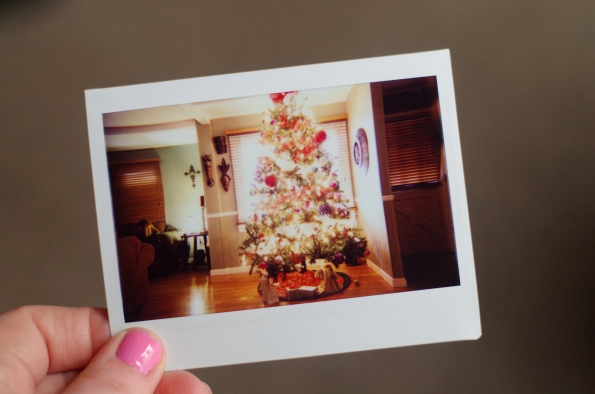
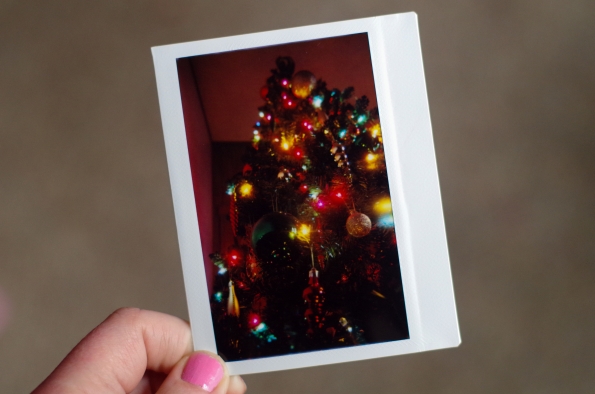
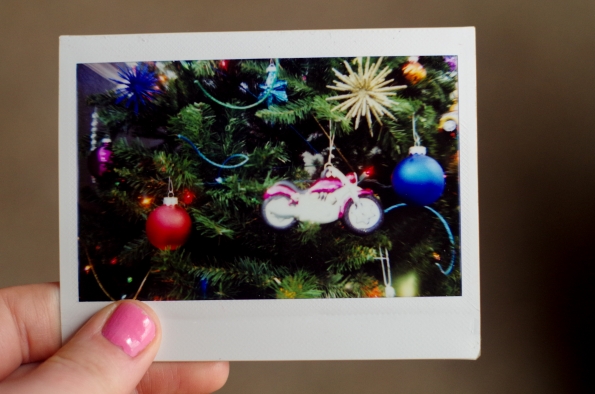
Christmas tree at my brother and sister-in-law’s house
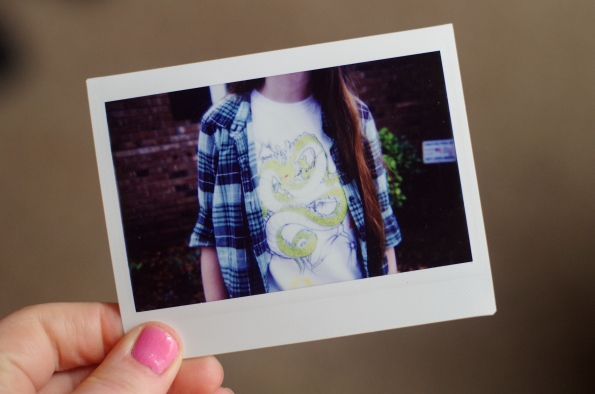
My niece Anna Marie in the Dragonball Z shirt I got her for Christmas
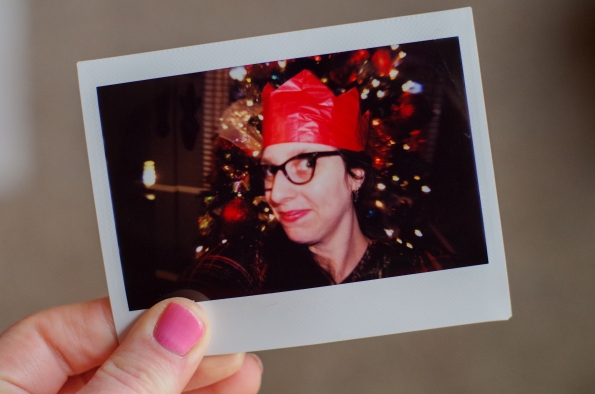
Yours truly, in the crown from my Christmas cracker
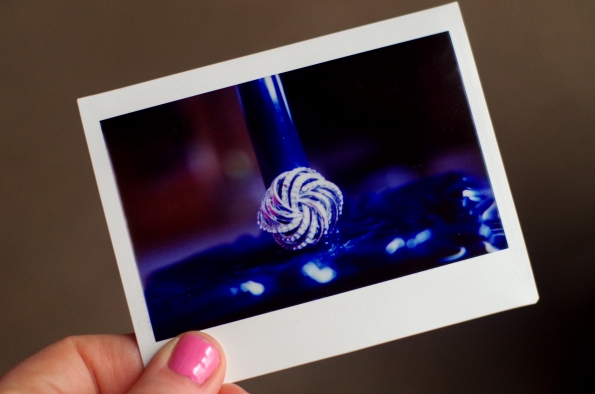
My swirly ring (close-up attachment used)
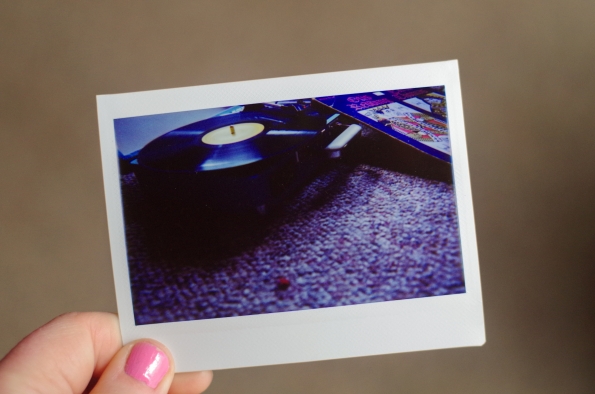
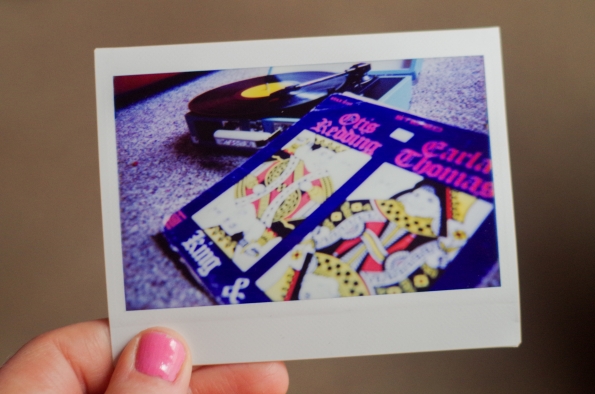
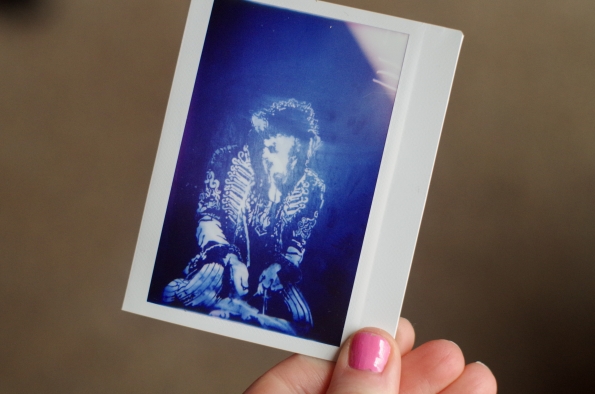
Listening to my original Stax record “King and Queen” by Otis Redding and Carla Thomas
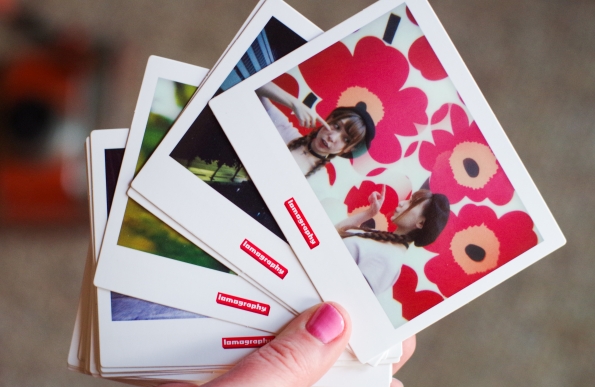
Last shot in my four pack test run for the Lomo Instant Wide (when I did this for my 365 project)
So.
Thoughts? Likes? Dislikes? Conclusions?
I think this is a really interesting camera. And it better be for the price tag it carries! I am not into the “Lomography” look of blurry, soft-focus, or wacky looking photos. For the first four packs of film in the Lomo Instant Wide, I didn’t really find it to have those qualities. I wish the ultra wide-angle accessory hadn’t turned out to be so difficult to use correctly. I plan on doing some focusing tests with that accessory attached, but I really shouldn’t have to. I have found that even setting the exposure compensation to -1 for both shots, I have gotten terrible results trying to do double exposures outdoors. The photos have turned out so overexposed that there was virtually nothing on the frame of film after it developed. I also find that the camera is leaning toward overexposure in general if it’s used outdoors and sometimes even indoors. It’s frustrating!
The most advanced Instax Wide camera that Fuji itself has produced, the Instax Wide 500AF, has no where near the features and controls of the Lomo, but I have seen comparison photos taken, and the Fuji definitely wins in the sharpness department. But I see a lot of potential for the Instant Wide. I hope I can make the most of it and create some worthwhile images with it. I’ll keep you guys in the loop though 😉

 One of the coolest things – a vintage memorial to MLK, Jr. and Bobby Kennedy

 Perfect scooter parked out back at Otherlands
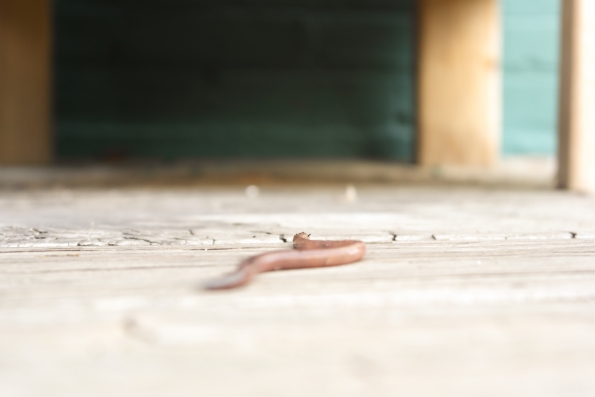 Worm that crawled out of the flower box on the patio
 The flower box from which the worm crawled


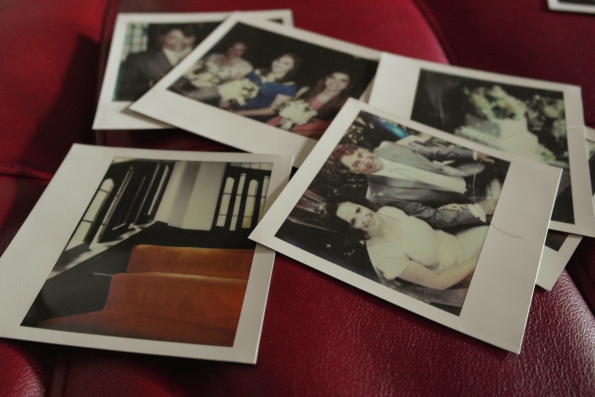 Polaroid/Impossible Project shots from Susan and Scott’s wedding


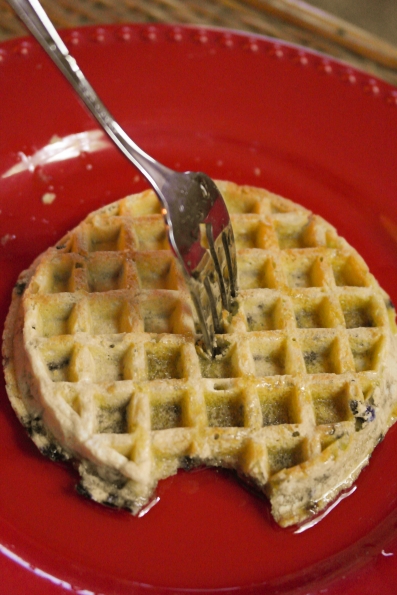 My niece finished her waffle and left it impaled with the fork this way
 Labor day lunch: I made seitan cutlets, homemade BBQ sauce, and oven-friend green tomatoes
 LOVELY vegan blackberry cobbler I made for dessert
 Found this random cluster of red berries near the field behind our house
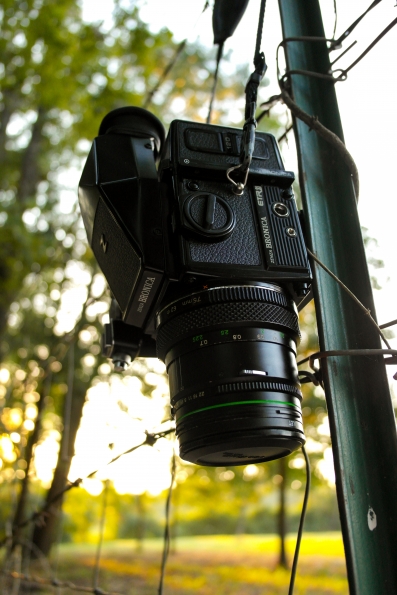 My Bronica ETRSi, just hanging out on the barbed wire fence


 Speed grip!!!


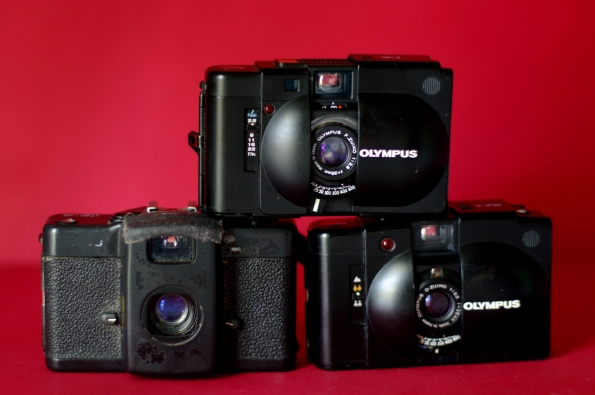 Exhibit A – I’ve owned multiples of some of these cameras. And yes, my cameras formed a cheeleader-style pyramid for this photo session
 Drawbridge action
 Film speed selector

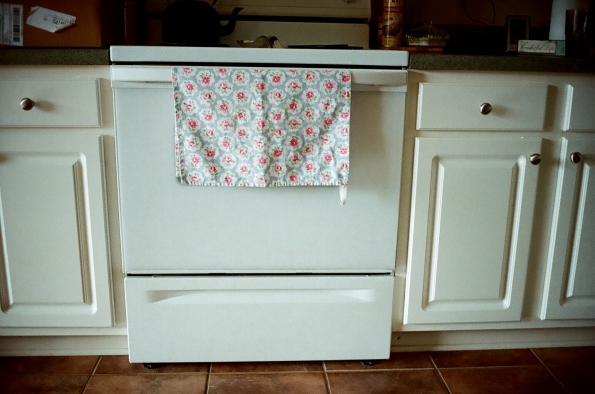 Loved the soft light in Kayla’s mum’s kitchen – and her Cath Kidston tea towels
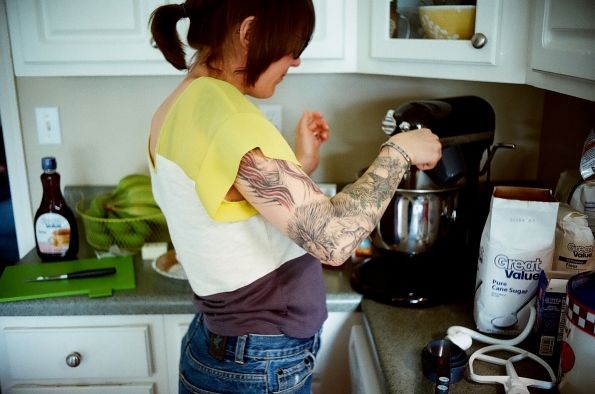 Mixing up the bourbon pecan pie she was making for her family reunion
 Just Kayla is in focus, but I kinda like how it looks as if she’s dancing in her seat as she eats her Ajax Diner leftovers
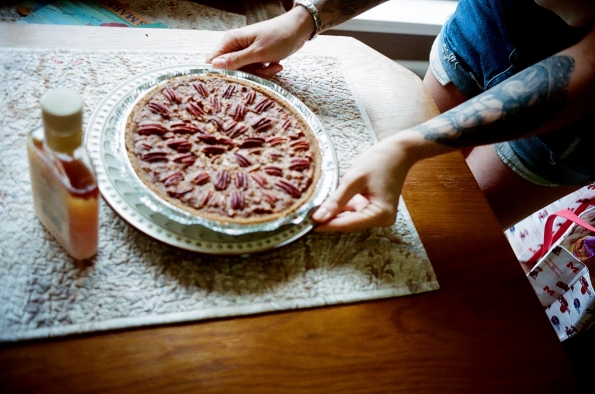 Kayla prepping for the “food porn” shoot of her completed pecan pie – almost in focus!
 Slight vignetting?? I sure hope so!
 Lomo-ish?
 See – it’s quite sharp when you focus correctly
 Hiya! I have to be able to take mirror self-portraits with the compact cameras in my life
 Weird frame overlap thingy – this is the only time this happened and mos def due to what I like to call “operator error”
 Bokeh, bo-kay?