Category Archives: Informational

{Ricoh FF-1} Camera Review

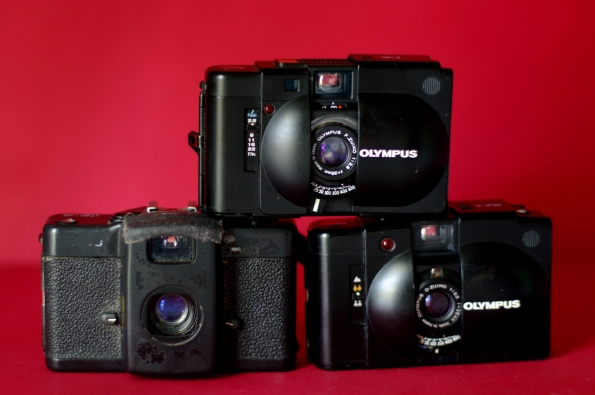
I admit it: I’m a sucker for pocketable 35mm cameras.Exhibit A – I’ve owned multiples of some of these cameras. And yes, my cameras formed a cheeleader-style pyramid for this photo session
A few weeks ago, I found myself browsing the camera section of an auction website – which is not the wisest thing to do when you’re trying to pare down your camera collection like I (supposedly) am! I spotted a little camera that I’d never encountered before: a Ricoh FF-1. Visually, I knew it was eerily similar in design to the Minox 35 line. One website I read said that this camera looks as if a Minox 35 and a Lomo LC-A had a baby together. I agree! I did a fair amount of research on the FF-1 during the days leading up to the end of the auction. I found relatively little info online about this camera. But I was intrigued! I had to make the Ricoh mine!

I probably squealed with delight when the postal carrier brought the parcel containing this camera. The FF-1 looked to be in good shape cosmetically (it looked purdy to me!) and it already had working batteries installed. That’s always a nice surprise! As you can see, the auction I won also included a little Rollei flash and a cute retro-style camera bag.

So. Here’s what I can tell you about the Ricoh FF-1: It’s a zone focus (or scale focus, if you prefer – same diff) camera. That means you estimate the focus distance and set it manually. On the Ricoh, you set the distance on a little focusing ring that is marked in meters. There is a folding, drawbridge-style lens cover that protects the lens and acts as an on-off switch, if you will. When the drawbridge is in its upright position, the camera cannot take a photo nor can the camera’s electronics be accidentally activated – meaning a photo can’t be inadvertently snapped nor your batteries drained if the shutter button were to somehow get pressed (in your camera bag, for instance.)

Drawbridge action

Film speed selector 

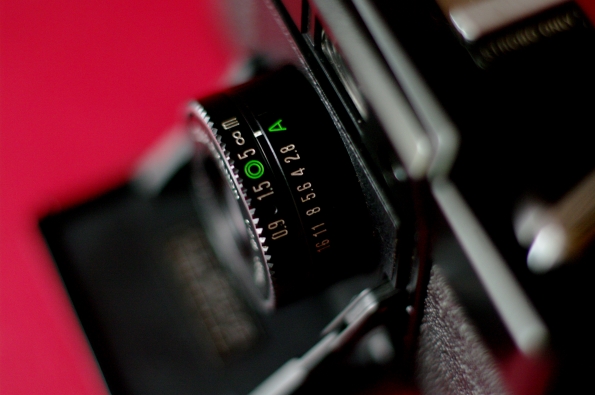
Metal lens barrel with distance scale ring (marked in meters) – and it is QUALITY! 

Handy dandy meter/feet conversion chart. Phew! 

The Ricoh actually arrived on a very good week: Kayla happened to be Stateside, visiting her family, and I’d been invited over for a bake date. What a good opportunity to bring along my latest photographic acquisition! I was right that our bake date would be a photo-rich environment- except my rusty scale focusing skills caused a few shots to not turn out the way I wanted. Boo! But we still got a few keepers that day!
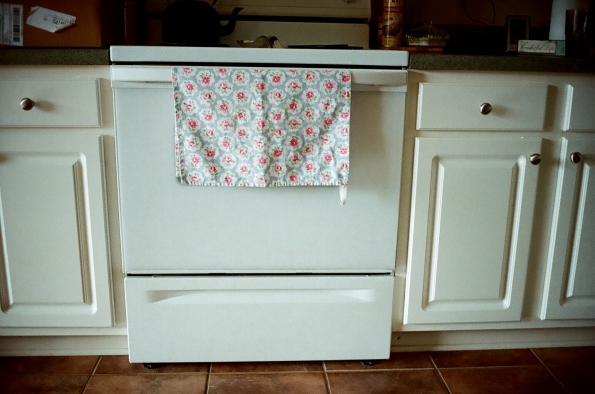
Loved the soft light in Kayla’s mum’s kitchen – and her Cath Kidston tea towels

Mixing up the bourbon pecan pie she was making for her family reunion

Just Kayla is in focus, but I kinda like how it looks as if she’s dancing in her seat as she eats her Ajax Diner leftovers
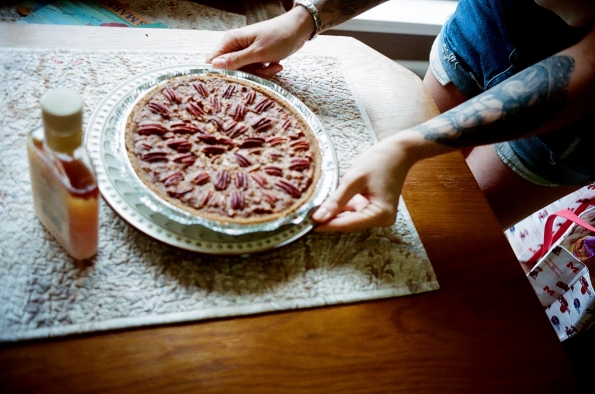
Kayla prepping for the “food porn” shoot of her completed pecan pie – almost  in focus!

I had loads more success with Roll #2 in the FF-1!

Slight vignetting?? I sure hope so!

Lomo-ish?

See – it’s quite sharp when you focus correctly

Hiya! I have to be able to take mirror self-portraits with the compact cameras in my life

Weird frame overlap thingy – this is the only time this happened and mos def due to what I like to call “operator error”

Bokeh, bo-kay?

 Ricoh FF-1 • Kodak Ultramax 400

Closing thoughts: The main question in my mind about this camera was (and remains): Does it work as an aperture priority camera? There is conflicting information about this online, and I still am not 100% convinced that you can’t use aperture priority. However, I view this camera as a replacement for my Olympus XA2 and my no longer working Lomo LC-A, and neither of those cameras offer anything other than auto exposure. So no biggie if the Ricoh doesn’t work that way either. In fact, any limitations in the Ricoh can also be found in one or both of the two cameras I just mentioned. So I can’t fault the FF-1 for any limitations it shares with the cameras it’s replacing, now can I??

What I like about this camera:

  • maximum aperture of f/2.8
  • “drawbridge” lens cover
  • quality metal lens barrel
  • film advance lever (♥ this a lot!)
  • hot shoe
  • threaded cable release plug

What I don’t so much like:

  • Maximum ISO setting of only 400
  • Minimum focusing distance of 3 feet
  • Setting the distance is a bit fiddly on the itty bitty lens barrel
  • The viewfinder on my particular FF-1 is a little foggy – could be cleared up probably, but I won’t take it apart myself to do it!

That’s about it on the “cons”!  As I said, apparently I’m a little rusty on zone focusing, but I have mastered it in the past and shall do again! I think the Rioch FF-1 has earned its spot on my “Going to England” camera list. And directly caused my XA2 to earn a spot in the “excess camera sell-off on eBay.”
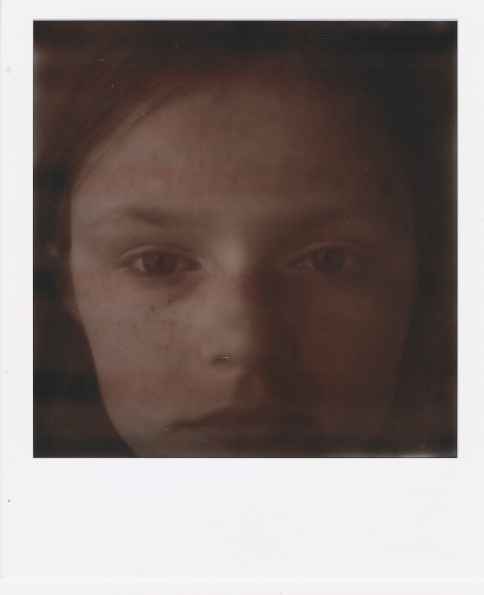

Freckled Face {Underexposed}


I didn’t scan or upload this shot when I did my little blog about my first experience with the Impossible Project’s PX100 Silver Shade UV+ film because it was so badly underexposed. I picked it up a week later, and I decided there was something striking about the image, despite its exposure issues. I’d taken the photo with the intent of highlighting my niece’s perfectly freckled face, but came out with something completely different, completely by accident. I’m now quite satisfied with what it turned out to be. And I’ll try again another day to show the freckles in the way I meant to. That is, unless, my SX-70 has other plans…


As to how the photo came out this way, perhaps my fellow SX-70 users will learn from my mistake:

As I mentioned in my original PX100 blog post, I “fudged up” some of the photos in that pack of film.  I’ll try not to get too bogged down in camera mumbo jumbo, but something I didn’t know about my Polaroid SX-70 was as follows: if the frame counter is at “0” (normally indicating that the camera’s film cartridge is empty) and you press the shutter button, the SX-70 doesn’t try to give proper exposure to a photo – because it doesn’t think there is any photo actually being taken since the cartridge is supposed to be empty! The shutter DOES open very briefly, but you’d have to be very lucky indeed for that shot to turn out, given the brief shutter speed. That is what happened to the last couple of photos in my PX100 cartridge. I’d gotten a photo jammed in the camera and fired it a few times to try to get the camera to shoot the next photo out. I eventually solved the problem I’d created for myself, but didn’t know it’d create a problem with the rest of the photos down the line. Since I’d “dry fired” the camera, its frame counter reached “0” earlier than it should have. Leading to my gaining the knowledge that a “0” on an SX-70 frame counter = “Picture? What picture? I thought I was empty!” [that’s the SX-70 talking, naturally…]

{Redscale}

I redscaled some film, y’all.

What’s “redscale” film?

Yet another question that I’m glad you asked!

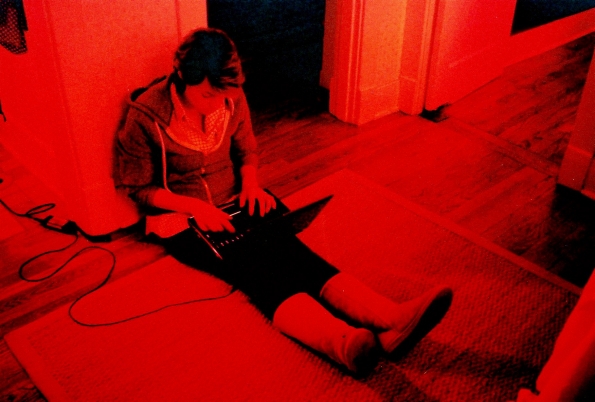
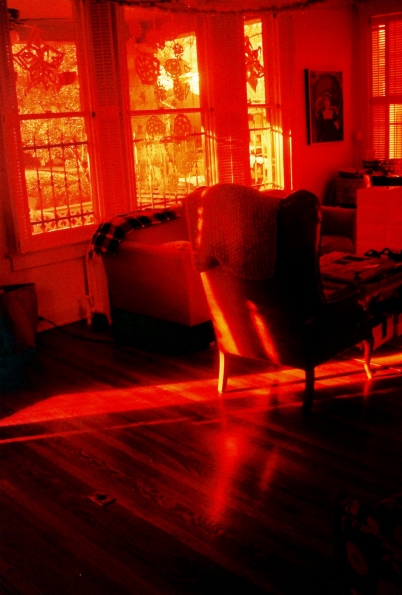
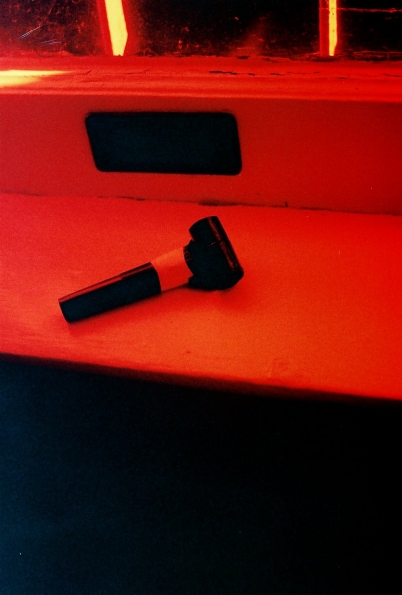
I didn’t know what redscale film was when I first saw it either. I saw some film labeled as redscale at Urban Outfitters last summer and was puzzled. I thought, “Surely Lomography hasn’t produced a new type of film…” They hadn’t. Redscaling is just an alternative photography technique. And I was so shocked that I’d never heard of this before, seeing as I’m an “experimental photography” enthusiast. You load film into a canister with the wrong way facing the shutter – this exposes a different part of the film’s emulsion, which is what causes the shift in the colors. Shooting the film upside down also causes your images appear reversed, as they would in a mirror. My research uncovered a tutorial on how to redscale your film, and it seemed simple enough. I decided to give it a go!

I took a roll of Fuji Superia 400 X-tra and transferred it into a canister for Fujicolor 200 film – backwards, like ya do. I loaded it into my trusty Canon Rebel 2000 and began incorporating this film/camera combo into my life over the course of the next few days. Here are some of the results! Backwards results, of course.


What do I think about shooting redscale film?

The same thing I think about shooting cross-processed film: Fun stuff! I normally like the colours in my photos to be as true-to-life as possible, but I enjoy alternative process techniques as a surreal  accompaniment to the look of my usual photos.

___________________________________________________________________________________

Technical notes for my fellow photo nerds: This film was 400 ASA, shot as 200 ASA to help compensate for the fact that the light coming into the camera had to go through wrong side of the film in order to reach the light-sensitive side of the film (aka “the film was loaded upside down.”) The developed negatives look pretty well exposed, perhaps underexposed in some shots. I might experiment with exposure on future rolls of redscale film. I told the one hour mini-lab where these were developed that they shouldn’t try to correct the colour cast in the photos. As such, the negatives weren’t scanned quite right. There was a weird blue-green grain/noise in the areas of the photos that should have been black or shadowed. I didn’t know if this was an actual film exposure issue or an issue with the scans from the photo lab. I normally don’t do much to “fix” film photos in post-processing on the computer, but for these, I used the black color dropper in my software’s levels to click on an area of each photo that should have been black. This made the scans look MUCH better. I hope this does not constitute “photo manipulation.” I’m not really into that.

Yard Sale Finds: Canon Sureshot Supreme

I admit: I have too many cameras. But it’s only because I love cameras SO much! I justify the fact that I have so many tools in my photographic arsenal by how little most of my equipment cost. I could probably lay out all my “camera stuff” and I probably didn’t pay more than $20 or $30 for each item. Yes, there’s my digital camera set-up that cost a pretty penny, but other than that, everything else was purchased on the cheap.

Today’s featured “cheap as chips” camera is the Canon Sureshot Supreme.

My mom brought this camera, as well as a Polaroid, home with her from a yard sale last month. She is always on the lookout for cheap camera equipment on my behalf! For the Sureshot Supreme and the Polaroid, she paid $3. Yes. That’s $3 for BOTH! That means the camera I’m showing you today cost $1.50. See, you can’t hate on me for getting new cameras when the deals are that good!

Shockingly, the Canon Sureshot Supreme is not a camera I had ever heard of before having it placed in my hands. That meant I had to do a little research on it. Here’s what I found out:

Some technical specifications about the Sureshot Supreme:

  • 38mm/2.8 lens – For a point-and-shoot camera, that’s a FAST lens! Oh, and that lens is glass. Nice!
  • Shutter speed range – 1/8 sec – 1/500 sec. I like that 1/8 end of the range!
  • Auto flash – The flash is automatic, but can be forced to fire or forced to not fire. More on that later though.
  • Close focusing – This camera focuses down to 1.8 feet. Seriously, dude, that is highly unusual for a camera of this ilk. It’s more usual for cameras like this to have a minimum focusing distance of 3 feet or so.
  • Self-timer – Ten second self-timer, which is standard. But there is a really interesting design feature Canon added to go along with the self-timer. I’ll describe that in a second.

Oddities about this Sureshot Supreme:

  • Recessed “cancel flash” button on the bottom – I don’t care for flash photography and use existing light whenever possible, so I always want the ability to turn the flash off when using a point-and-shoot camera. Usually, that is done through a flash menu or a simple on-off switch. On the Sureshot Supreme though, it’s a little more tricky. You have to shove your fingernail or something into a recessed area on the bottom of the camera in order to cancel the flash. That’s not so handy.
  • “Rubber flash cap”Never have I heard of such a thing in all my days. Just as I mentioned in the above paragraph, you can generally force a camera’s flash to fire through a flash menu or on-off switch. This camera, however, has an accessory that is stored on the camera’s strap which is popped into the sensor below the lens which reads the light and  tells the camera whether or not flash is needed. Basically, you trick the camera into thinking there is not enough light in the scene you’re photographing and the flash needs to brighten things up. Seriously though, why didn’t they just put a switch on the camera so you can turn the flash on and off at will?!
  • The “tilt knob” – This is another first for me. So, what Canon has done here is decided that they want to help you make better self-portraits using the camera’s self timer. You are supposed to put the camera on a flat surface and swivel the tilt knob so the camera is pointing slightly upward at you. I guess so you don’t have to crouch down for the picture? I mean, I didn’t realize that this was a huge problem in the lives of casual photographers. Maybe it was in the 1980s when this camera was made though. Maybe back then, photography consumers needed the ability to tilt the camera “up to 16.5°” (according the the camera’s manual.)

Despite the great detail into which I’ve gone about the Canon Sureshot Supreme’s features and quirks, all that  matters is how the pictures turn out. And chances are, most of you just skipped forward to the photo section of this blog anyway. So here are some shots from the first couple of rolls I ran through the Sureshot. These were all shot on Fuji Superia X-tra 400, for those who like to know that sort of thing.

Best of Roll 1:


My first photo with the Sureshot Supreme. A deceased bird outside of Urban Outfitters. I figured it died from hipster overload. But I was pleased how the camera handled the shot! And is that vignetting I detect at the edges? I sure hope so!


It’s shaaaarp. And I thought the lens rendered the sky beautifully.


Lovely!

Gelato at YOLO

Afternoon in the park with my niece


The inside of the leather case that came with the Sureshot. I LOVE when I get used camera equipment which has the previous owner’s name written or engraved on it.

Best of Roll 2:


I mostly wanted the focus to be on the Lego figure, and the camera mostly came through


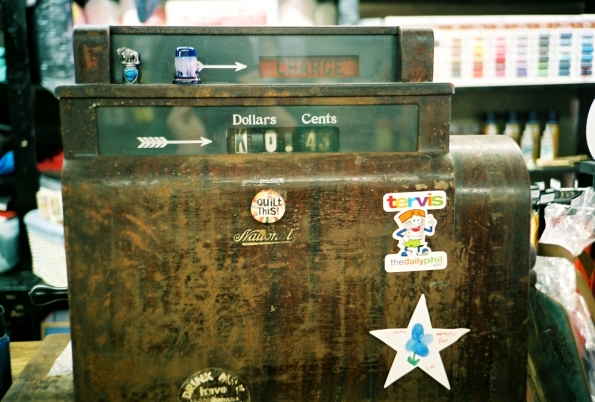
Great old register at a local fabric and notions store in my family’s town.

It even works on snapshots of my niece with a chocolate bar!

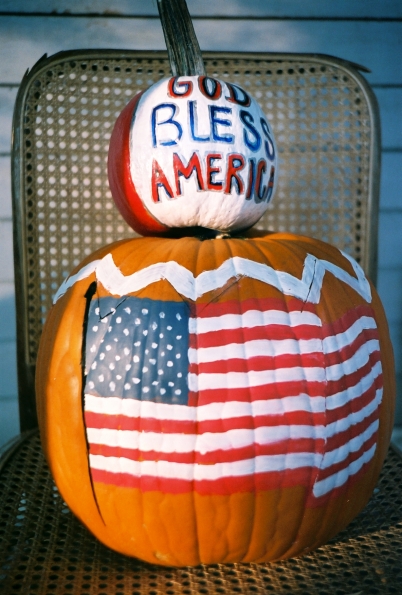
Hey!


Pink chair in the woods


Check out that creamy bokeh!


Srlsy. Nice bokeh, Sureshot!

Conclusion?

The Canon Sureshot Supreme is kind of an odd bird. I honestly haven’t seen any point-and-shoot like it before. Certain design features have left me scratching my head. But I really can’t complain, since the lens on the Sureshot is pretty fantastic, the camera only set me back $1.50, and auto focus point-and-shoot cameras were still in their infancy back in the mid-80s – these weird features of which I speak were probably considered totally rad innovations back then!