Monthly Archives: February 2012

You are browsing the site archives by month.

What $35’ll Get You

I got a “new” toy last week. It’s a Pentax ZX-7, which is a 35mm auto focus SLR. Though most would say I need another camera like I need a hole in my head, I do have my reasons for buying this Pentax. I’ll tell you about those reasons some time. Since I paid only $27 for the camera and its 28-90mm kit lens, I feel my purchase won’t need much justification though.

I’m not ready to do a full write-up on this camera yet, because I’ve only put one roll of film through it. But I think this one’s a keeper!

(I might add, other than $27 investment in the camera, it cost me an additional $8 for the “privilege” of using my niece as the subject for the test roll. What a demanding diva she is!)


Pentax ZX-7 • Kodak BW400CN
•  Some using 28-90mm/3.5-5.6, some using 50mm/1.4

Canon Rebel 2000: A Pleasant Surprise

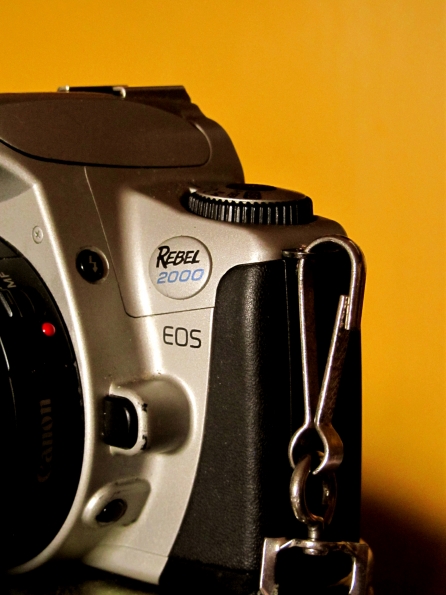
I thought it was about time I profiled a camera that I’ve been using for nearly four years and which has become an unexpected favorite in my camera arsenal: the Canon Rebel 2000.

In June 2008, I purchased a Canon Rebel Ti from a charity shop for $25. It didn’t come with a lens, so I had to lay hands on one in order to test the camera. I had a flash of inspiration: My friend Adam used to have a Canon Rebel, and I was pretty sure he said it had stopped working. I hoped he might be up for selling the lens off his Rebel, since he couldn’t get any use out of the camera body at that point. As hoped, Adam agreed to sell the lens to me. Hooray! When I picked up the lens from him, he said, “You can just take the camera, too. I think it might be working again.” I attached said lens to the Rebel Ti body I’d purchased and found that the Ti’s film door was broken. Boo! I put batteries in the 2000, and to my delight, it was working again!

Thanks for the killer camera, Adam!
It’s in good hands, I promise!

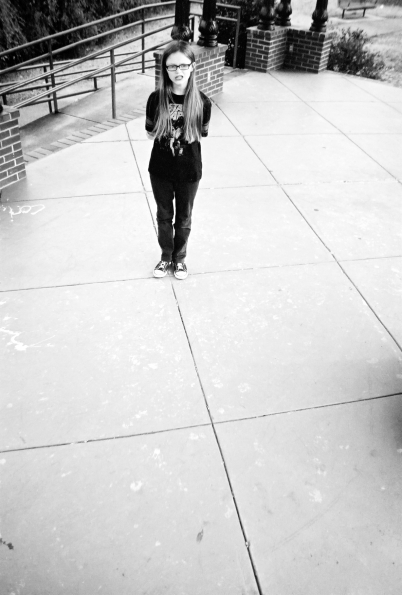
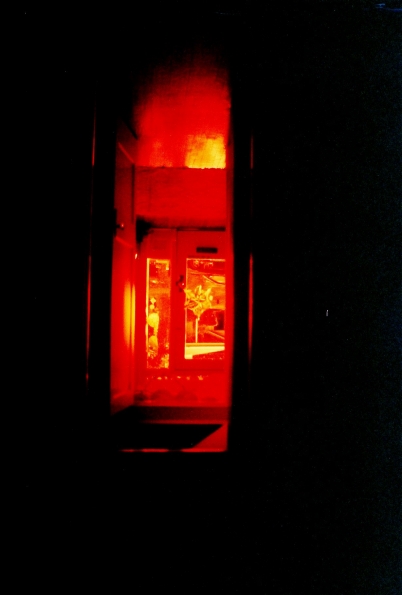
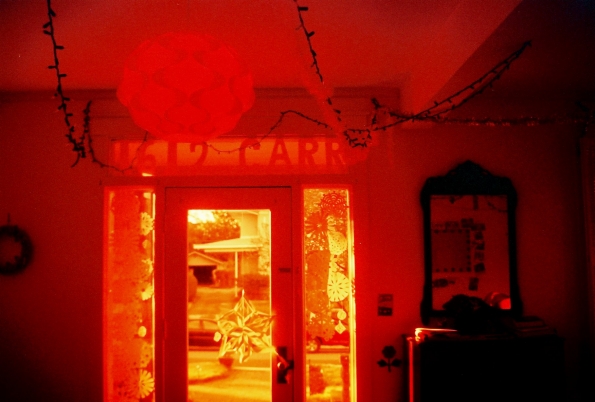
Product of my first roll through the Rebel 2000

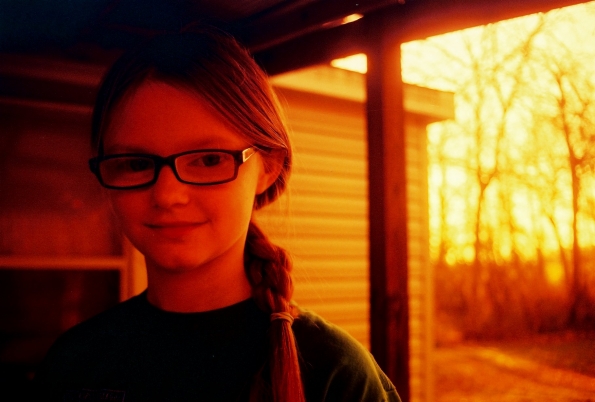
This was right before I was going to chaperon a church youth group trip to Waco, TX, so I broke the Rebel 2k in by taking it on the road with me. The Rebel was just PERFECT for toting around with me down there. I could use it like an over-grown point-and-shoot if I wanted, or I could have complete control over exposure and focus settings. That trip to Waco with the Rebel had me hooked. It’s been one of those cameras I can throw into my purse and be ready to go at a moment’s notice! I remember one of my photo buddies, Dirk, at Memphis Photo Supply giving me a hard time when he saw me with this camera. He gave me a “you could do better” sideways glance. Then, when complimenting a photo he thought was fantastic and wanting to know which camera I’d used, I’m pretty sure I rocked his world by replying, “My Canon Rebel 2000!” Burn!
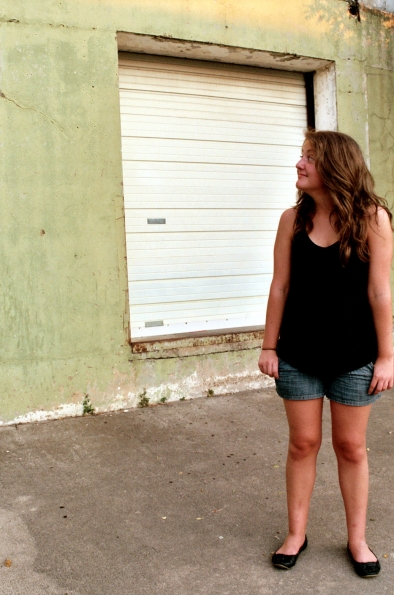
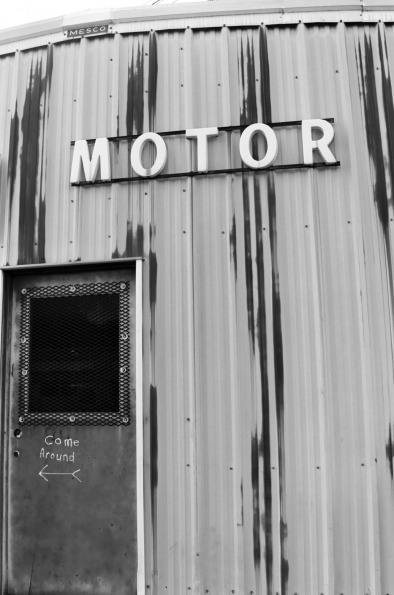
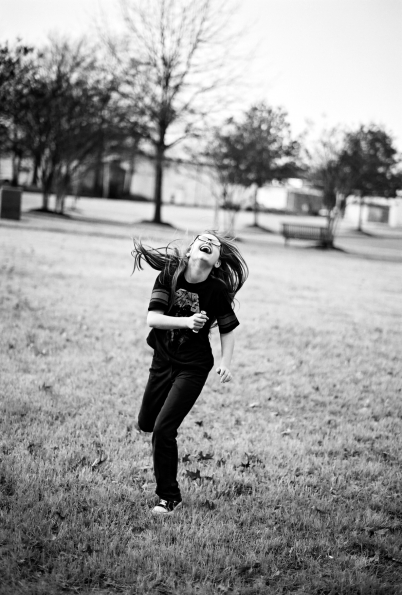
Waco, Tx

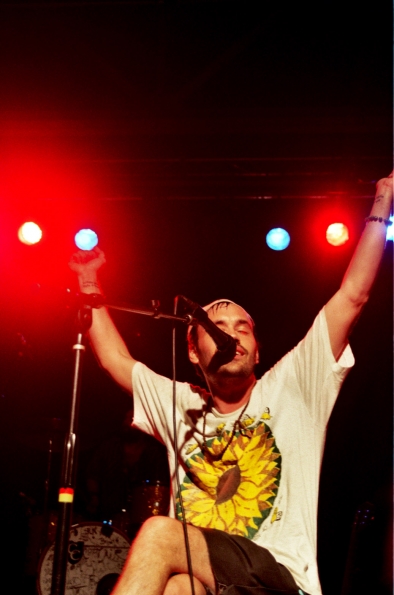
mewithoutYou in Nashville, July 2008

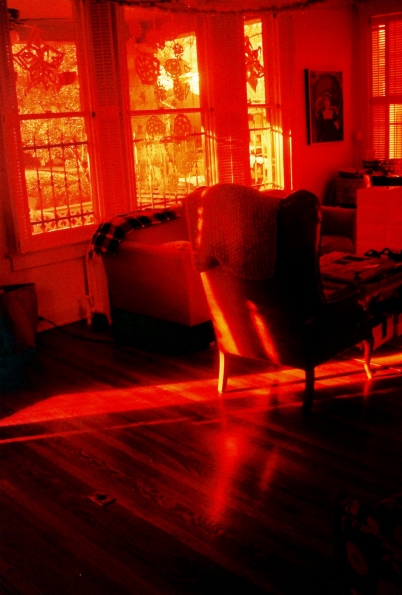
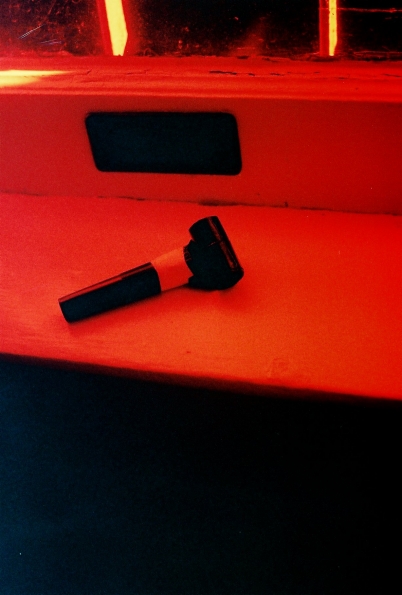
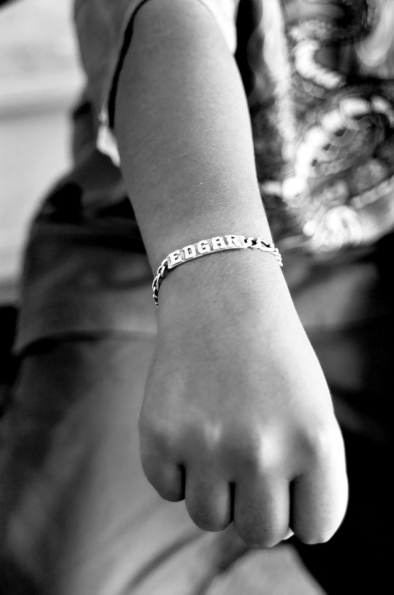
I did a search for photos in my Flickr photostream that are tagged with “Canon Rebel 2000.” There are about 450 photos there from my Rebel! That number is pretty high, considering how many other cameras I have and divide my film between. I’ve actually featured a lot of Rebel 2000 photos on the blog and in my photo galleries, but here are a sampling of my favorites from over the years.


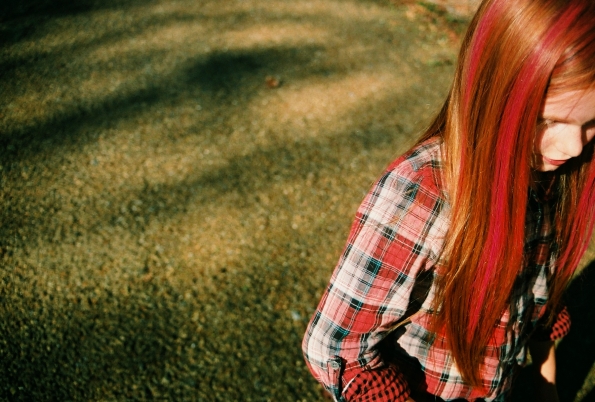
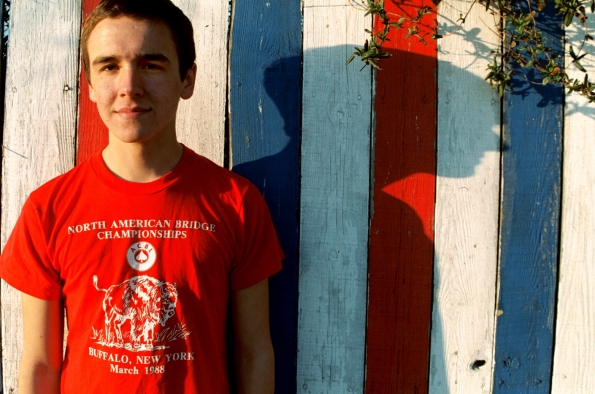
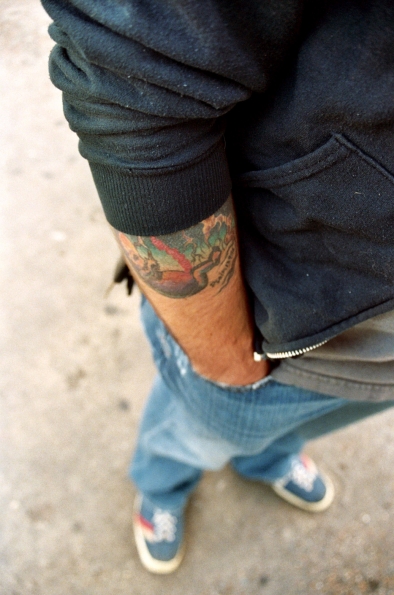
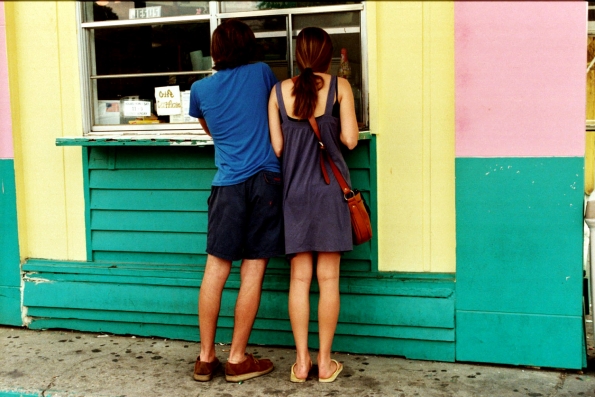
(And, I’ve obviously loved shooting people with the Rebel 2K!)

All photos taken with the Canon Rebel 2000 and the 35-80mm/4-5.6 “kit lens.” Except the photo of the Rebel at the top of this post, which was taken with my Canon Powershot SX230HS.

{Redscale}

I redscaled some film, y’all.

What’s “redscale” film?

Yet another question that I’m glad you asked!

I didn’t know what redscale film was when I first saw it either. I saw some film labeled as redscale at Urban Outfitters last summer and was puzzled. I thought, “Surely Lomography hasn’t produced a new type of film…” They hadn’t. Redscaling is just an alternative photography technique. And I was so shocked that I’d never heard of this before, seeing as I’m an “experimental photography” enthusiast. You load film into a canister with the wrong way facing the shutter – this exposes a different part of the film’s emulsion, which is what causes the shift in the colors. Shooting the film upside down also causes your images appear reversed, as they would in a mirror. My research uncovered a tutorial on how to redscale your film, and it seemed simple enough. I decided to give it a go!

I took a roll of Fuji Superia 400 X-tra and transferred it into a canister for Fujicolor 200 film – backwards, like ya do. I loaded it into my trusty Canon Rebel 2000 and began incorporating this film/camera combo into my life over the course of the next few days. Here are some of the results! Backwards results, of course.


What do I think about shooting redscale film?

The same thing I think about shooting cross-processed film: Fun stuff! I normally like the colours in my photos to be as true-to-life as possible, but I enjoy alternative process techniques as a surreal  accompaniment to the look of my usual photos.

___________________________________________________________________________________

Technical notes for my fellow photo nerds: This film was 400 ASA, shot as 200 ASA to help compensate for the fact that the light coming into the camera had to go through wrong side of the film in order to reach the light-sensitive side of the film (aka “the film was loaded upside down.”) The developed negatives look pretty well exposed, perhaps underexposed in some shots. I might experiment with exposure on future rolls of redscale film. I told the one hour mini-lab where these were developed that they shouldn’t try to correct the colour cast in the photos. As such, the negatives weren’t scanned quite right. There was a weird blue-green grain/noise in the areas of the photos that should have been black or shadowed. I didn’t know if this was an actual film exposure issue or an issue with the scans from the photo lab. I normally don’t do much to “fix” film photos in post-processing on the computer, but for these, I used the black color dropper in my software’s levels to click on an area of each photo that should have been black. This made the scans look MUCH better. I hope this does not constitute “photo manipulation.” I’m not really into that.

{Coming Attractions} Muddy’s Menu Photos, Part III

Here are some of my favorite “just for fun” shots from the third installment of the Muddy’s Menu Photos sessions. It was “vegan day” at the photo shoot, so the first four photos are a selection of Muddy’s vegan items. You KNOW I loved that, vegan baking enthusiast that I am!

If you are looking for me the next few days, I’ll be barricaded in the house, editing away at more and more photos of baked goods! And then baking cakes to feed a couple hundred folks at a banquet next week. YIIIEEEE!!


Post Navigation