My point-and-shoot 35mm camera collection has grown again.
Back story:
I have actually wanted a Pentax Espio Mini for awhile now. Always searching for the best compact 35mm camera, ya know. I nearly bought an Espio Mini from Hamish some time ago, but that didn’t work out. As fate would have it, my dear friend David was slimming down his camera collection and remembered the fact that I wanted an Espio Mini. He very kindly sent me his! I’ve seen a lot of photos he’s taken with the camera, and it’s cool knowing he’s used it to capture images of his life and I’m using it to capture images of my life now.
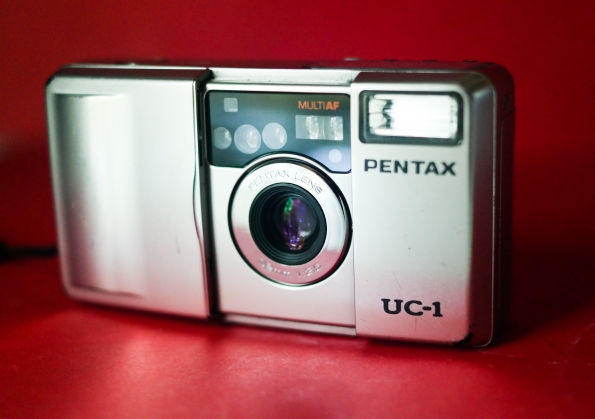
About the Pentax Espio Mini UC-1:
- The Pentax Espio Mini UC-1 is an auto-focus, auto-exposure 35mm camera
- It has a 32mm/3.5 lens
- It features a clamshell design, where you slide the cover open to turn the camera on and close it to turn the camera off. It also protects the lens.
- User selectable modes, via mode buttons on top of the camera: auto, flash on, flash off, slow-sync flash, bulb mode, bulb mode with flash (plus red-eye reduction mode selectable any time the flash is used)
- Panoramic mode, via sliding switch on back of the camera
- Automatic aperture range of f/3.5 – f/22
- Film speed set automatically with DX-coded film cartridges, ranging from 24-3200 ISO
- Automatic shutter speed range of 2s – 1/400s, bulb mode usable from 1/2s – 5 minutes (wow!)
- Focusing distance of 1 ft. (.3m) – infinity
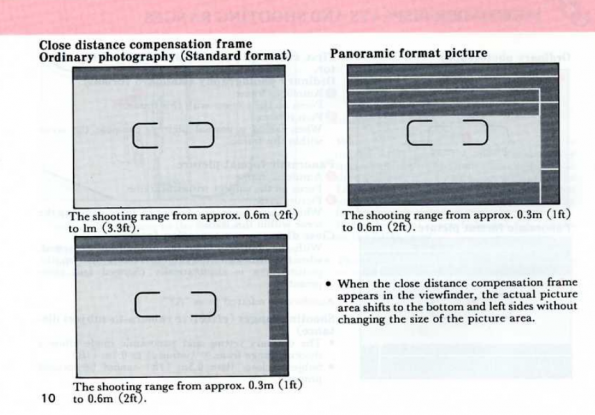
- Real-time parallax correction shown in viewfinder when focusing at close distance (more on that later)
- Self timer is 10 seconds long, with a blinking indication lamp on the front of the camera (the camera’s instruction manual says “the lamp starts blinking 3 seconds before the shutter is released, letting you know when to smile.” That makes me smile 🙂 )
clamshell design
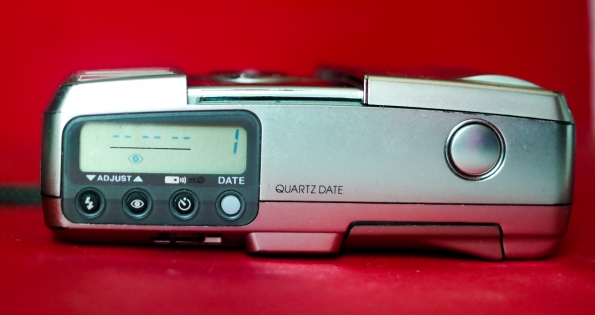
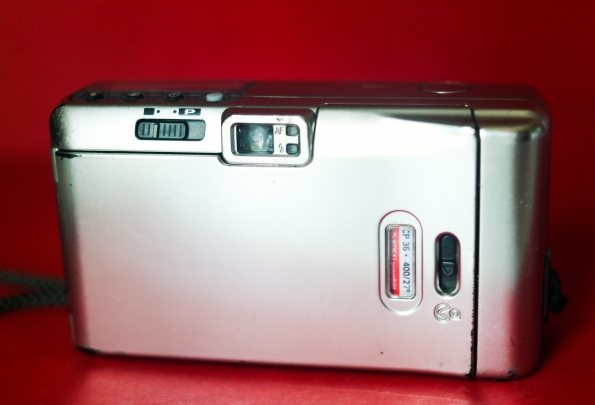
Top and back views of the Espio Mini
A couple of things:
- I am very happy about the fact that the Espio Mini has a panoramic mode. I know a lot of people don’t like cameras that just mask out part of the film area to create a panoramic effect, but I don’t mind it. I liked having that option on the Pentax ZX-7 I used to have, so I was excited for it on the Espio Mini too.
- This camera has BULB mode. That’s crazy! Only high-end point-and-shoot cameras have bulb mode, usually. This means you can take long exposures with the Espio Mini, and while I haven’t tried it out yet, I’m very excited that the option is there.
- I have never experienced a point-and-shoot camera with this type of viewfinder before. Shooting with a non-SLR camera means you don’t see in the viewfinder exactly what is being recorded on the film. This is a problem when you’re photographing something close up. Some cameras have indication lines printed in the viewfinder to give you some idea of what will be included in the photo when focusing at close distances. The Espio Mini’s viewfinder greys out portions of the viewfinder to give you a clearer indication of what the final photo will be like. I can’t explain it that well, so here’s an excerpt of the camera’s manual (which can be found here)
Enough technical stuff. On to the photos!
(note: on the panoramic photos, I included a link to their full size images, because they look better bigger than blog post will allowed them to be displayed. You can click the panoramic photos to see the full-sized versions.)
Roll #1 was Ilford HP5 Plus
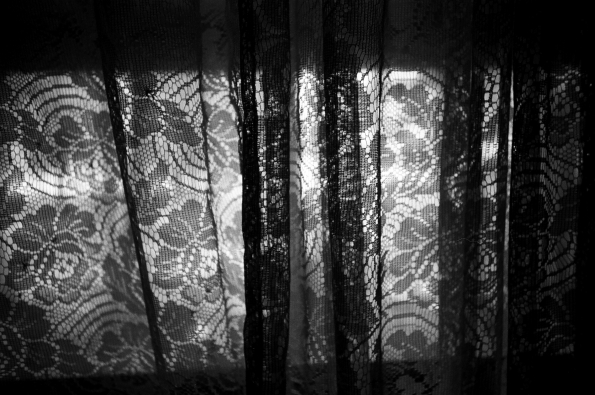
I can’t resist photographing lace curtains
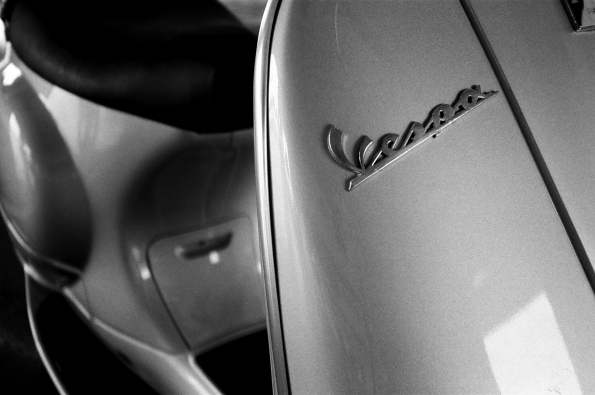
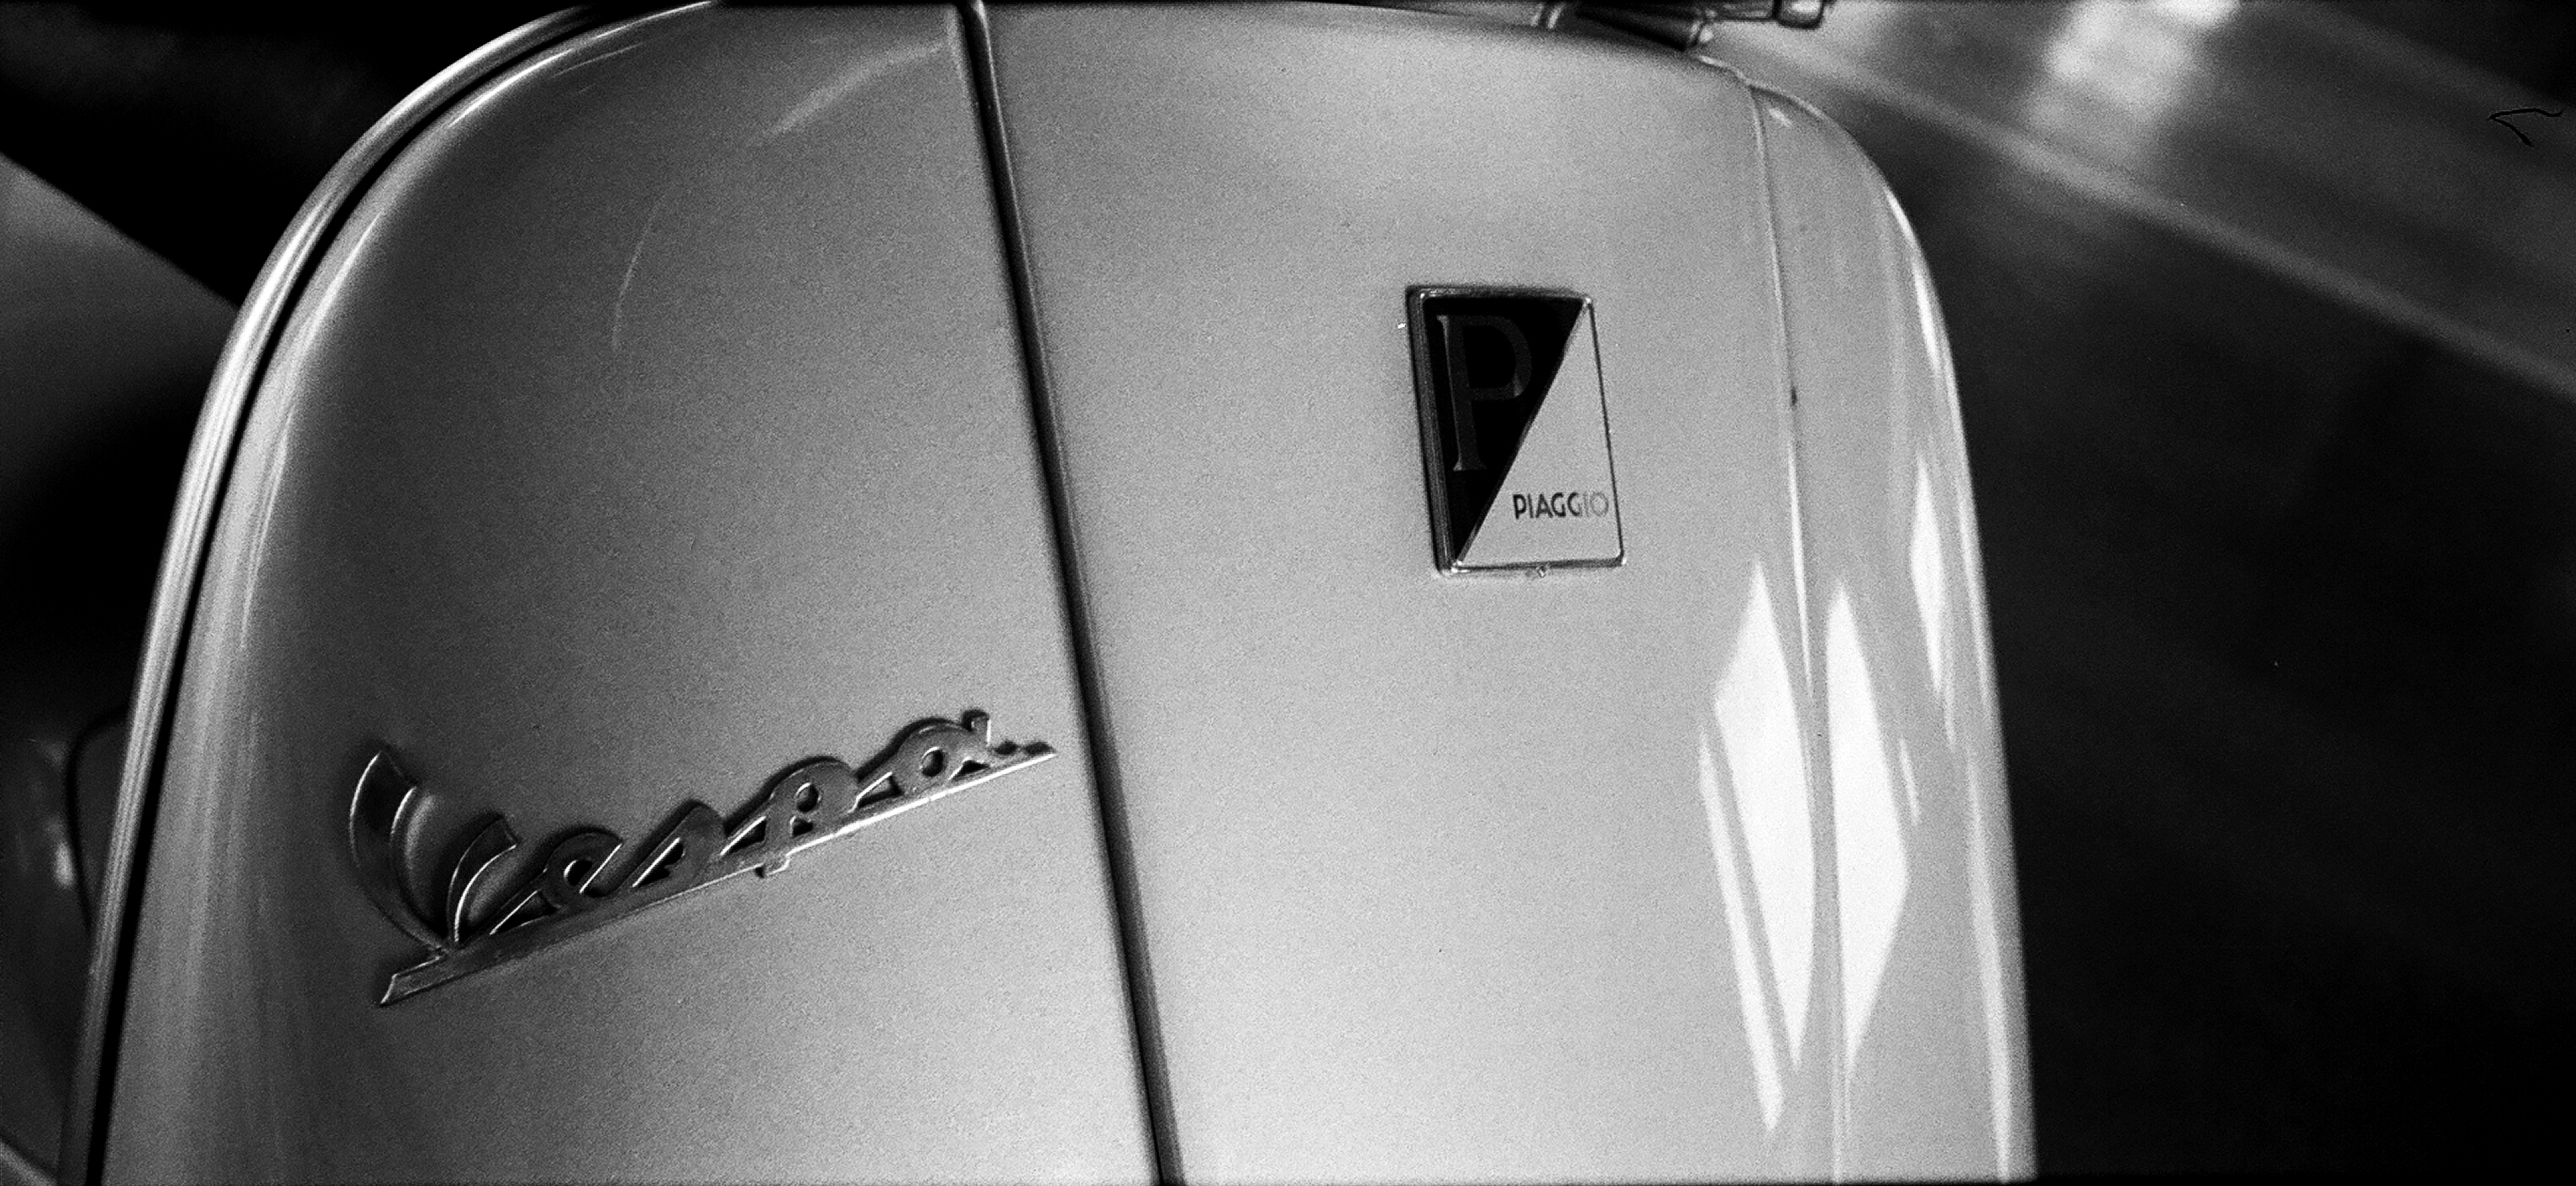
Nor can I resit photographing a Vespa. This one was at the auto auction where I work a couple of days a week.
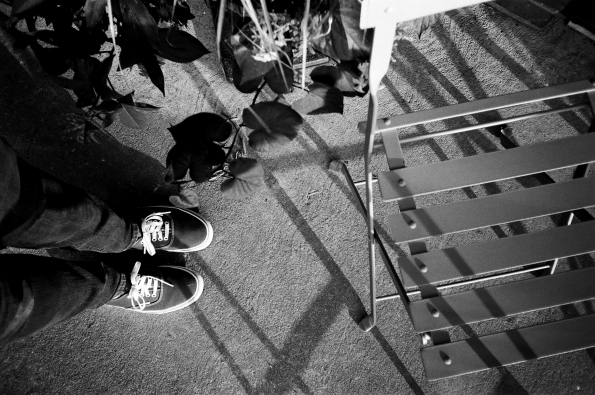
My family enjoyed having ice cream at Area 51 ice cream in Hernando, MS this summer. Here are a few photos take outside the shop.
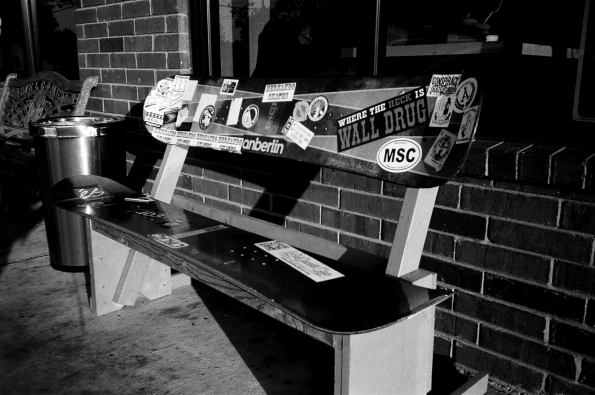

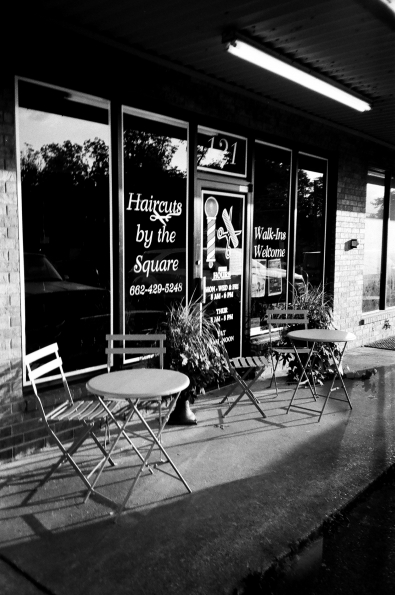
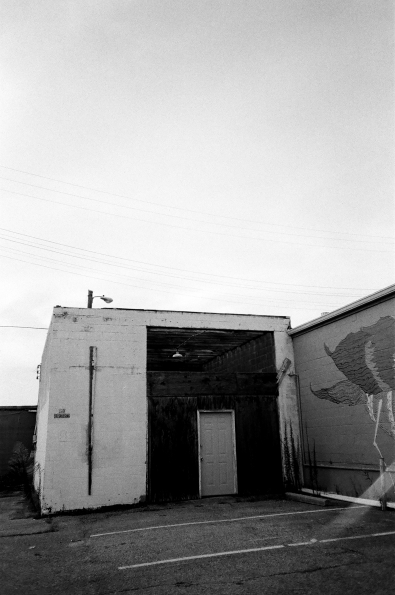
Barber shop next to Area 51
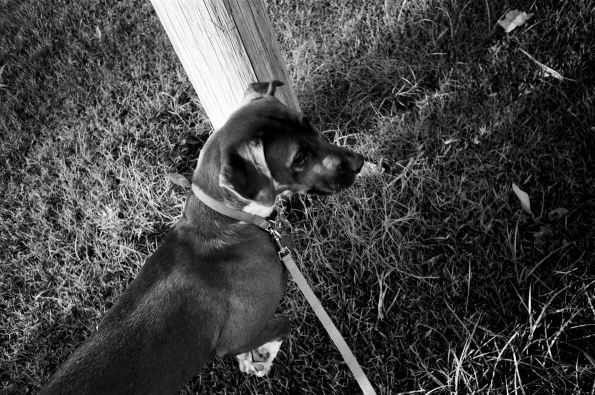
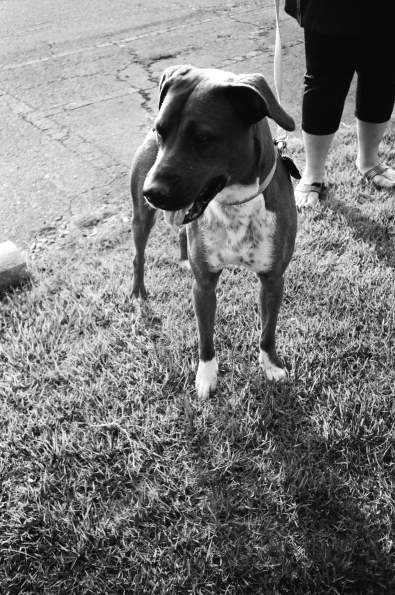
We took Dilly with us to Area 51 one time
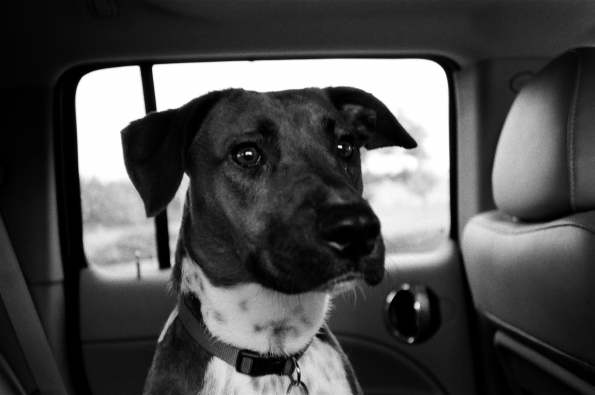
Dilly, on a car ride with us
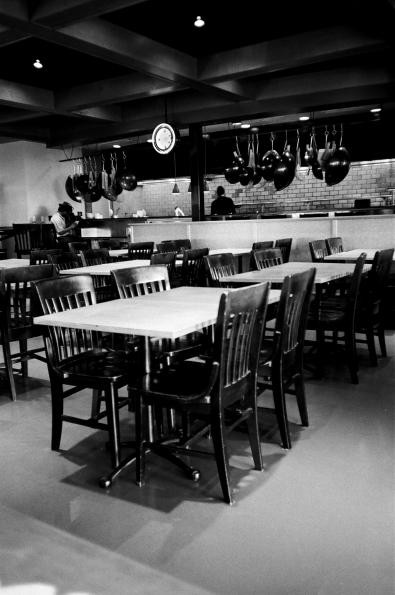
Pei Wei in Midtown Memphis before I had a photo gig with Muddy’s

Area 51, again!
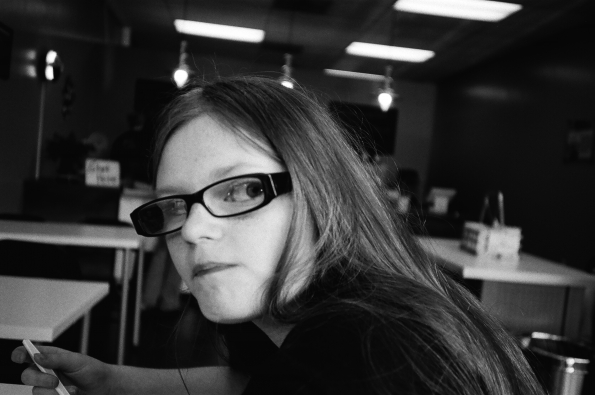
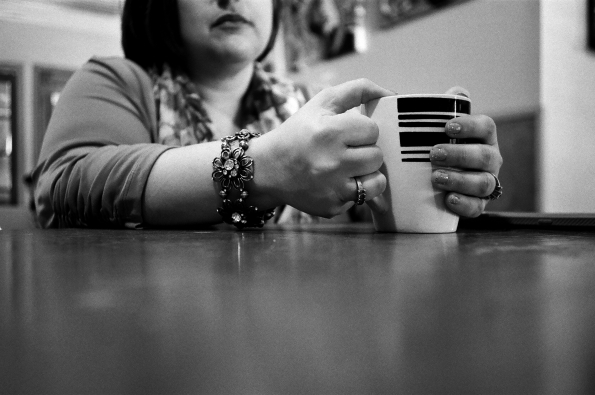
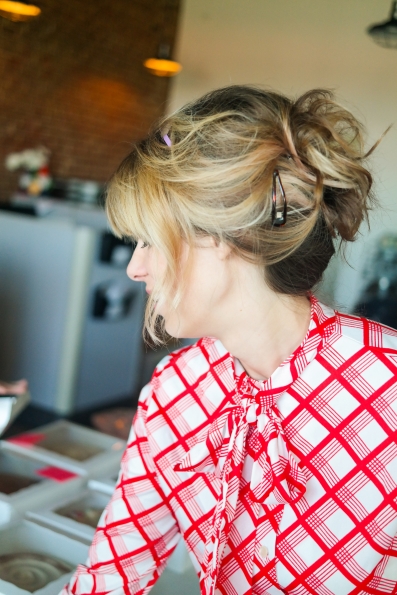
AM, having some mint chocolate chip ice cream at Area 51
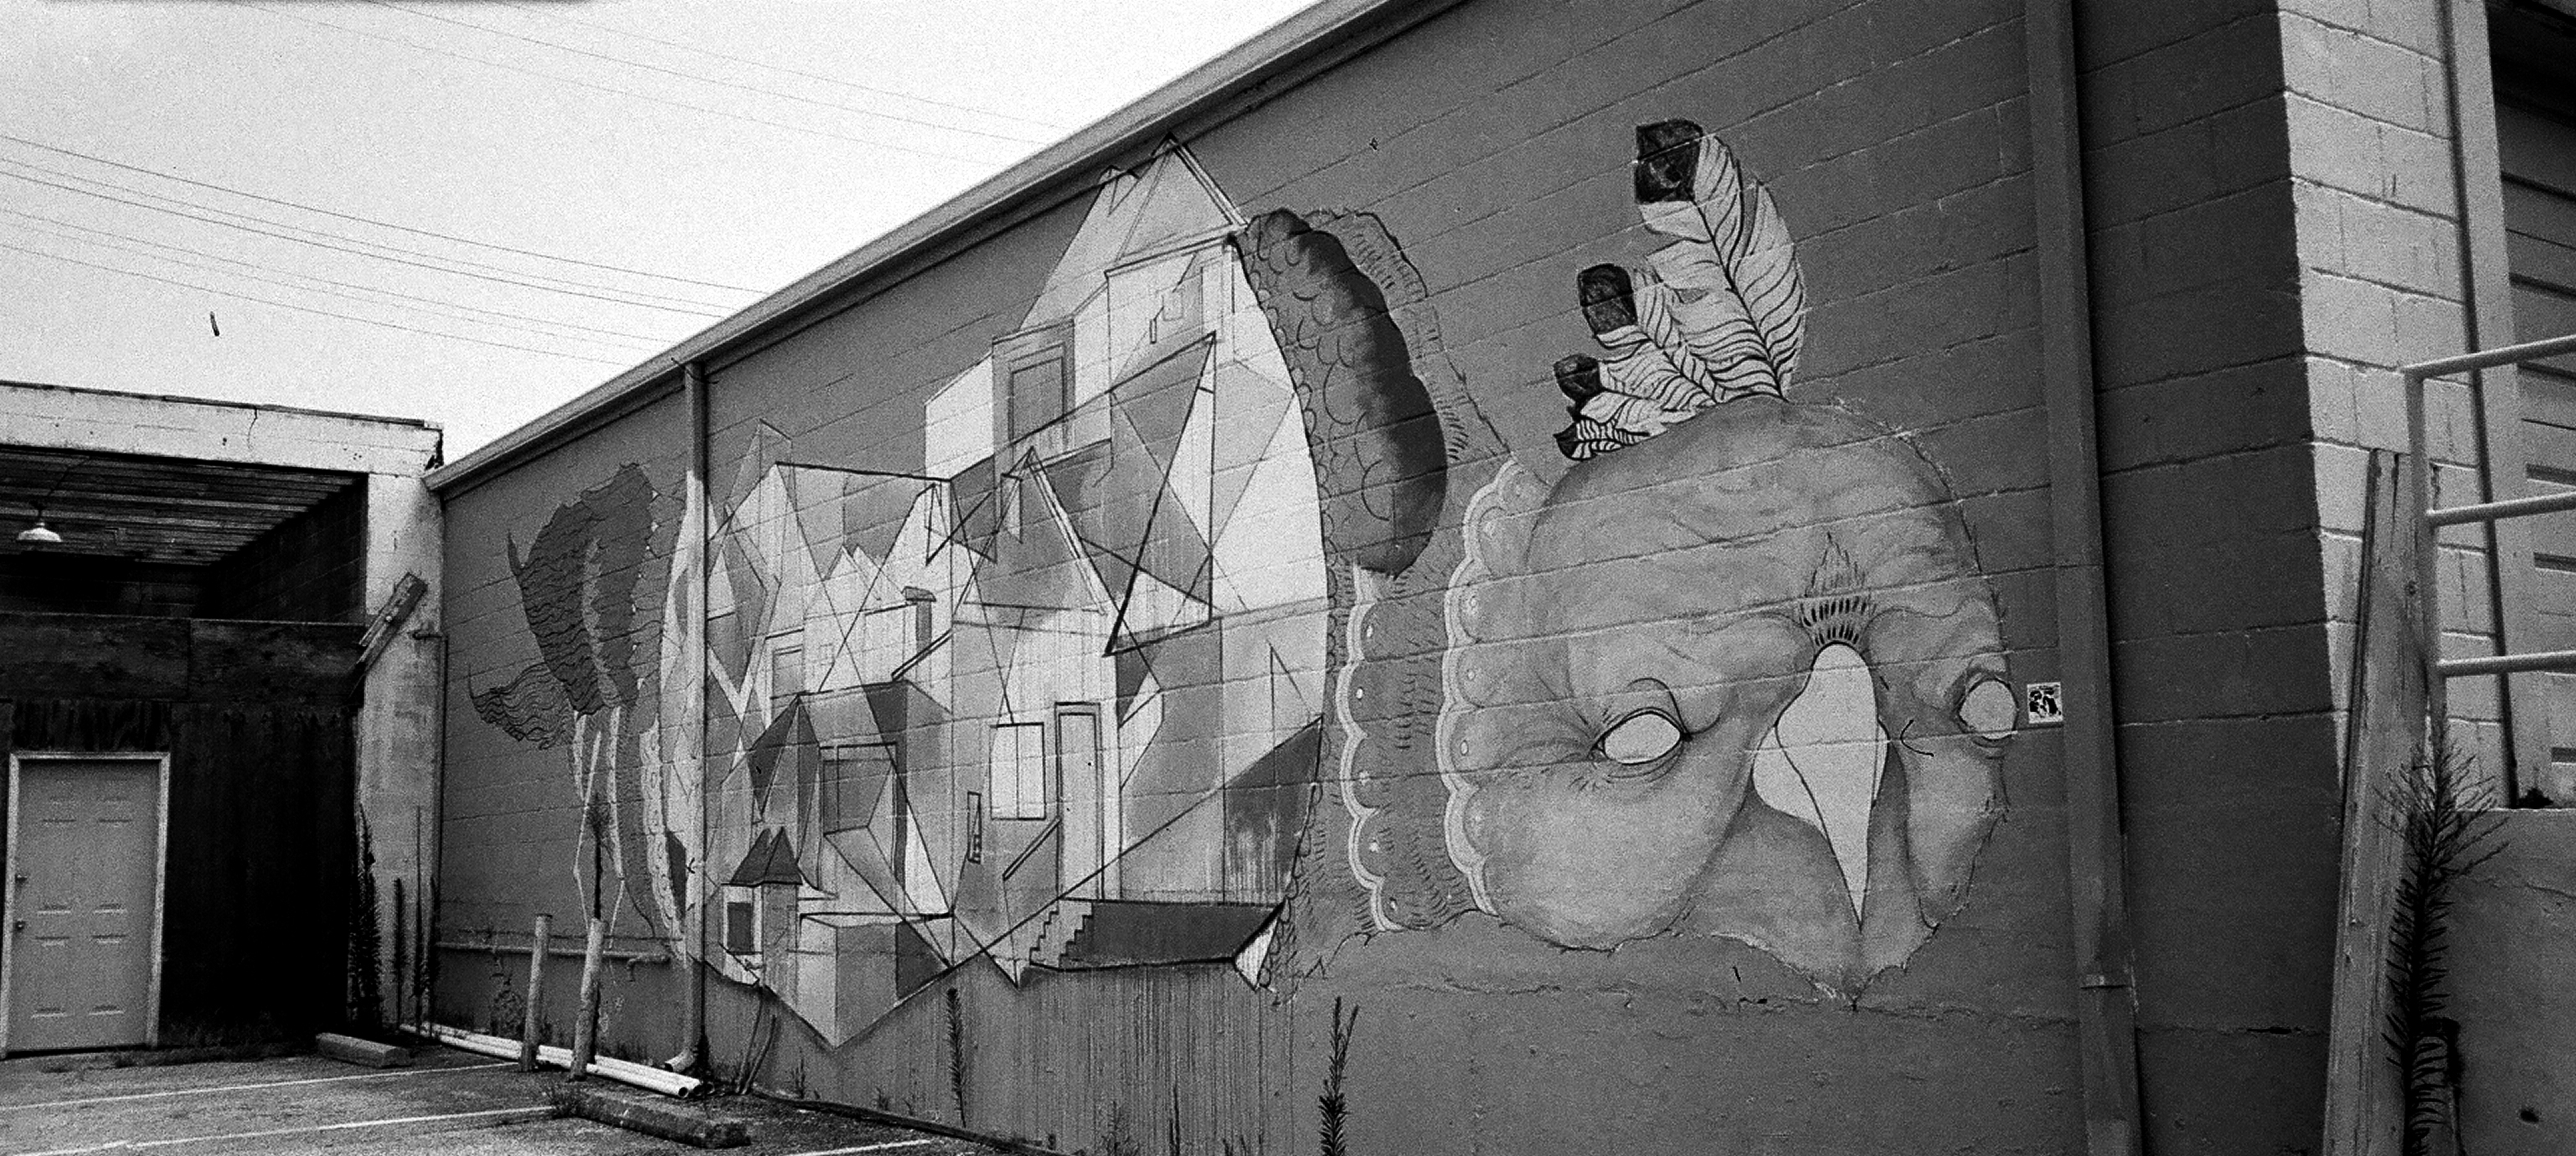
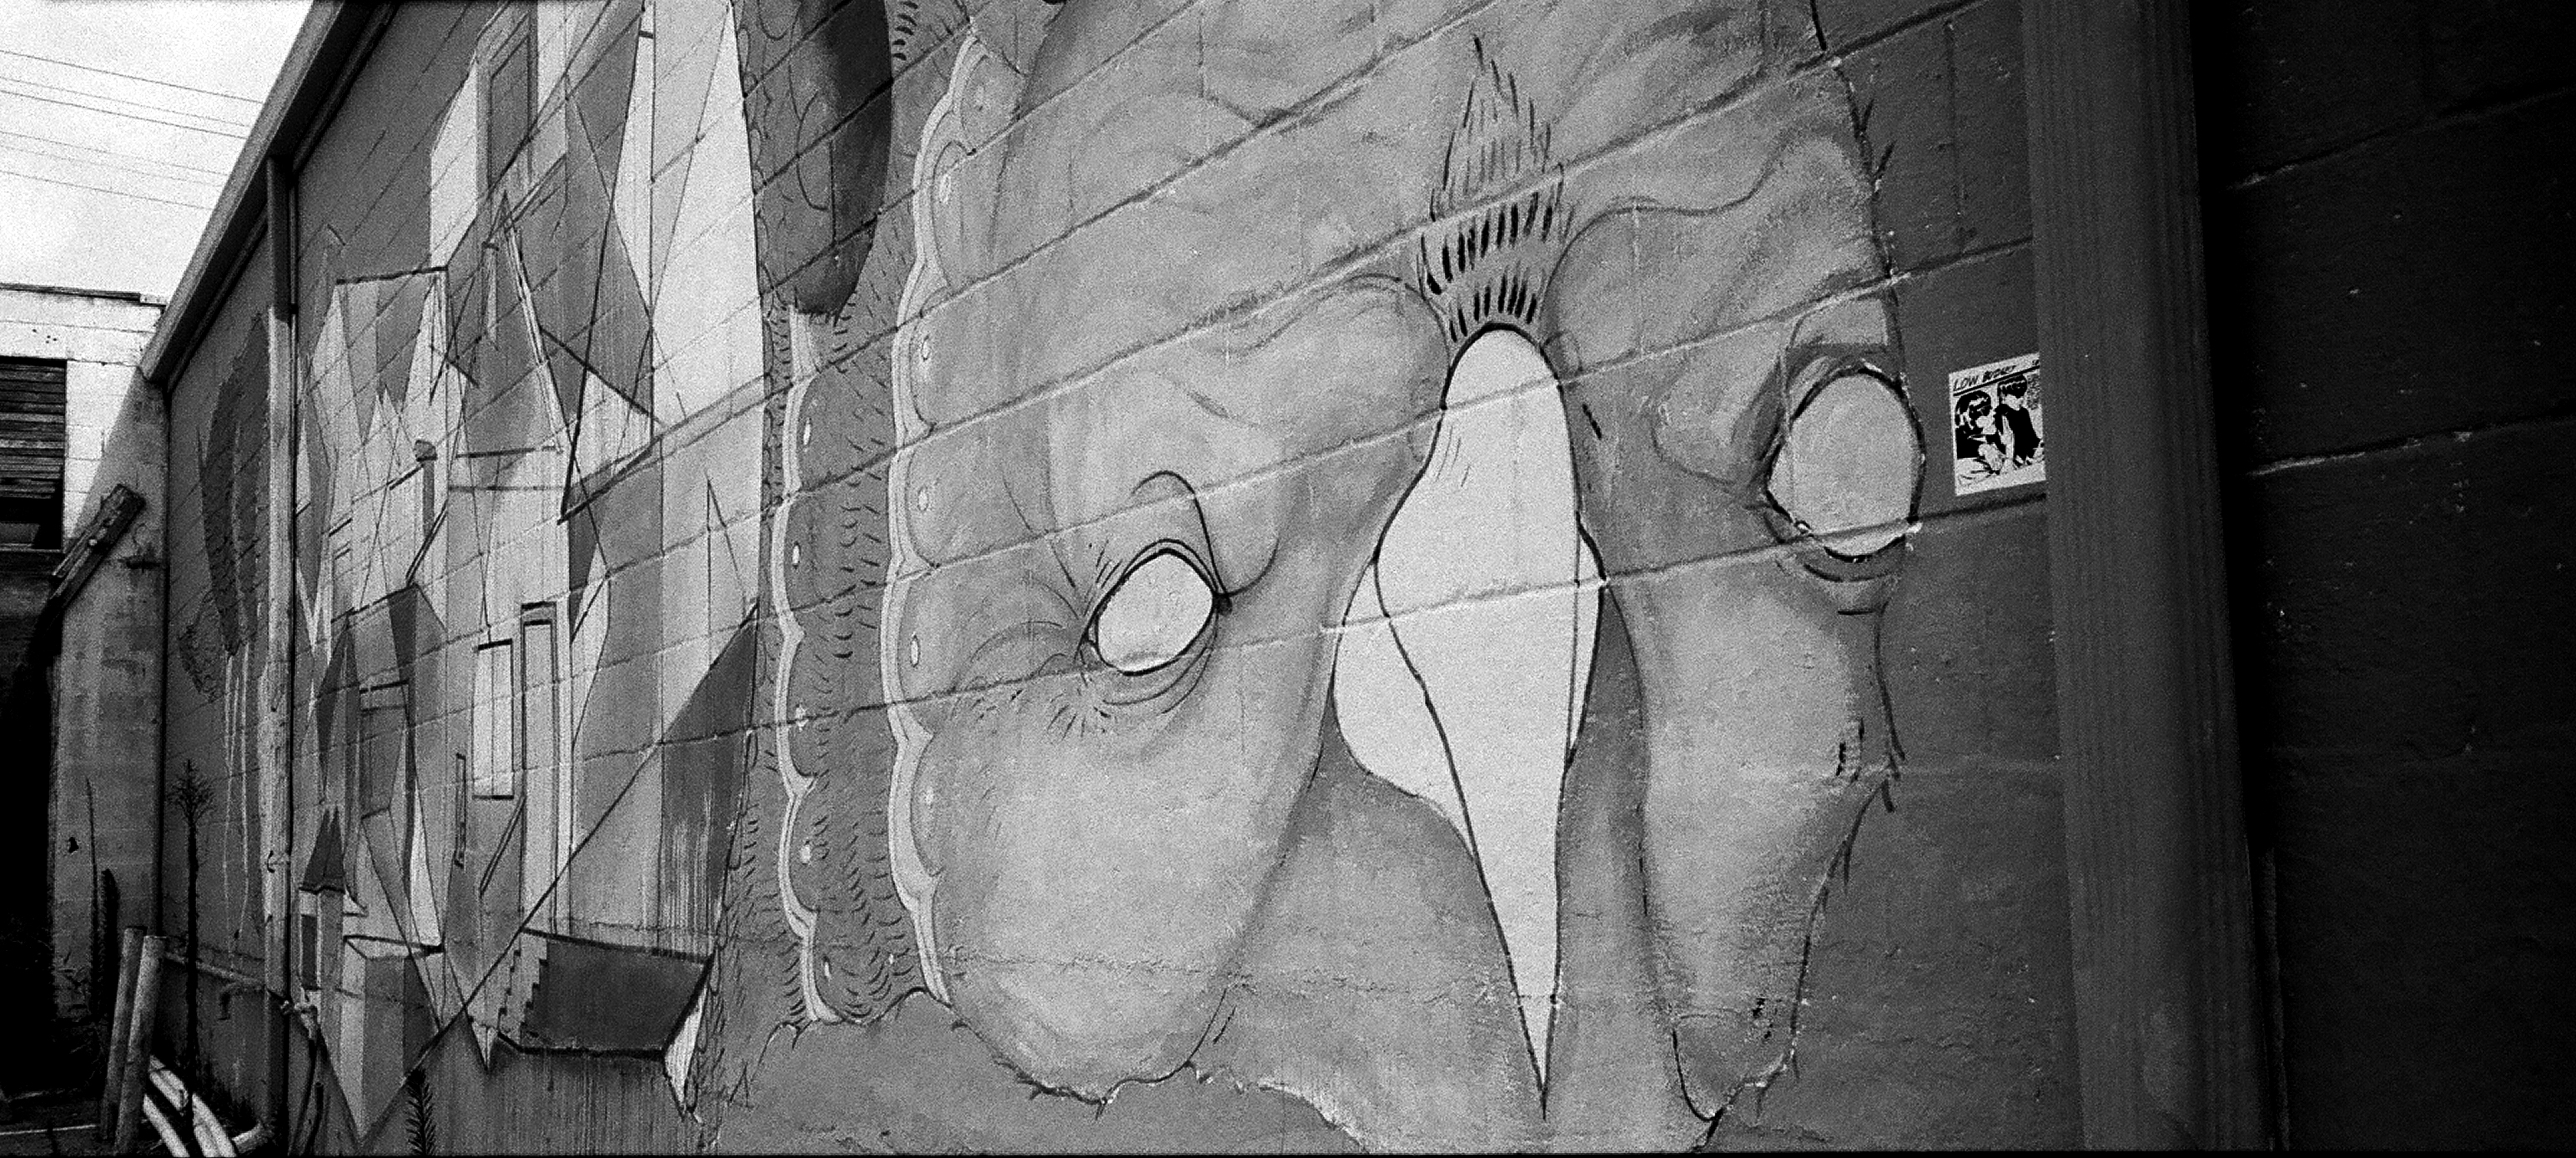
Owl mural in Cooper-Young, Midtown Memphis

Aldo’s Pizza Pies in Cooper-Young, Midtown Memphis
My sister, visiting Otherlands Coffee for the first time (Midtown Memphis)

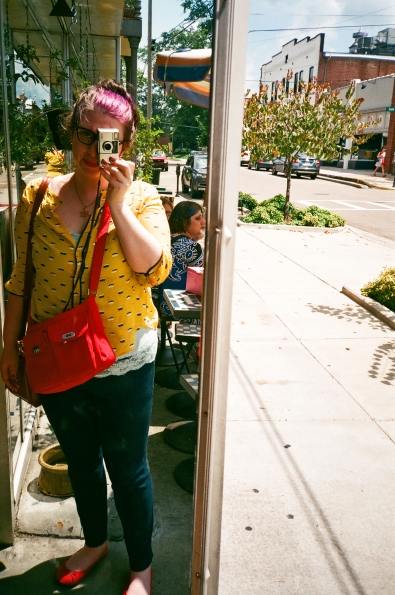
Me, in a mirror at Otherlands
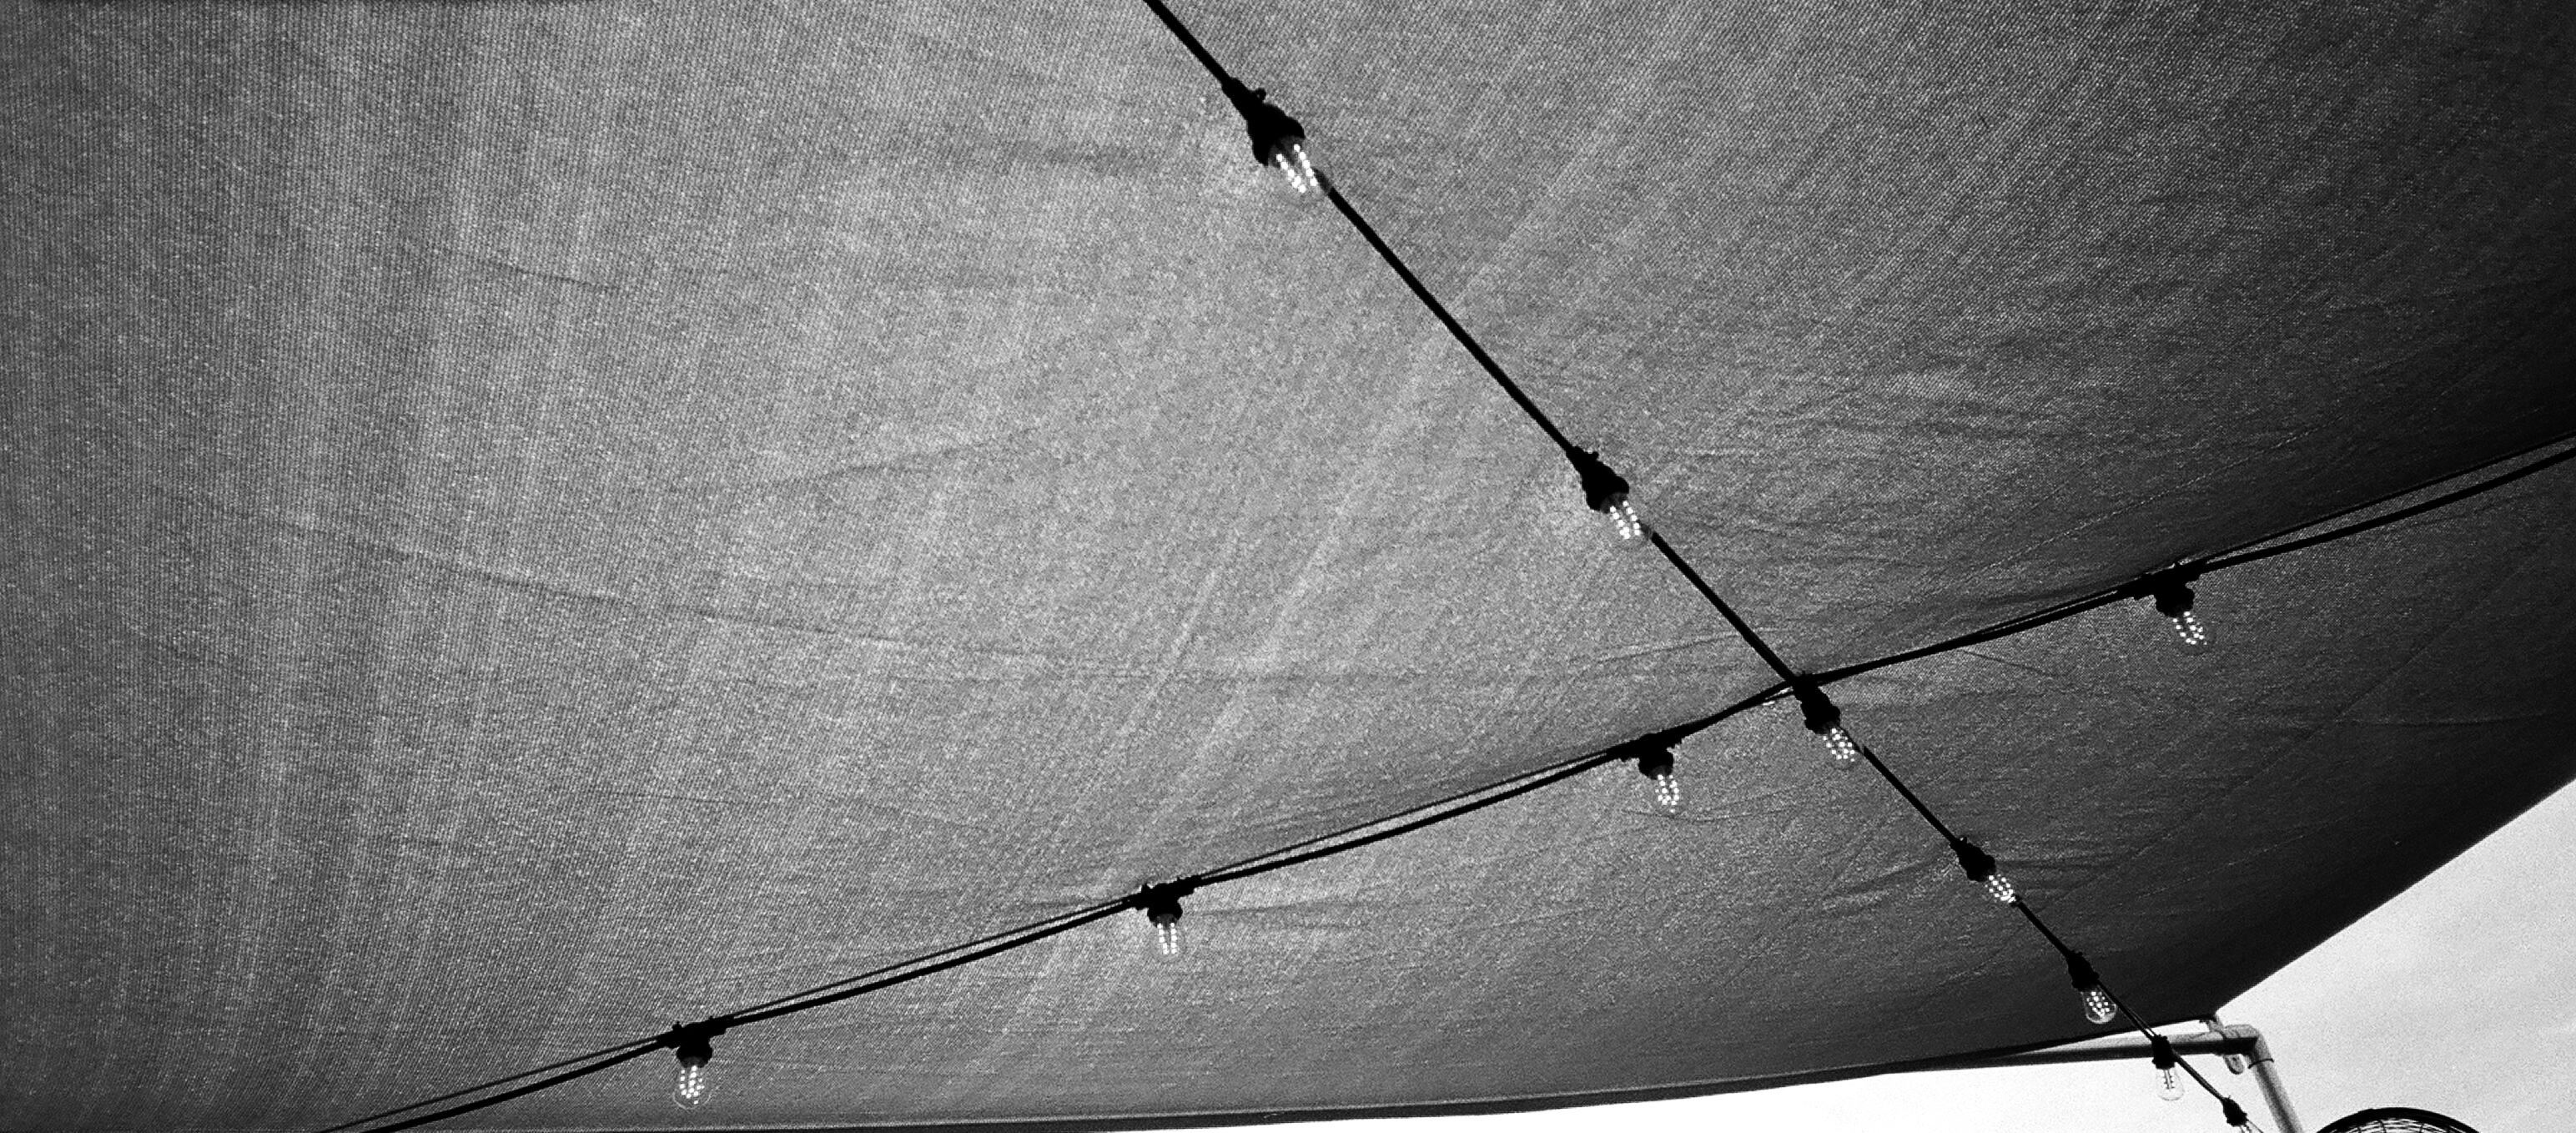
On the rooftop patio at Aldo’s (we ate there twice in one week, actually. This was taken on a different day than that earlier photo from Aldo’s…)
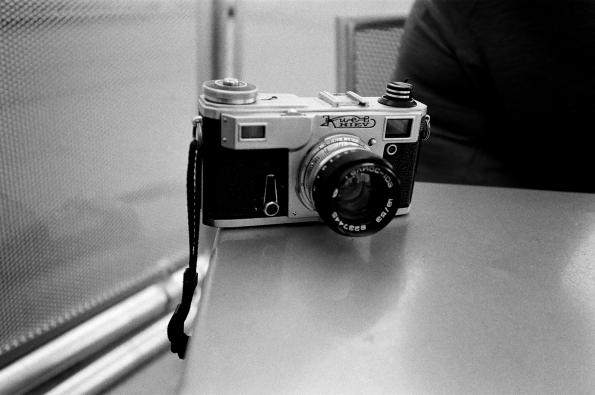
My Kiev 4AM, at Aldo’s with us
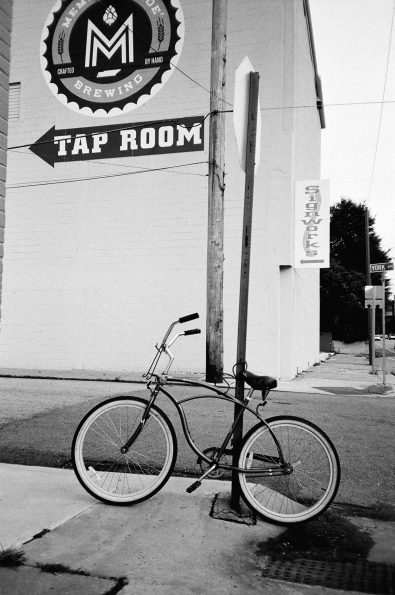
Corner of Cooper and York, Midtown Memphis
Parking lot behind Aldo’s
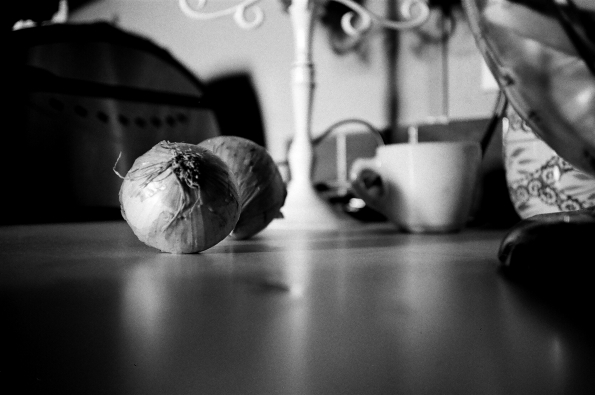
Some onions in the kitchen at home. Not my onions, obviously. Onions are my arch nemeses!

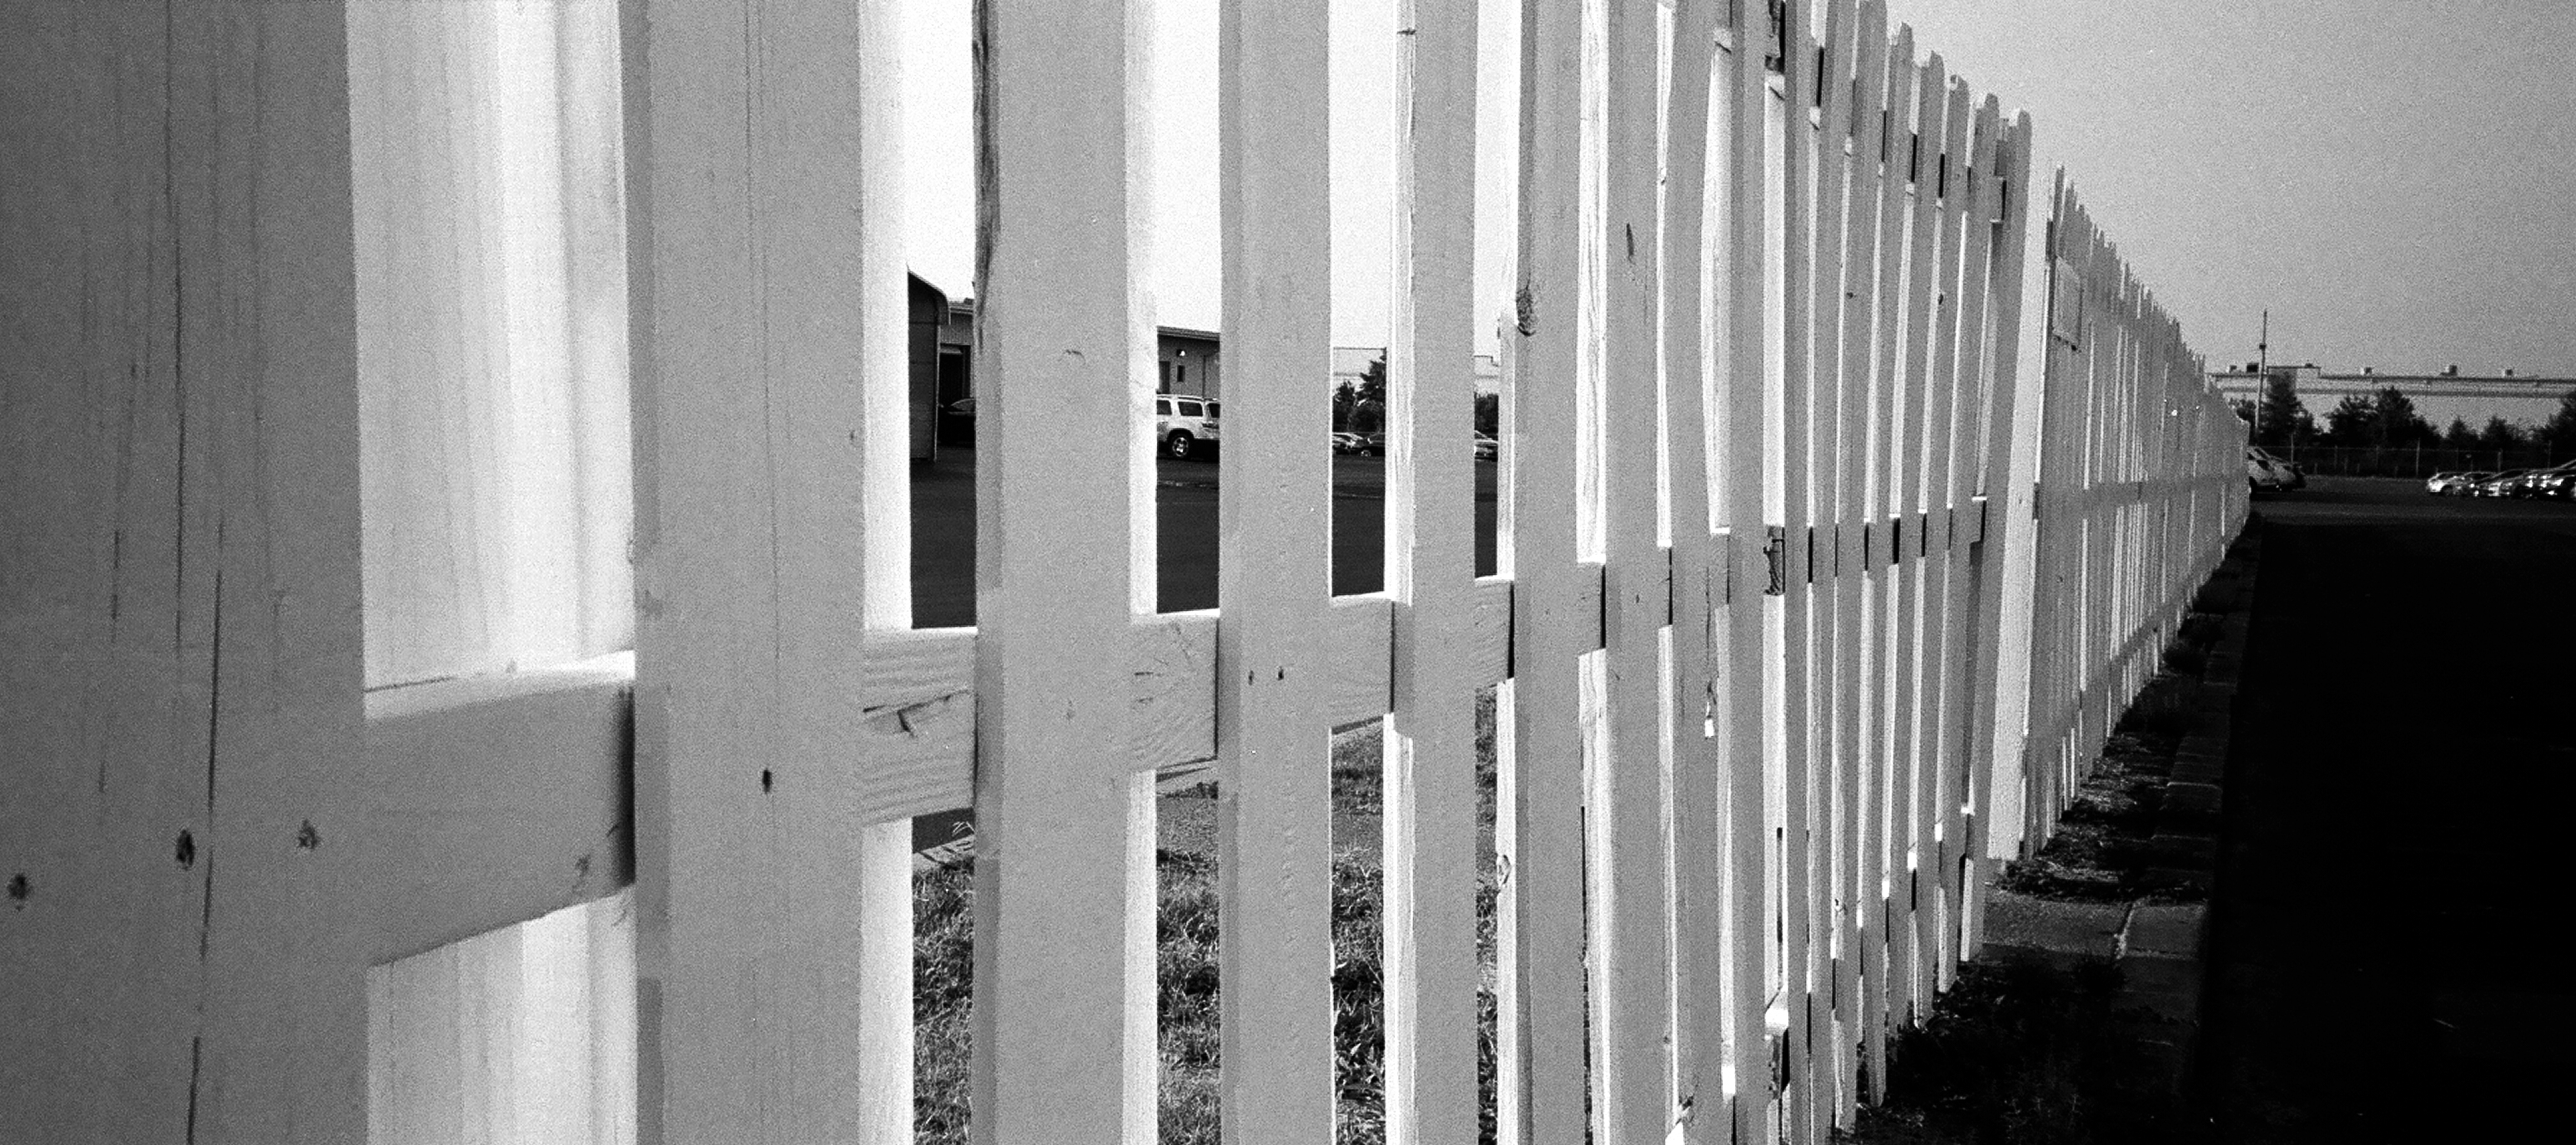
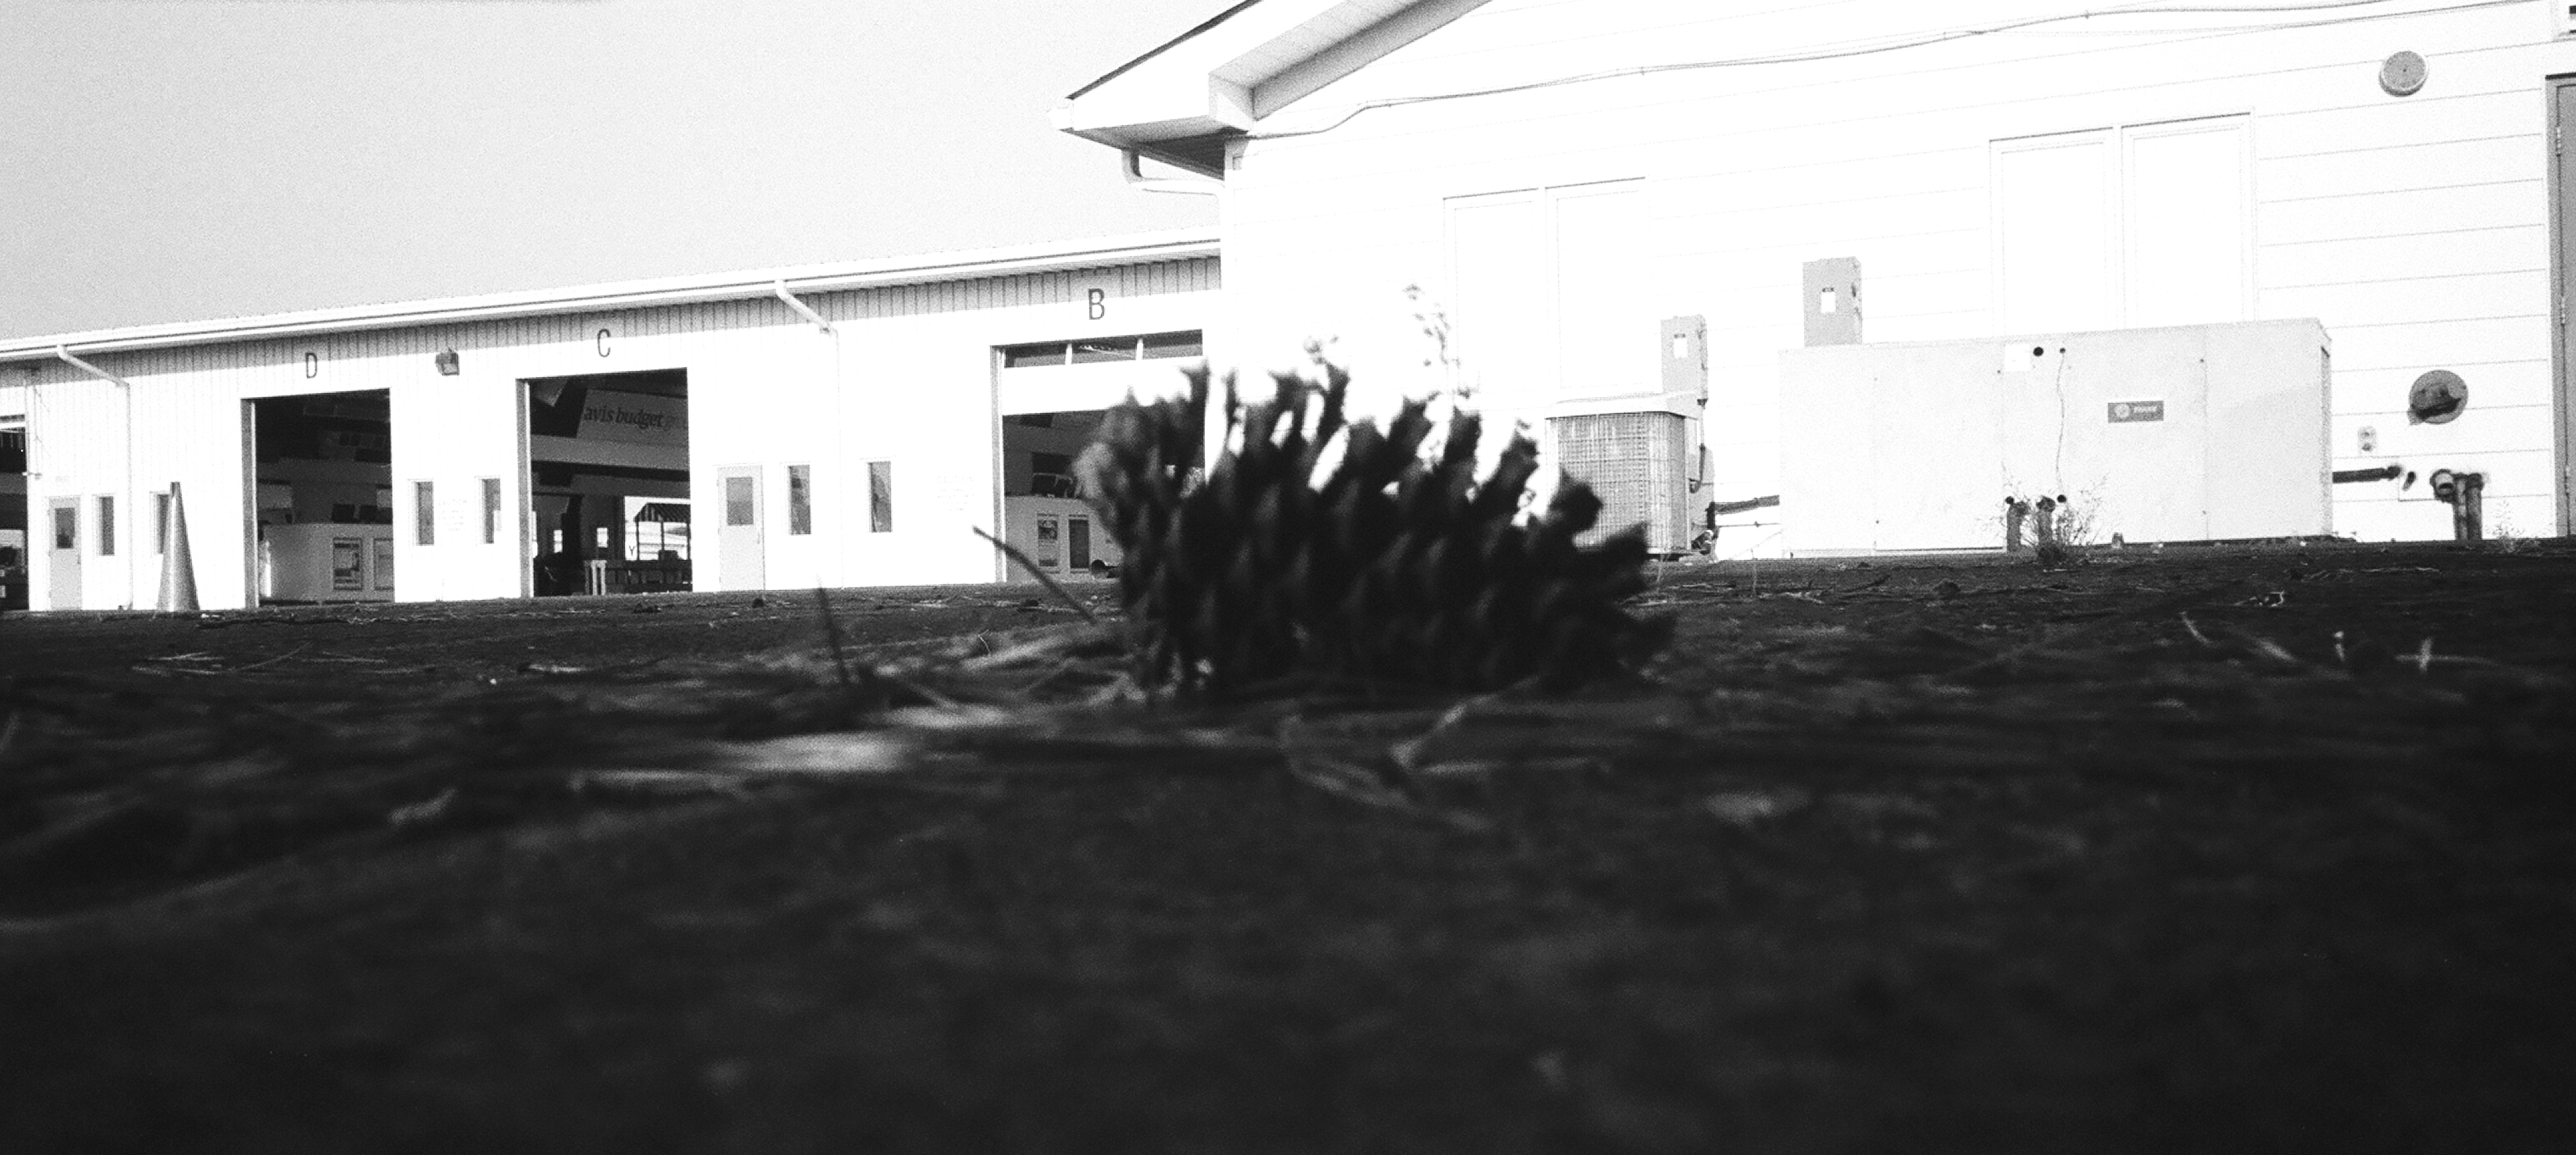
A few panoramic shots outside the auto auction (Memphis)
Roll #2 was Agfa Vista 200
This roll has all the signature “Amanda” things: cars, red shoes, my niece, mirror self-portraits.
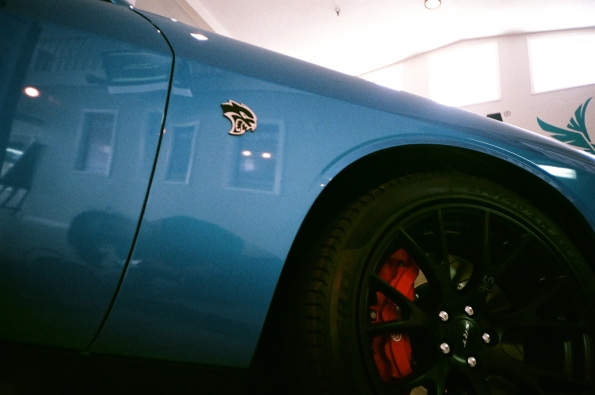

I photographed this car two different days at the auto auction. The first time was in the lobby of the auction’s building, because I didn’t know I’d later have the chance to shoot it in the auction bay, with better lighting and fewer distracting things in the background…
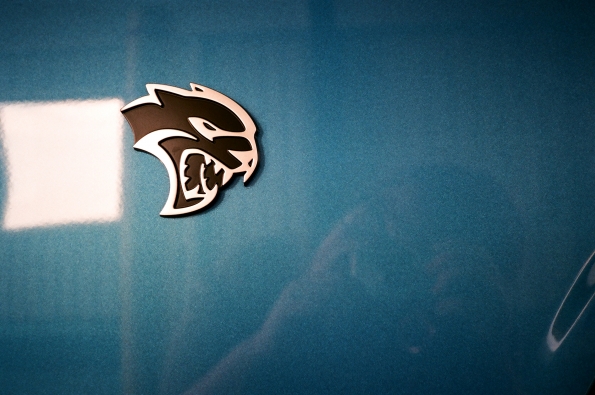
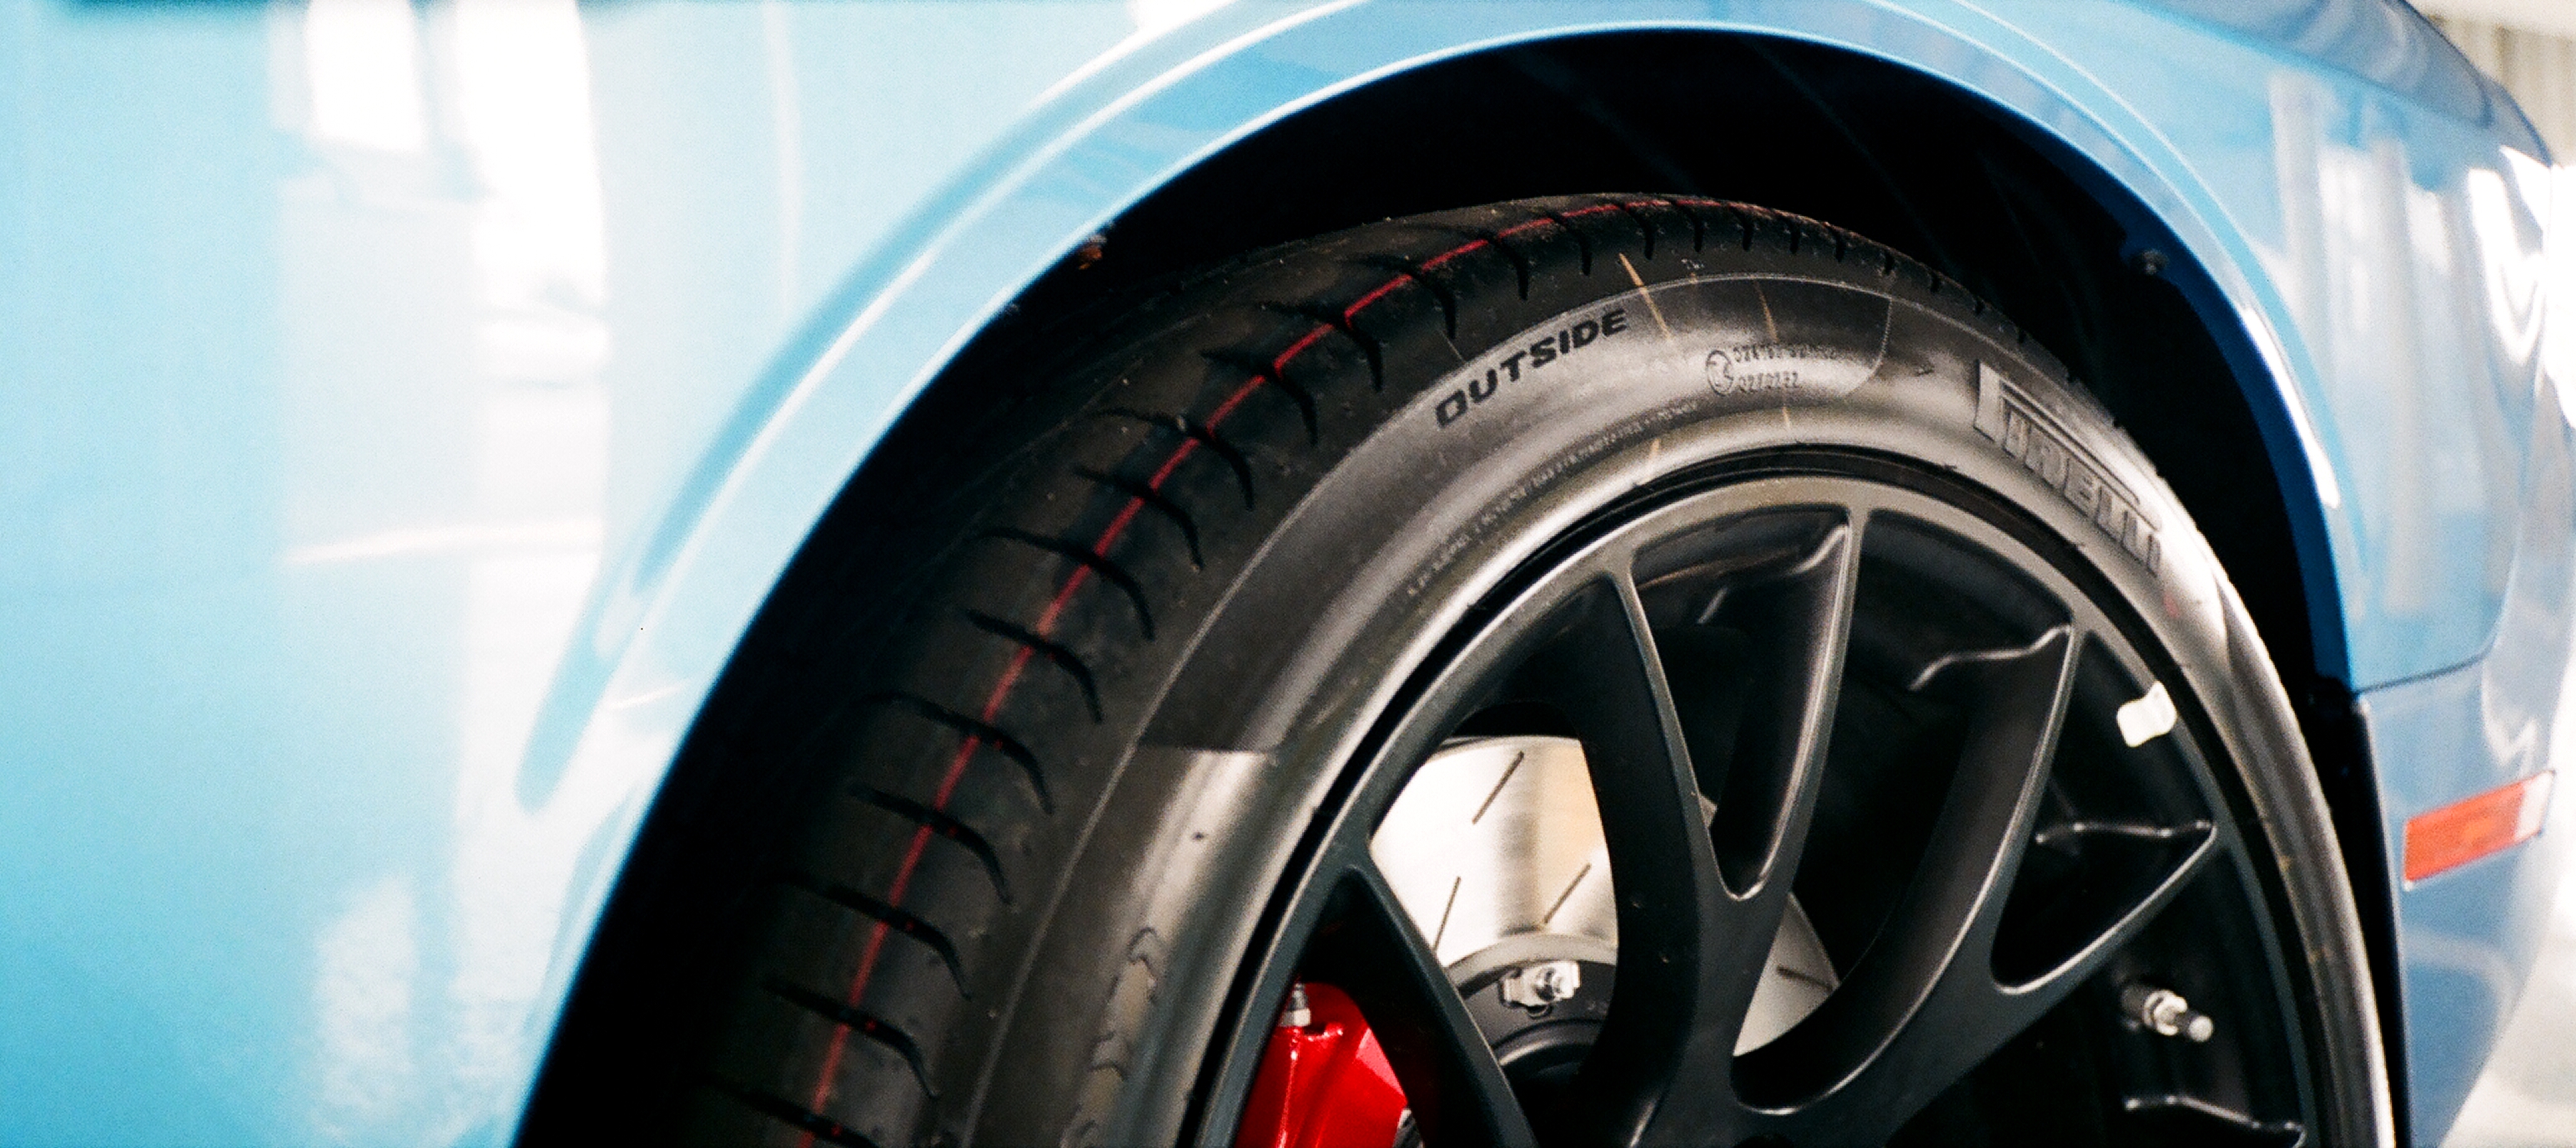


Dodge Challenger Hellcat, take two…
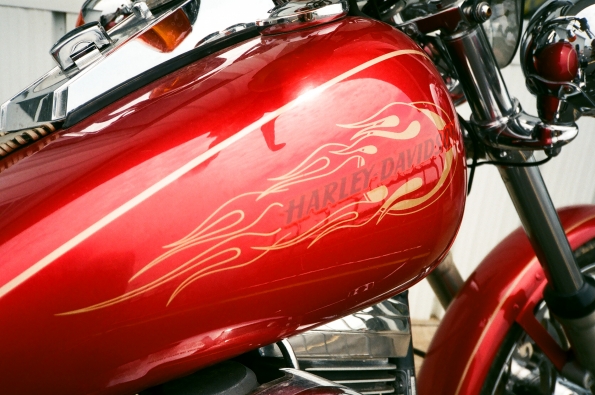
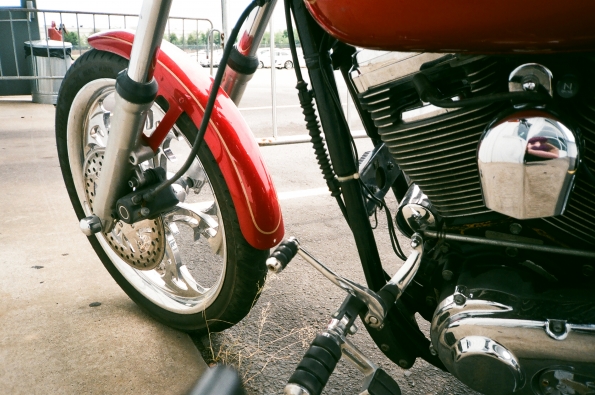
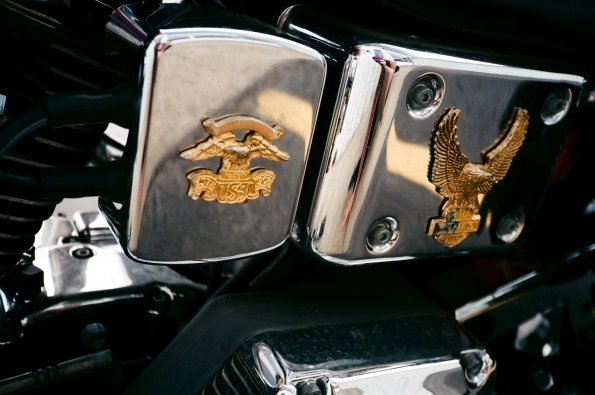
Another Harley at work
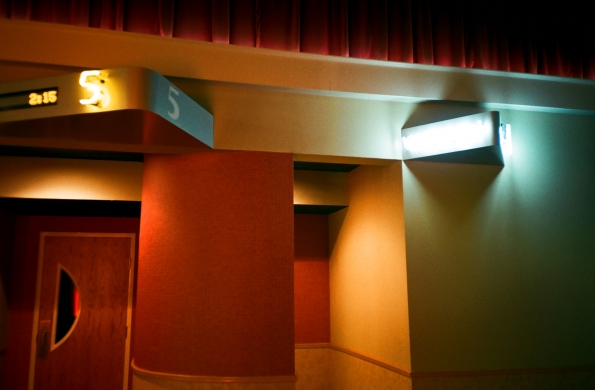
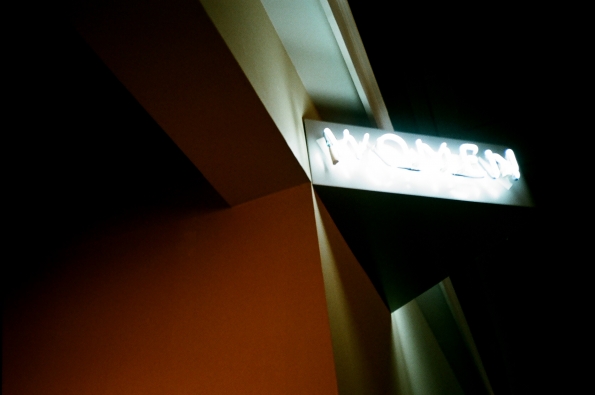
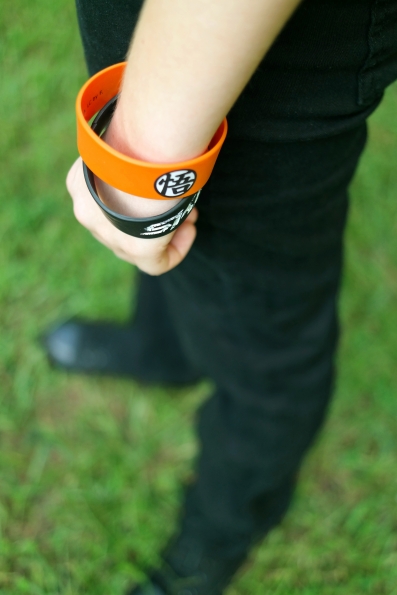
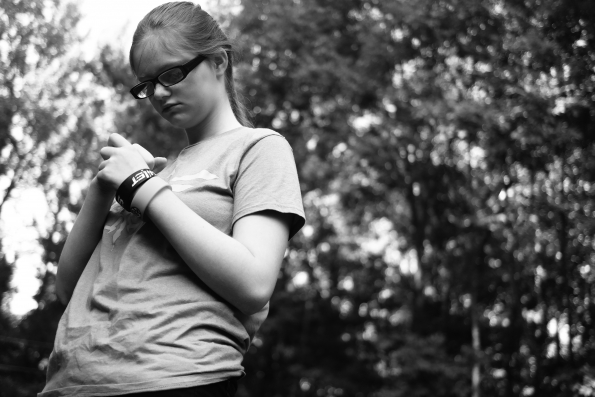
Malco theatre in Oxford, MS, where I took my niece to see the new Dragon Ball Z movie
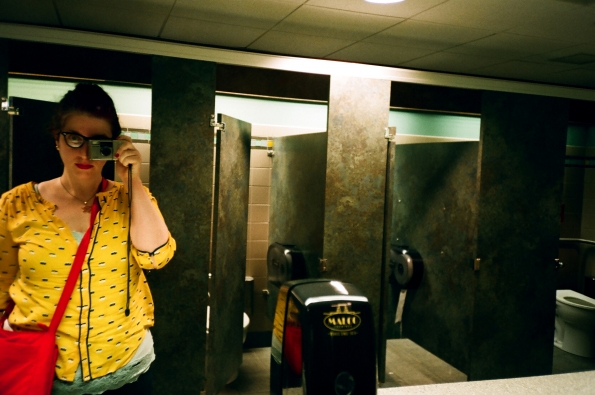
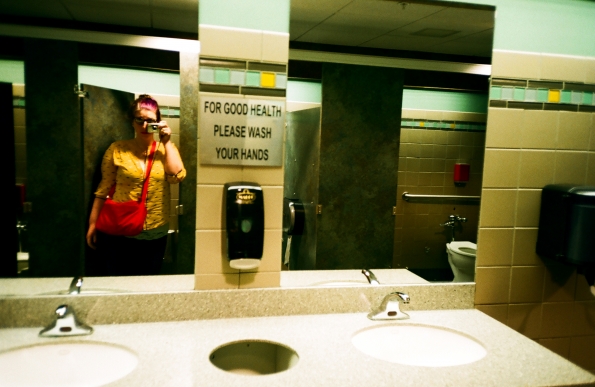
You know me, taking my photo in bathroom mirrors since way back in the day
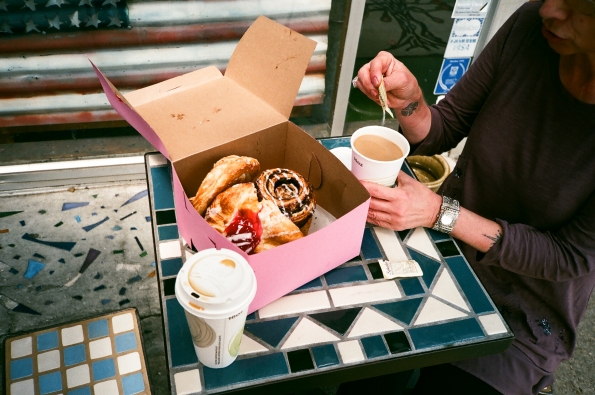
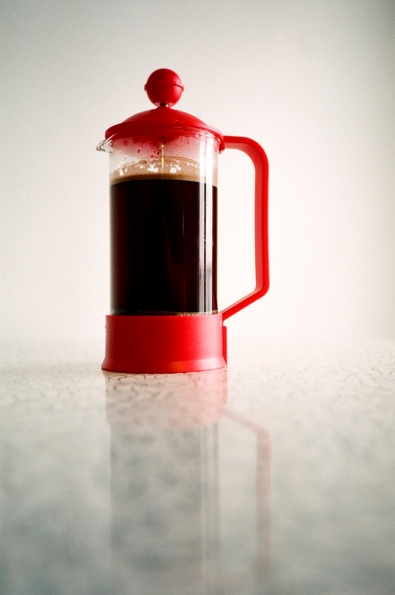
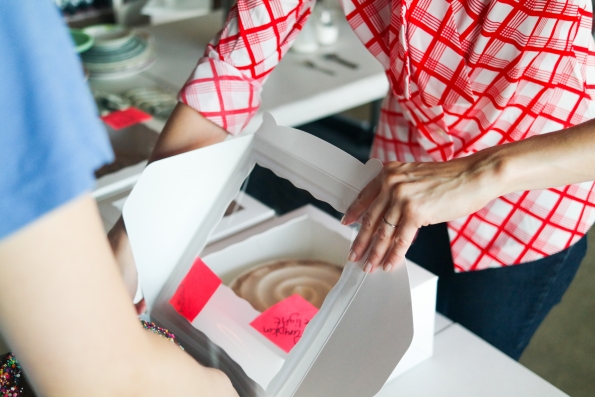
THIS WAS THE BEST! We went to Bottletree Bakery in Oxford, found out they were about to close for the afternoon, ordered some coffee to go, and were handed a box of free, delicious pastries as a consolation prize.
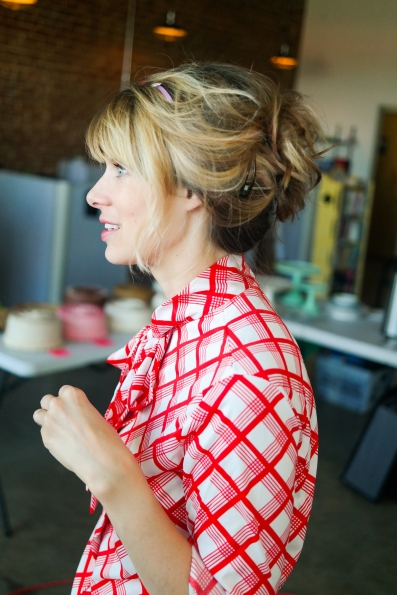
Me, in a mirror outside Bottletree Bakery
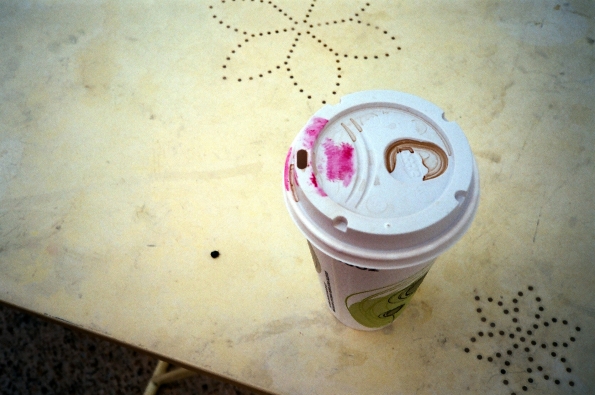
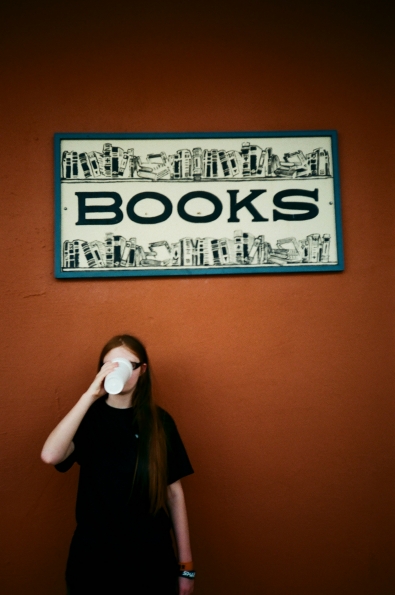
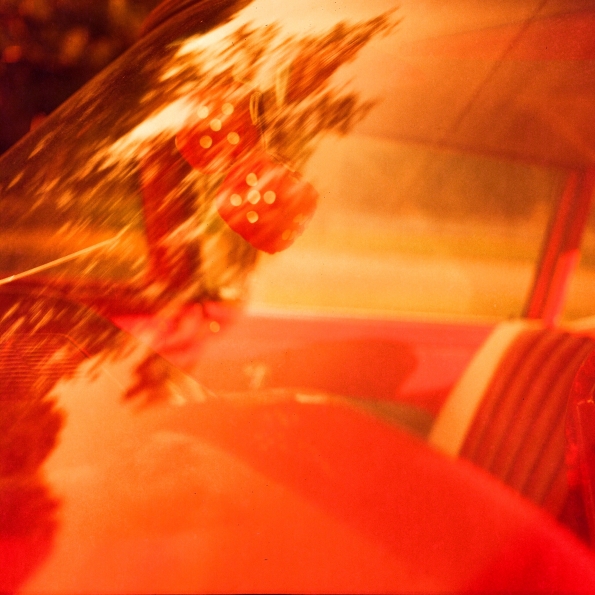
What your to-go cup of coffee looks like when you wear red lipstick
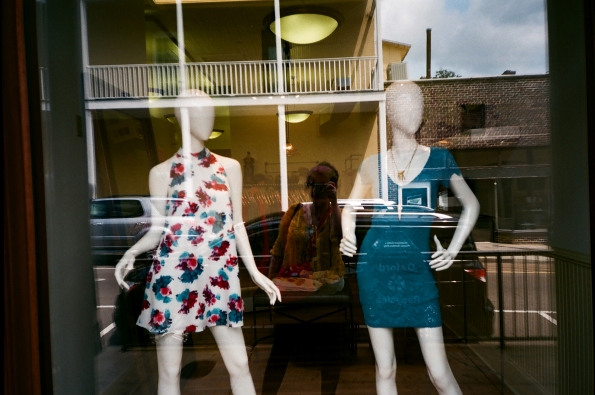
Me and some models in a clothing shop window in Oxford’s town square

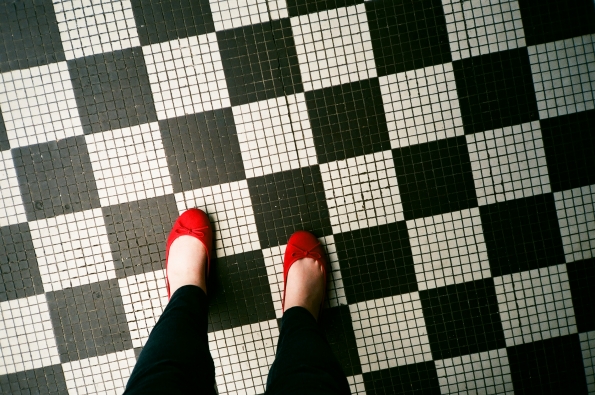
I love red shoes and I love tiles
AM, having some iced tea outside Square Books in Oxford
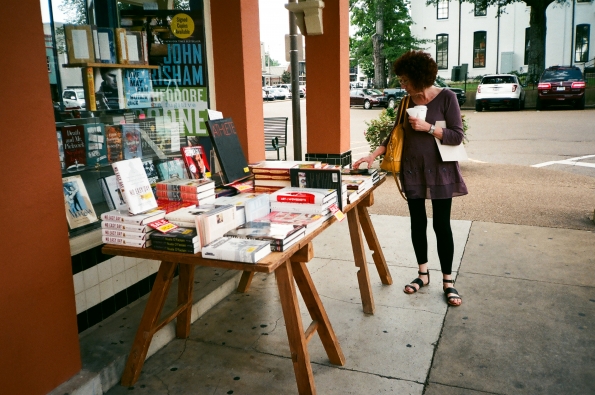
Mom, browsing the sale table outside of Square Books
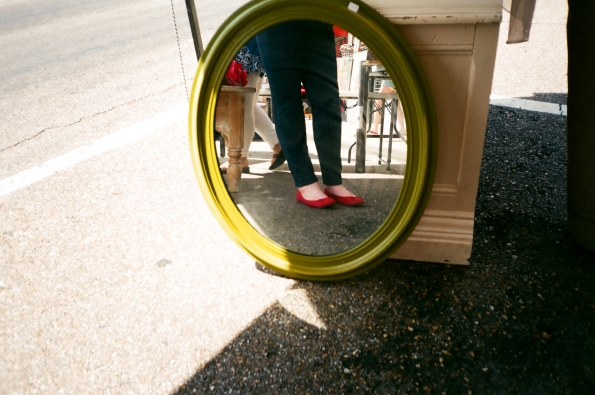
Mirror in a boutique’s sidewalk sale in Oxford

My shoes and some books, Oxford

Statue on the town square in Oxford
Conclusion?
I like it. I really, really like it. I’ve said before that I wish the features of Konica Big Mini and Canon Sure Shot Sleek were combined in one camera, and I feel that the Pentax Espio Mini does just that. Not to mention it has features that none of my other compact 35mm cameras do. Sure, it’d be cool if it had an f/2.8 lens like an Olympus Stylus Epic, but I am really not complaining since I’ve gotten use to the f/3.5 due to using the Big Mini and Sure Shot Sleek. Plus, the Pentax’s lens is wonderful. All in all, I think I’ve found my go-to compact 35mm camera. Thanks so much, David!


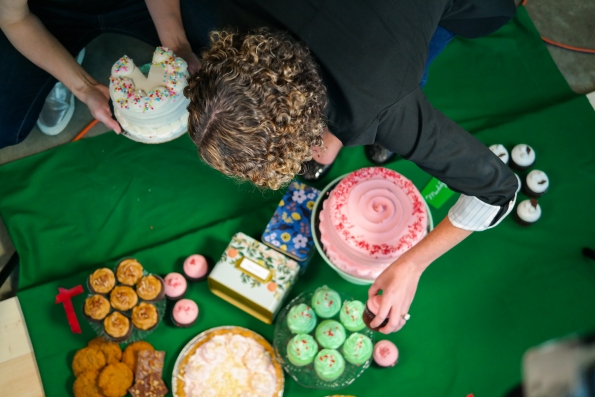


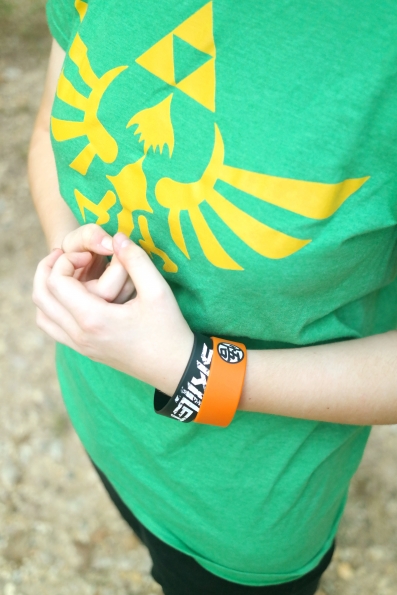
 (I am a bit obsessed with the Sparkle Disco Butter Cookies!)


 1959 Ford Fordor I saw in Hernando, MS