Upon purchasing a Fuji GA645i recently, I published a retrospective of photos I’d taken with its older sibling, the GA645. Now that I have the 645i, I’m ready to embark upon a review for it!
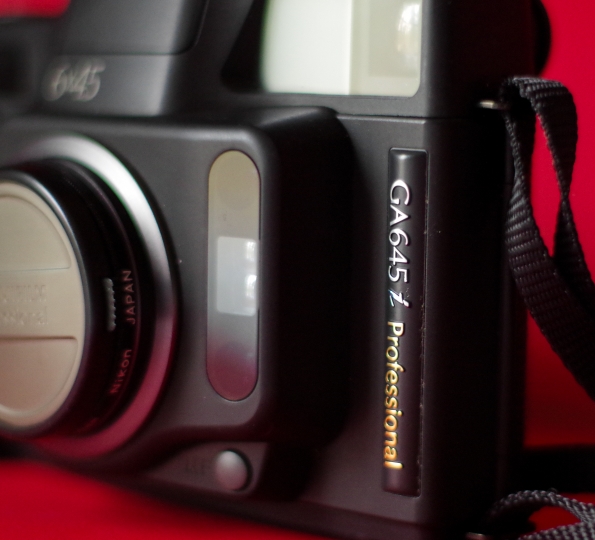
I was so happy when the camera arrived. It has that “new camera feel.” It’s in beautiful condition!
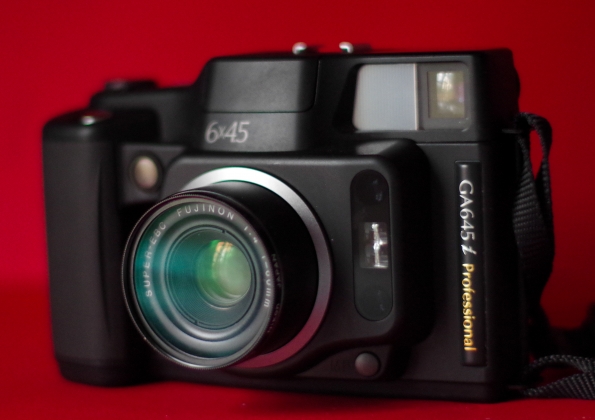
About the Fuji GA645i:
- The Fuji GA645i is an auto-focus medium format camera, with manual focus available by override and is achieved through zone focusing
- 60mm f/4 lens Fujinon Super-EBC lens (equiv. to 37mm focal length in 35mm format)
- Produces 6 cm. x 4.5 cm. negatives
- Accepts either 120 or 220 film. 16 exposures on 120 or 32 exposures on 220 (earlier GA645 models, like the one I had, only gave you 15/30 photos per roll)
- Vertical-oriented viewfinder (must turn camera sideways for horizontal photos)
- Two shutter release buttons: one atop the camera for vertical photos and one on front of the camera for horizontal photos (the release on the front was not available on the GA645)
- Auto film advance
- Auto ISO setting with certain Fuji films. Otherwise, you can manually set film speeds between 25-1600
- LCD display on top of the camera with exposure counter, film type (120 or 220), exposure mode, focus distance, and other pertinent information
- Moving parallax correction frame marks in the viewfinder, to give you more accurate framing
- Exposure modes: program auto exposure, aperture priority, and manual
- Built in pop-up flash
- Aperture range of f/4-f/22
- Exposure compensation of ±2
- Shutter speed range of of 2s – 1/700s, plus Bulb (though apertures f/4-f/9.5 can only use up to 1/400s shutter speed)
- Minimum focusing distance 2.3 ft. (.7 m)
- Option to imprint data between the frames of film – you can select to record date, date and time, exposure mode/shutter speed/aperture/exposure compensation/focus mode, etc.
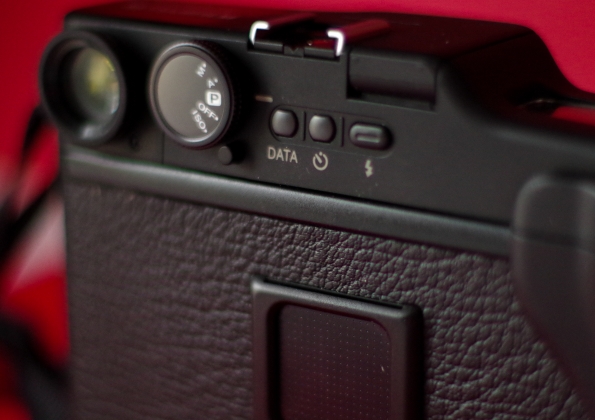 On/off/exposure mode/ISO dial, data selector button, self-timer button, flash button
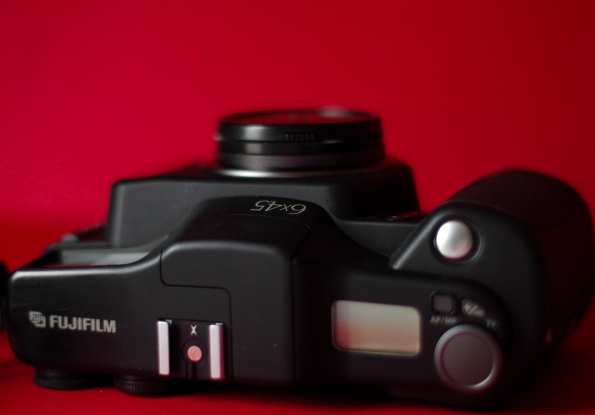
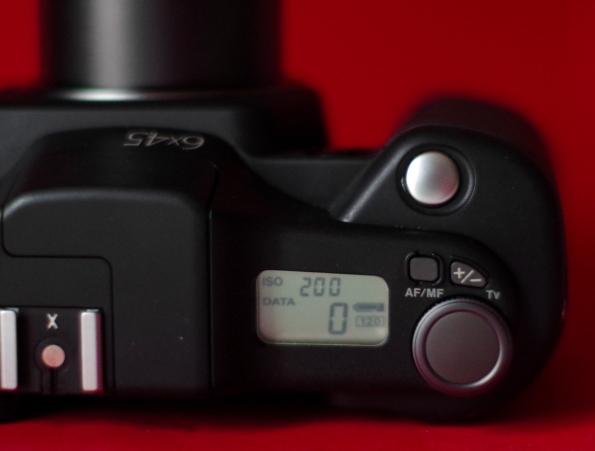 LCD info display, auto focus/manual focus selector button, exposure compensation button, and selector wheel
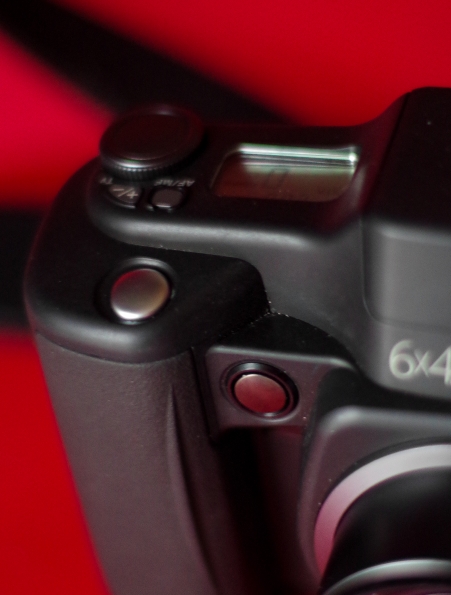 Primary shutter release on top, secondary shutter release on front
 By no means a small camera, but smaller than so many other medium format cameras
Some thoughts
I had read online that the GA645i was quieter than its predecessor. While I don’t have a fresh memory of the noises made by the GA645, I do feel like the GA645i’s focus is a bit less “grindy” sounding (and is in fact quite quiet when held for horizontal photos – I’m not sure why it is louder when held that way as opposed to normally.) I think the film advance is a bit more quiet on the GA645i as well. Still, a co-worker made a a little fun of me for the noises the camera makes while focusing.
A maximum aperture of only f/4 is somewhat off-putting, because I like big apertures (and I cannot lie.) You know, for selective focusing and because the slower the aperture, the less light you can gather. That also means you’ll need longer shutter speeds in low light. On the bright side, the GA645i has a leaf shutter, making it easier to hand-hold slower shutter speeds than you would be able to on a camera that had a focal plane shutter/mirror.
Size is an interesting issue with this camera. It’s almost unbelievable to see it in person. In a world full of people accustomed to seeing digital SLRs everywhere you turn, the GA645i will get you some attention when you’re out and about with it! Yes, it’s more compact and lighter than a medium format SLR, but it’s still a sizable camera. With the batteries installed, it weighs 1.89lb. (856g.) Lighter than its medium format SLR counterparts but not exactly a featherweight!
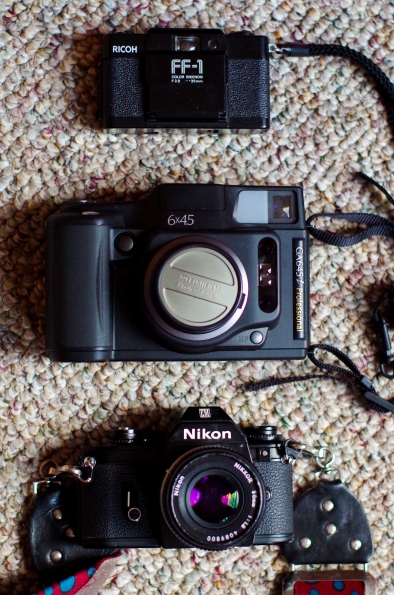 For comparison, the GA645i pictured with two of the smaller cameras I’ve traveled with: The Ricoh FF-1 above and Nikon EM below.
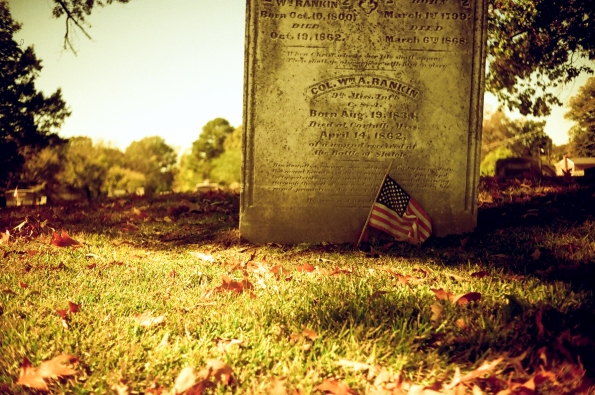
Roll #1 was Ilford FP4 Plus (ISO 125.) I cannot believe how beautifully these turned out. Totally made me happy that I’d decided to buy this camera.

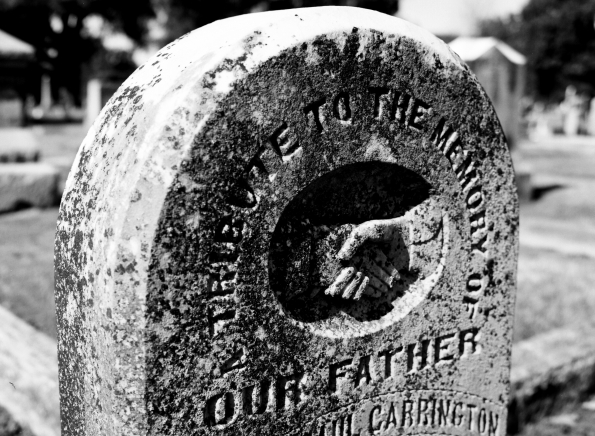


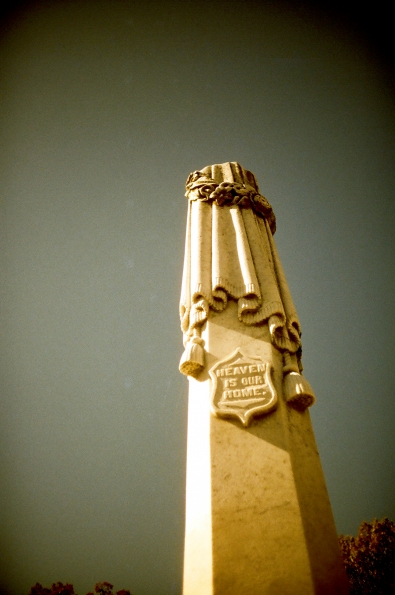
Started my first GA645i roll in the local cemetery. Always a good place to start with a new camera. I’ve done it loads of times. The statue of the young woman is a particular favorite of mine.

Section A in the cemetery. Or “A’ is for Amanda?
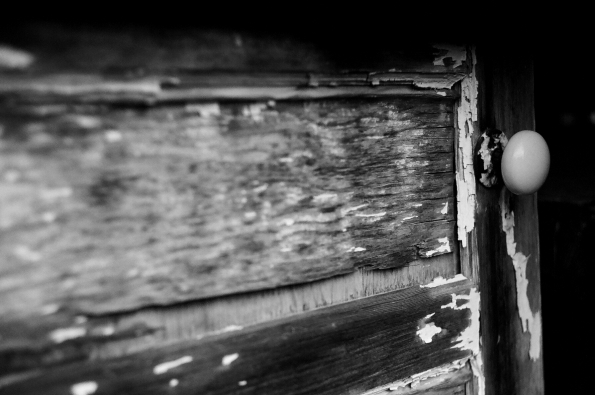
Like a photo I took with my Kiev 4AM
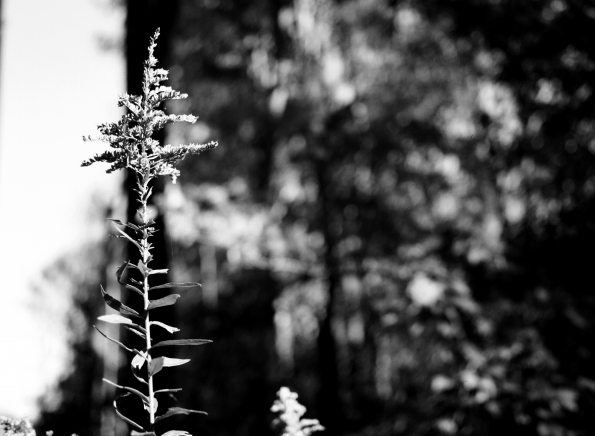
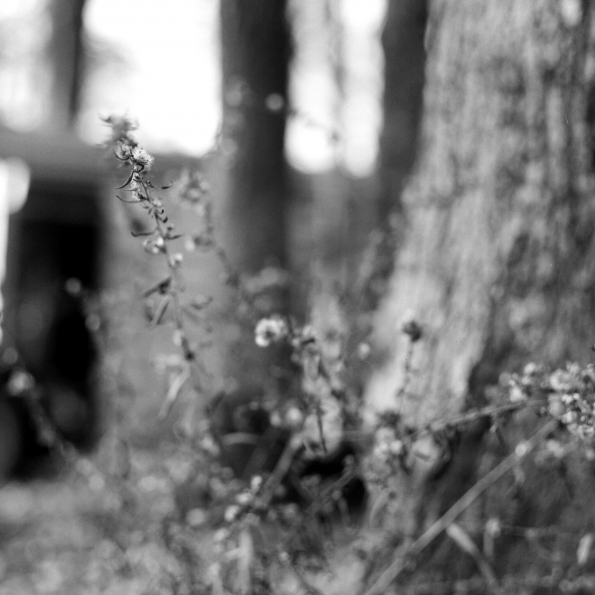
I have no idea how perfectly the camera focused on this winter goldenrod. The depth of field is extremely shallow, yet the thing that’s supposed to be in focus is in very sharp focus.


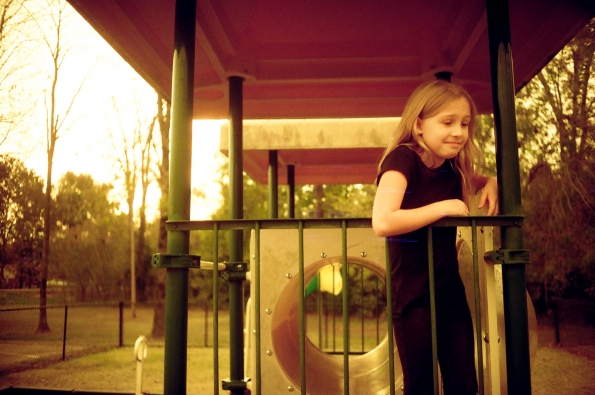
An afternoon where I managed to take a few photos of my niece without her staging a revolt


Alyza and Annie
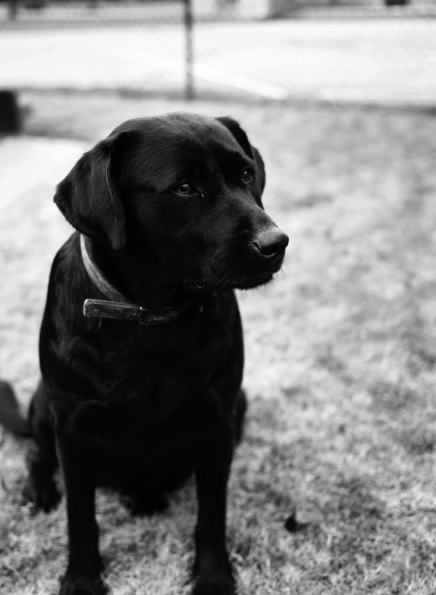
Annie, the prettiest dog in the world
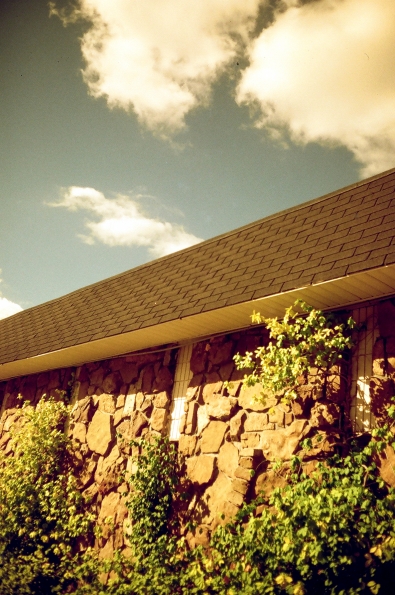
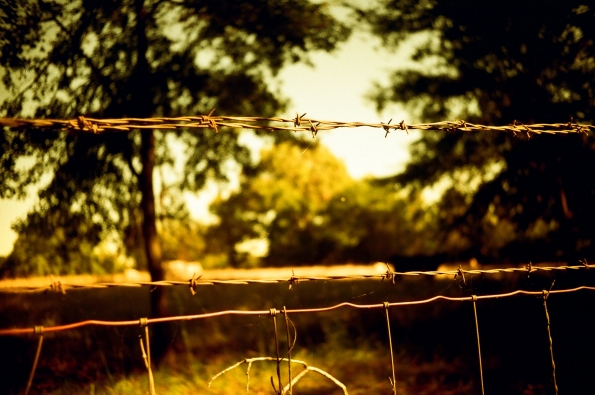
Roll #2 was an expired roll of Fuji Provia 400, which was cross-processed.
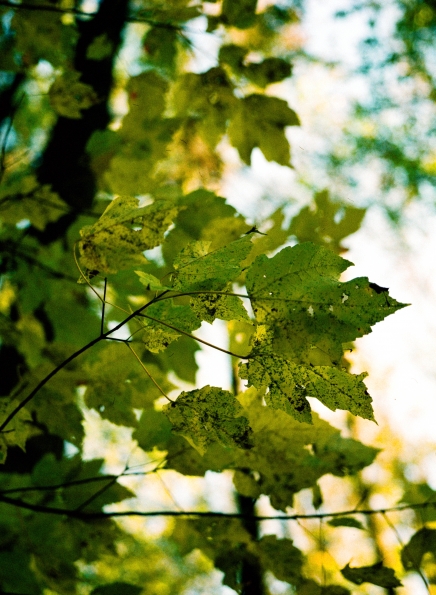
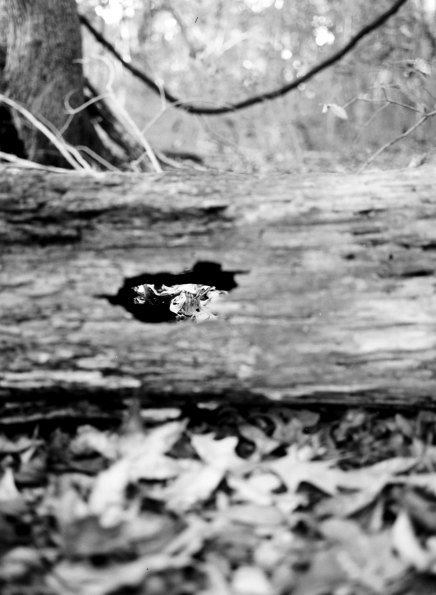
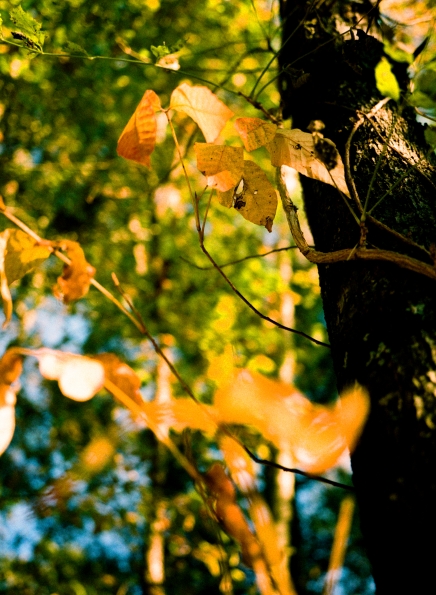
My camera tests this autumn prominently featured foliage
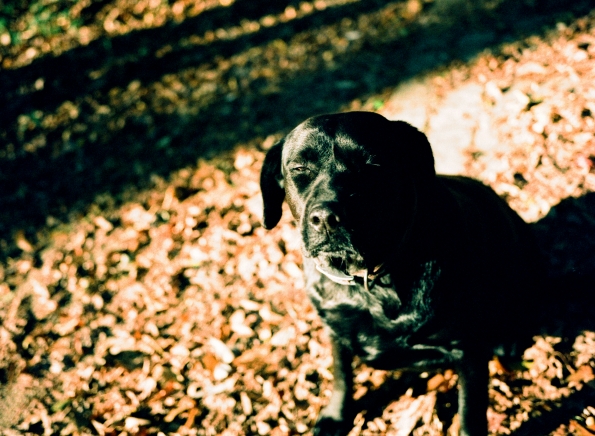
The beautiful portrait of Annie on Roll #1 was an anomaly. Normally, she turns her head just as I’m taking the photo or is otherwise derpy, as above.


I love this hand-painted sign at a beauty shop in our town. I photograph it fairly often.


My “acts of Christmas” one day were putting up my mom’s tree and the little silver tinsel tree in my bedroom.
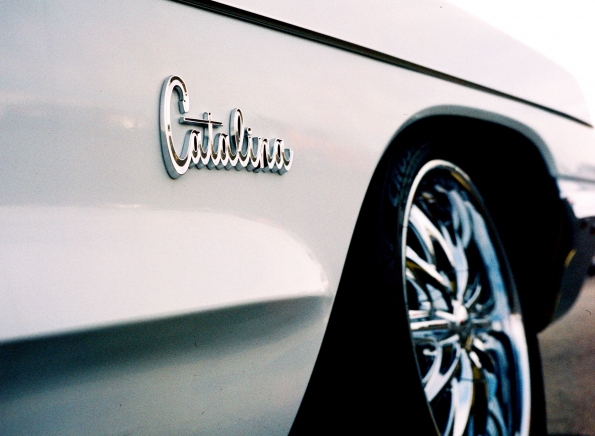
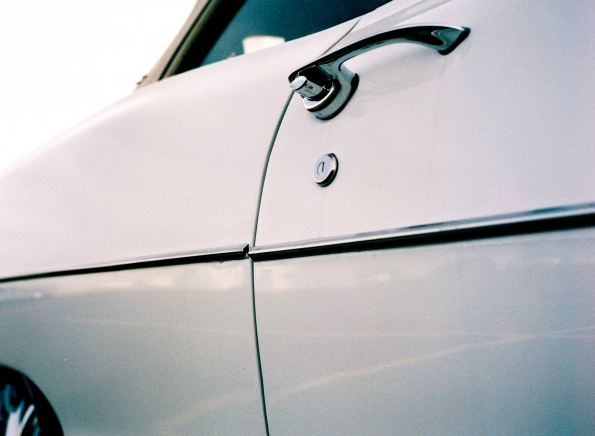
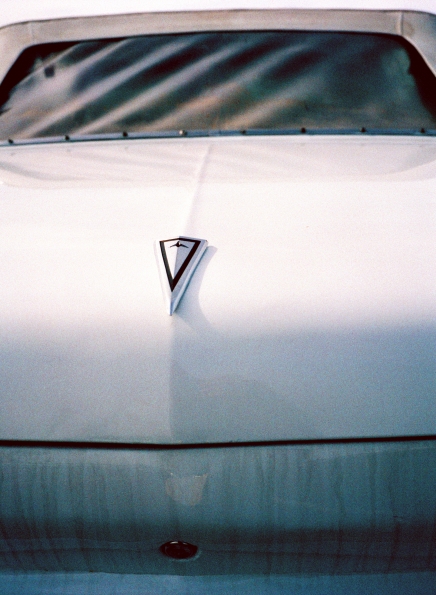
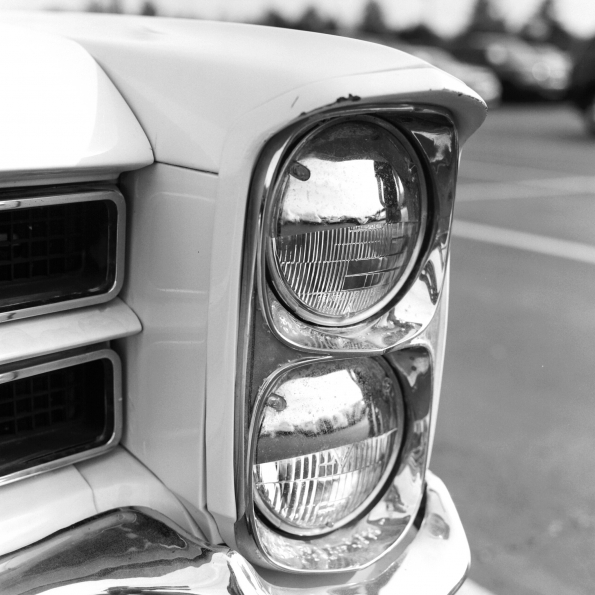
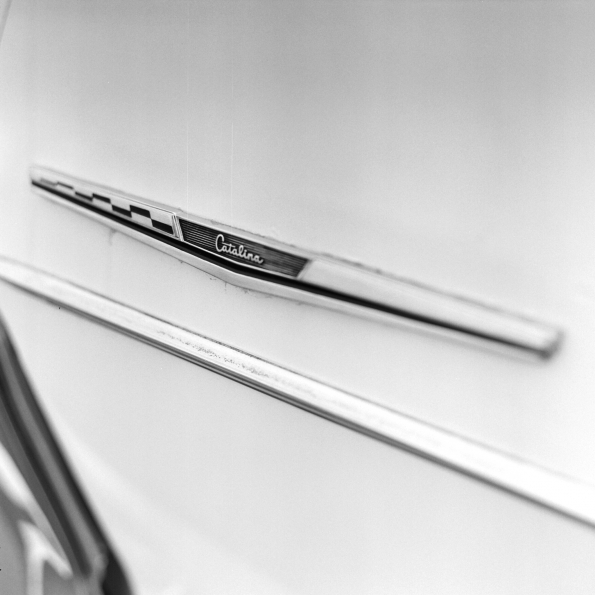
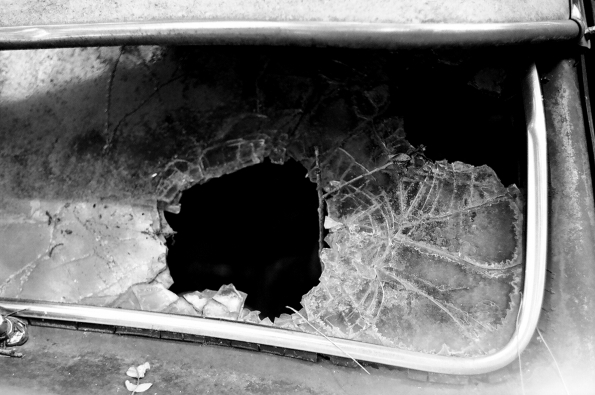
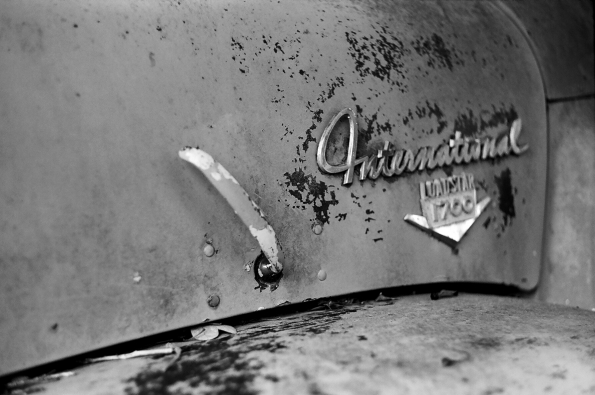
1964 Pontiac Catalina that was at the auto auction where I work (in catering) one day a week.
(Also shown in my Bronica S blog)
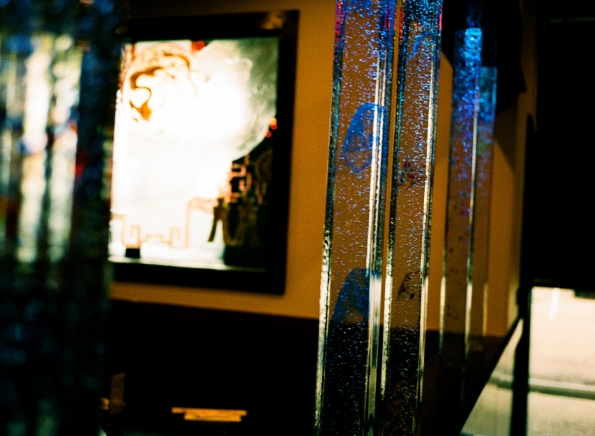
Sushi restaurant in our town

Jessica and Dustin’s engagement session Polaroids, before I sent them to the couple

I loved how the branches were formed on this tree
Conclusion?
Love it! It was a bit of an investment for me, since I am a very frugal camera shopper. But the Fuji GA645i is wonderful. I don’t know if it’s actually a huge improvement over the GA645 I had, or if I just am more appreciative of a camera like this now than I was then. I’d love to take the Fuji traveling with me. It’s well-regarded for as a great travel companion. You get medium format quality in a package that, while not small, quite easily slips into a smallish camera bag or a biggish coat pocket. Not to mention the fact that it has auto focus and built-in metering. The GA645i doesn’t have the quietest autofocus, but when I look at the results, it’s hard to fault that when the lens itself is so incredibly wonderful. And the lens is really what matters, after all.
♥♥♥
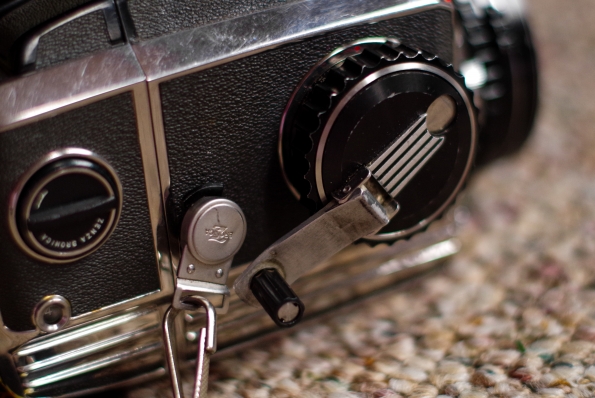 Focus knob/film advance crank
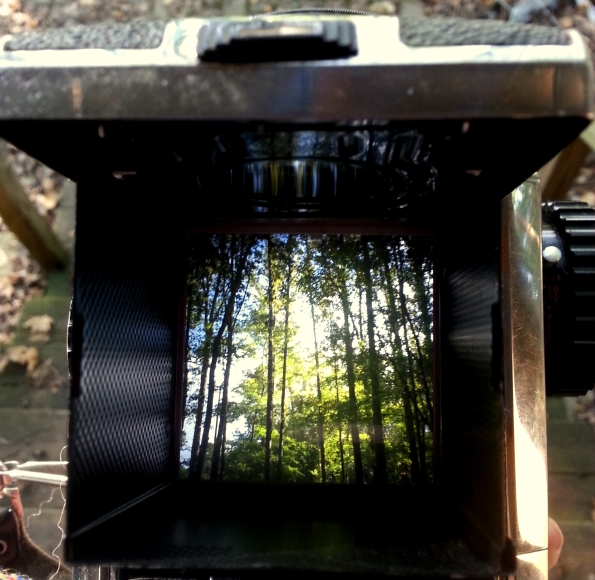 Bright, bright, BRIGHT waist level finder
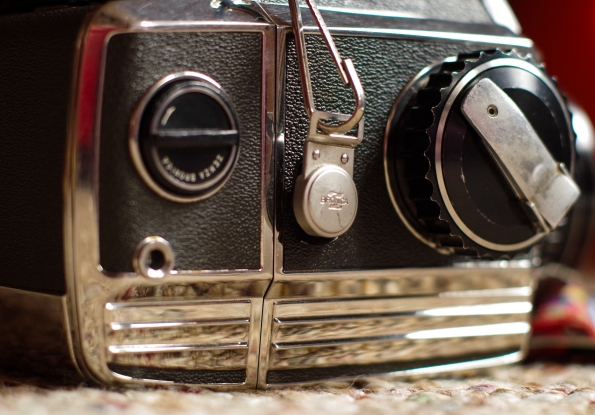
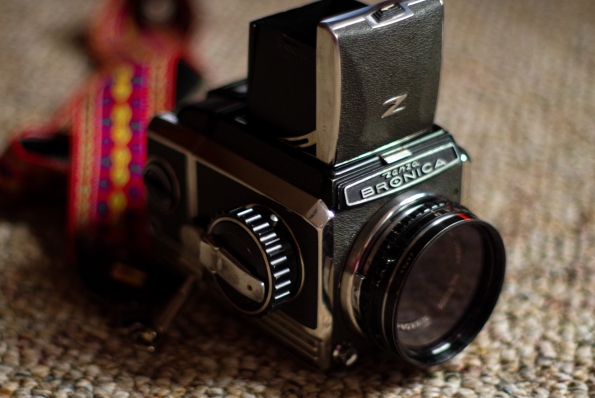
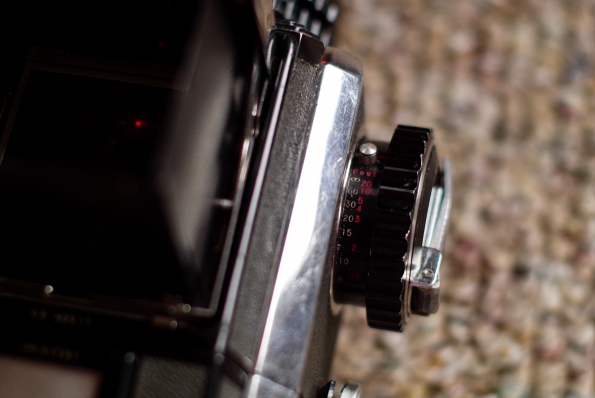
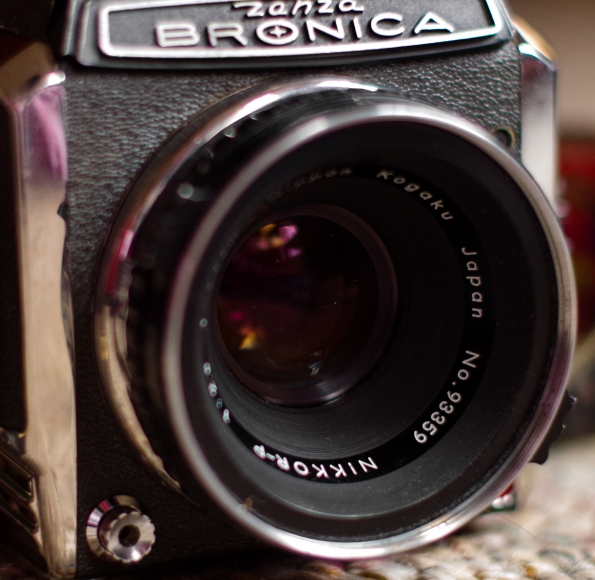 That lovely Nikkor-P lens
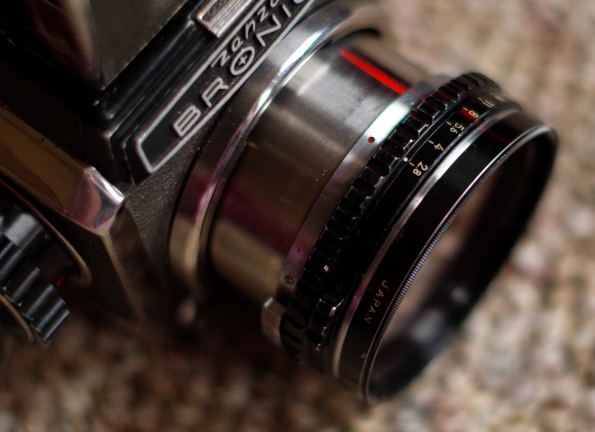 As I said, the Bronica S’s body’s built-in focusing mechanism means the lens doesn’t protrude far outside the camera. This is at the closest focusing distance, which is the “longest” this lens gets. You can see in an above photo that the lens sits almost flush with the body at its shortest length (focused at infinity.)
  There’s that mirror lock-up switch I told you about
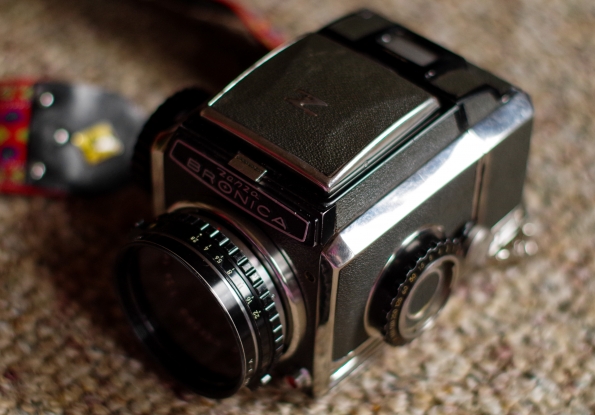 How the camera looks with the waist level finder folded down
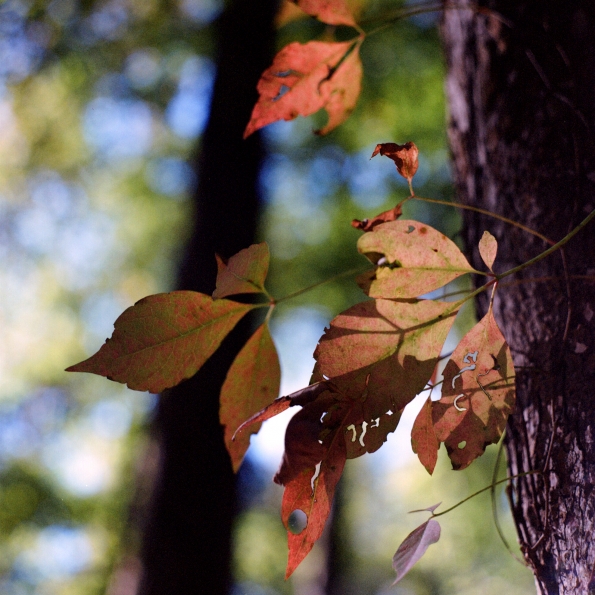
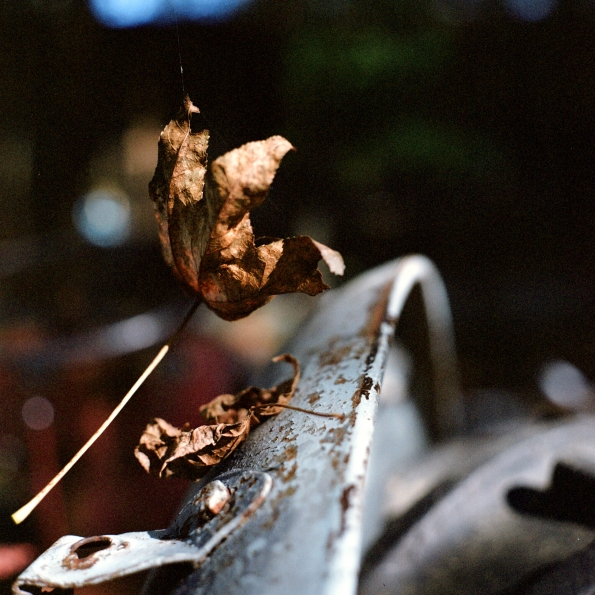 There were so many spiders outside this fall – there were leaves suspended by single threads of web and looked as if they were floating
 Totally missed the mark with the exposure here, but I still love this photo of camellia flowers
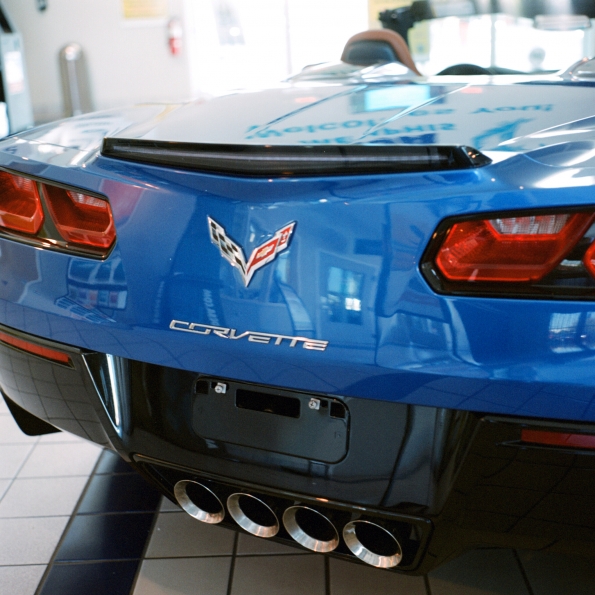 Blue Corvette at work
 Church bus at my dad’s shop
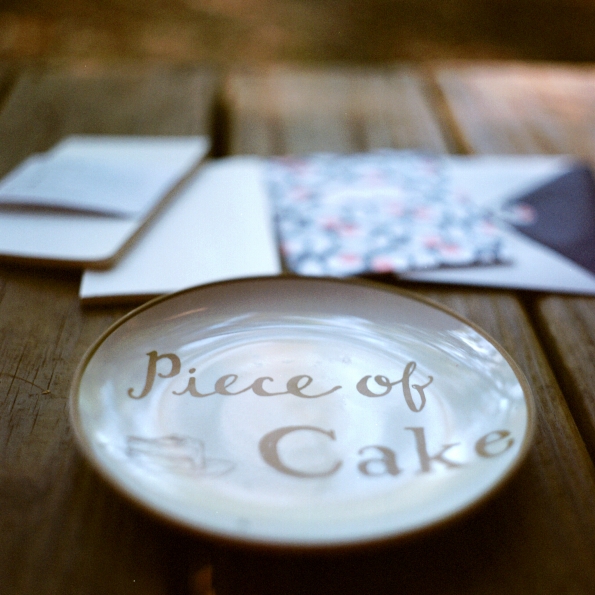 My #basic purchases from Target: Moleskin notebooks, cute stationery, and cute plate
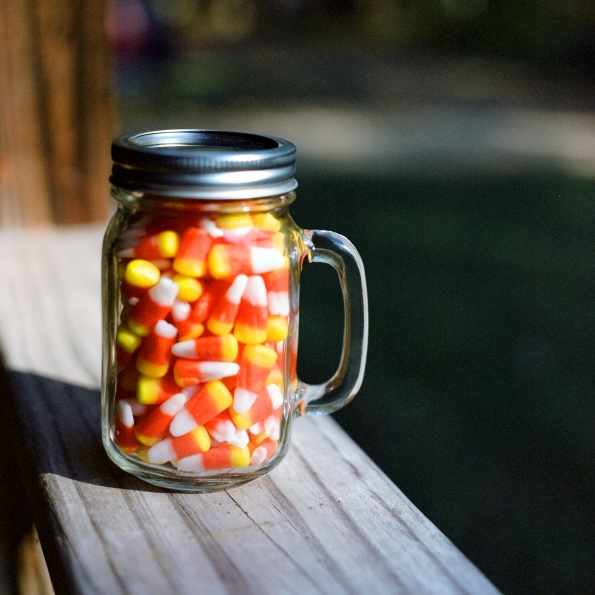 My brother-in-law loves candy corn. At a Halloween party my niece attended, the children played a game where they guessed the number of candies in various jars. My niece won a jar of candy corn by guessing the number closest to the actual pieces in the jar. Coincidence? I think not!
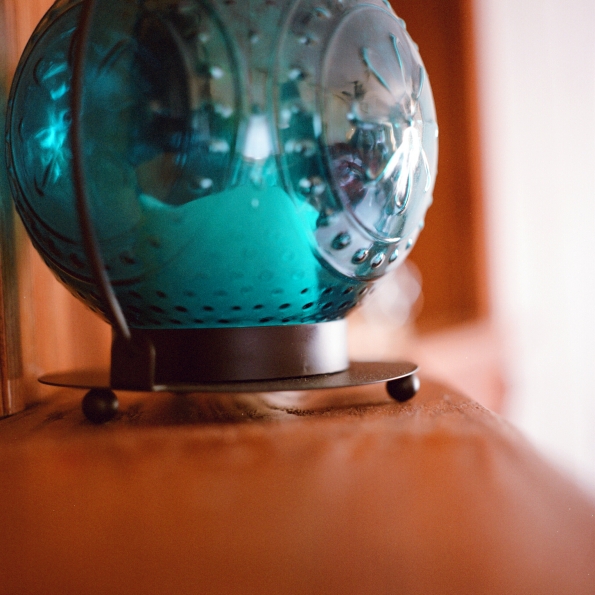 Flameless candle lantern on the mantle
 Silver tinsel mini Christmas tree and Tower of London snowglobe in my bedroom
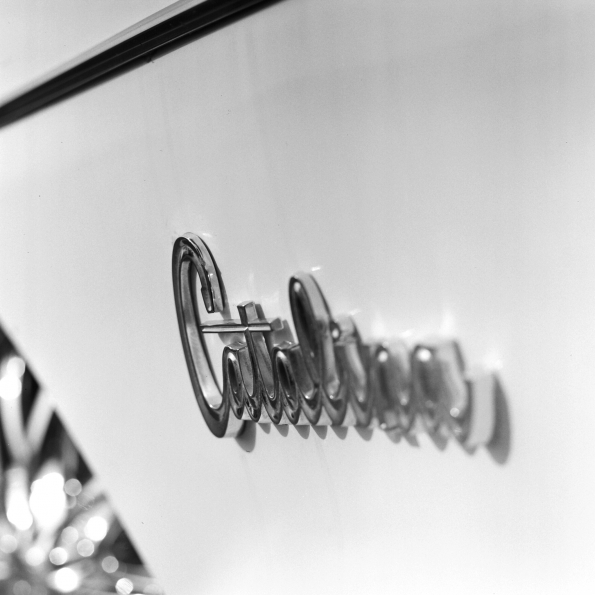

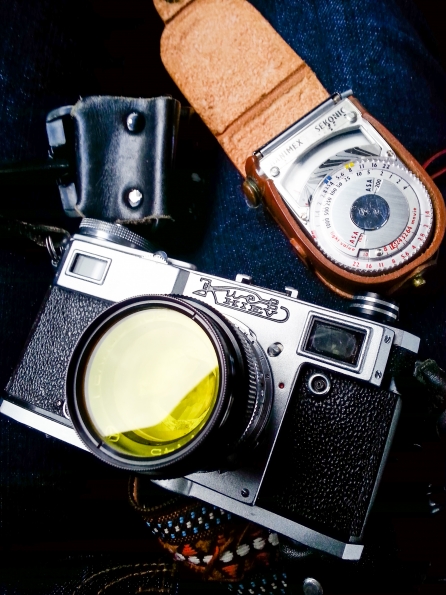 Gear with which the below photos were taken


 Kiev 4AM • Helios-103 53mm/1.8 + Y2 filter • Kodak BW400CN
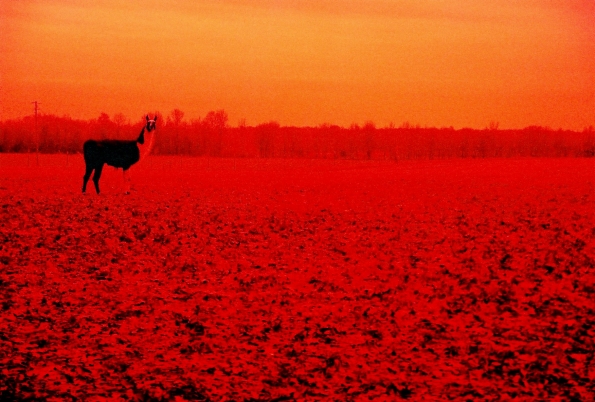 Fuji Superia 400, shot at 200 ASA
 Fuji Superia 400, shot at 200 ASA
 Fuji Superia 400, shot at 100 ASA
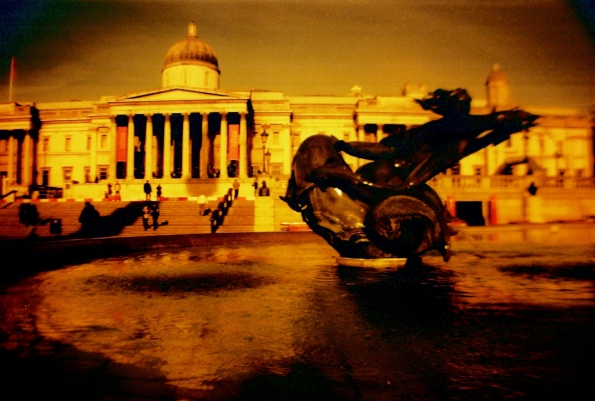 Fuji Superia 400, in a camera with no exposure/ASA control


 Ricoh FF-1 • Kodak Gold 200, shot at 25 ASA